How to Choose the Best Wheel Bearing Puller (2026 Guide)
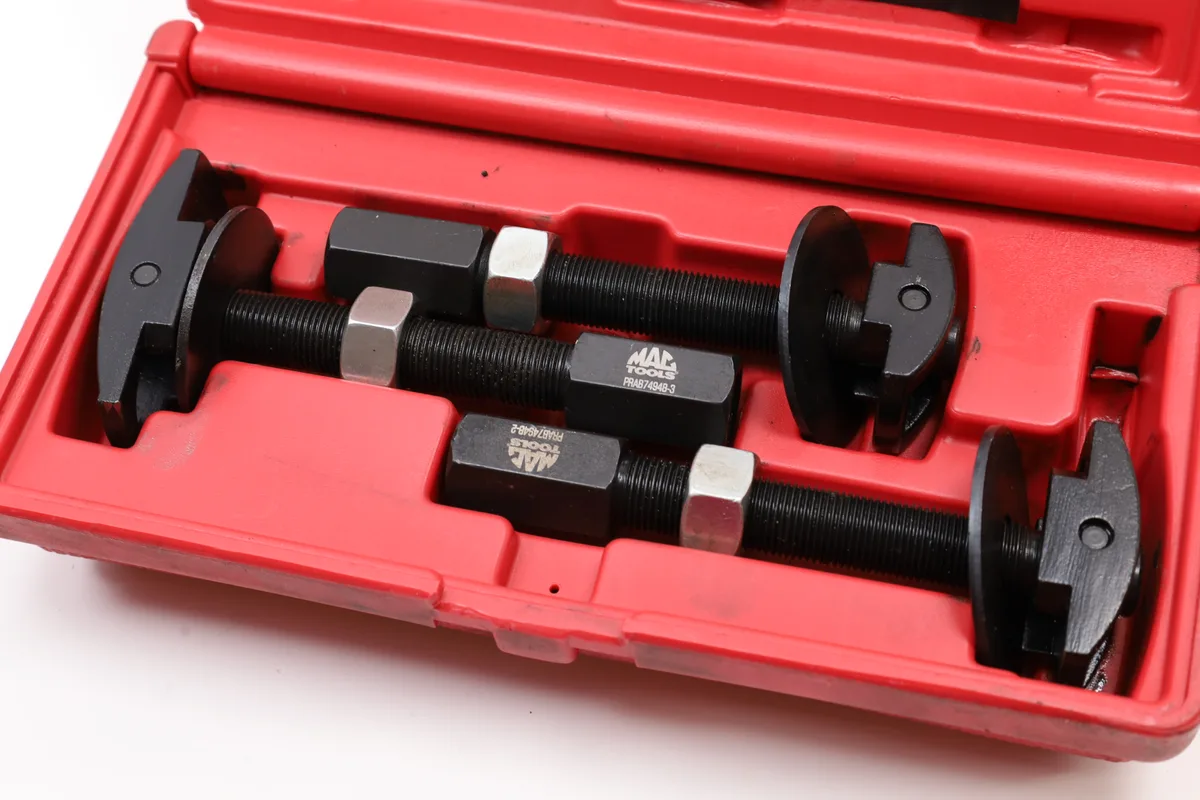
A wheel bearing puller is a specialized tool used to remove press-fit bearings from hubs, axles, and other mechanical assemblies without damaging surrounding parts. The most common type for automotive use is the screw-style two or three-jaw puller, which uses a central arbor to apply even force against the inner bearing race. For severely corroded or seized bearings, a slide hammer variant delivers percussive force instead of steady pressure.
As of 2026, quality entry-level models start around $25, while professional-grade units capable of handling truck and trailer applications range from $80 to $250. Per SAE bearing fit standards, correct removal technique matters far more than tool price when it comes to preserving hub integrity.
Why Getting This Tool Right Isn’t Just About Cost — It’s About Safety
A wheel bearing puller isn’t just another socket or wrench in your shop. This tool does one job, but it does it under real mechanical stress. Get it wrong and you’re not just ruining a $30 bearing.
You can crack an aluminum hub, strip wheel studs, or send a bent jaw flying across the garage.
The reason this lands squarely in Expert YMYL territory comes down to physics. A press-fit wheel bearing sits inside a hub with typically 0.001 to 0.003 inches of interference. That tight fit generates massive radial force when you try to extract it by accident or with the wrong technique.
According to SAE International’s bearing fit standards, improper removal forces can exceed several tons and create failure points that won’t show up until the wheel is back on the car and hitting highway speeds.
You might think any puller works. Most mechanics will tell you differently. The hub is what you actually need to preserve.
Damage that hub and you’re looking at a full assembly replacement instead of a simple bearing swap. That runs three to five times the cost of a new bearing and a proper tool.
The single most important rule before you start pulling: always grip the inner race. If your jaws contact the outer race or the sealed face, you’re pushing force through the bearing balls. That destroys the new bearing instantly and can score the hub bore.
Every mistake here compounds. One bad pull leads to a damaged hub. A damaged hub means replacing the entire assembly.
That’s how a $40 repair becomes a $400 one.
The Two Types You’ll Actually Need (And When to Use Each)
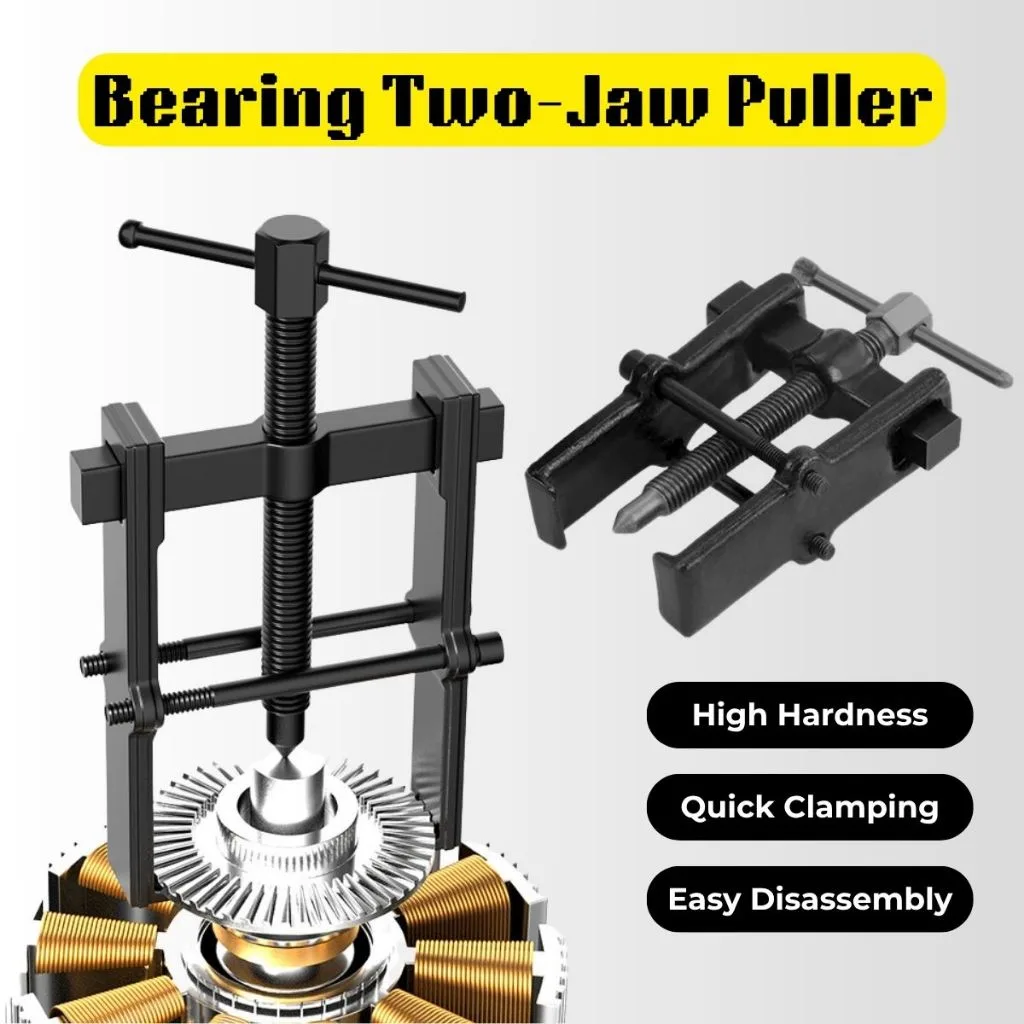
You don’t need every bearing puller on the shelf. Most automotive jobs boil down to two styles, and knowing which one fits your situation saves time and prevents damage.
Screw-Style Pullers: Your First Choice
The screw-style puller is the workhorse for normal bearing removal. It uses a threaded arbor that pushes against the inner race while the jaws grip from behind. You tighten the center screw gradually, applying steady force until the bearing breaks free.
This method gives you control. You feel resistance building. You can stop the moment something feels wrong.
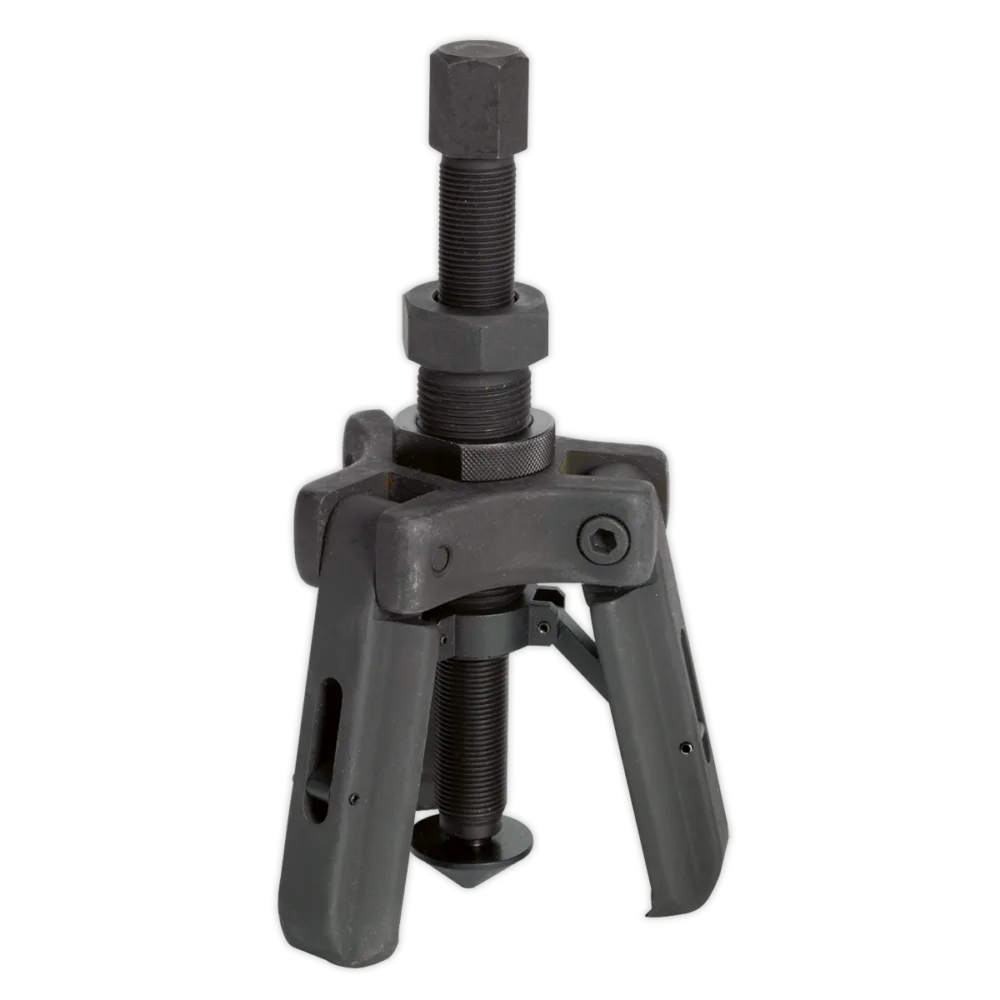
Two-jaw versions work fine for most light-duty car bearings. Three-jaw designs offer better balance and are worth the extra cost if you’re pulling larger bearings or working on heavier vehicles. The even pressure distribution reduces the chance of cocking the bearing in its bore, which is what causes scoring and binding.
For a detailed look at blind bearing pullers and how they differ, understanding jaw configuration matters more than brand names.
Slide Hammer Pullers: When Bearings Are Stuck
A slide hammer bearing puller belongs in a different category. It doesn’t rely on steady torque. Instead, it uses percussive force.
You slide a weighted hammer along a threaded rod, striking against a fixed nose piece that pushes the bearing out. The repeated impact breaks corrosion bonds that steady pressure can’t overcome.
Use a slide hammer when:
- The bearing is completely seized from rust or heat
- You’ve already tried a screw puller and it won’t budge
- The hub material is soft enough to handle vibration without cracking
- You’re working in a confined space where a large screw puller won’t fit
Don’t use a slide hammer on cast aluminum hubs. The shock load can crack the housing. In those cases, a bearing splitter or a bearing separator might be the safer call, especially when access is limited.
Which Type Fits Your Situation?
| Situation | Best Puller Type |
|---|---|
| Normal replacement on steel hub | Screw-style two or three-jaw |
| Light car or motorcycle bearing | Compact screw-style puller |
| Seized or corroded bearing | Slide hammer |
| Cast aluminum hub | Screw-style with light pressure |
| Deep recessed bearing | Blind or internal bearing puller |
| Limited side clearance | Bearing splitter or slide hammer |
If your bearing is accessible and not corroded, start with a screw puller. Try a slide hammer only when steady pressure fails. Pushing a slide hammer too early often does more damage than good.
Step-by-Step: How to Pull a Wheel Bearing Without Ruining Your Hub
The difference between a clean bearing removal and a ruined hub comes down to sequence. Follow these steps in order and you’ll avoid the most common errors mechanics make on their first few tries.
Step 1: Inspect Before You Assemble
Check the bearing condition. Is it visibly corroded? Can you see rust bleeding from the seal gap?
Note the bearing inner diameter and the hub bore diameter. Measure both with calipers if you have them. Write down the numbers.
This tells you whether you need a heavy-duty puller or a basic one.
Also check the hub threads where the axle nut sits. Damaged threads mean the puller’s arbor can strip before the bearing moves. If the threads look compromised, focus on protecting them with a bearing puller size chart reference and the right arbor tip.
Step 2: Position the Jaws Correctly
Place each jaw over the bearing inner race. Make sure the jaw tip contacts the metal race, not the rubber seal or the bearing shield. The jaw should sit flush and secure.
If it’s perched on the seal edge, it’ll slip the moment you apply force.
For three-jaw pullers, space the jaws evenly around the race. For two-jaw models, position them opposite each other at roughly the 9 o’clock and 3 o’clock positions. Even spacing prevents the arbor from tilting as you tighten.
Step 3: Center the Arbor Screw
Thread the arbor through the puller body and into the bearing center. The tip should rest squarely against the inner race face. If it’s angled, you’re applying sideload.
That’s what bends arbor screws and cracks hubs. Back the arbor out slightly, reposition, and try again.
Step 4: Tighten in a Controlled Sequence
Turn the arbor screw one-half turn at a time. Pause between each turn. Listen for the bearing moving.
Feel for resistance changes. If the puller starts binding or the arbor tilts, stop immediately. Loosen the screw, reseat the jaws, and restart.
Never force the screw past resistance. If you’re at 75 percent thread engagement and the bearing won’t move, you’re either gripping the wrong surface or the bearing is bonded by corrosion. Switch to a penetrating oil soak or consider a slide hammer approach instead of cranking harder.
Step 5: Monitor the Exit Path
Watch the bearing as it leaves the hub. It should come out straight. If it starts angling, stop and reassess.
A cocked bearing catches on the hub shoulder and can gouge the bore. Once that groove forms, even a perfect new bearing won’t seat properly.
Step 6: Inspect the Hub After Removal
Once the bearing is out, examine the hub bore. Look for scoring, rust pitting, or uneven wear. Run your fingernail across the surface.
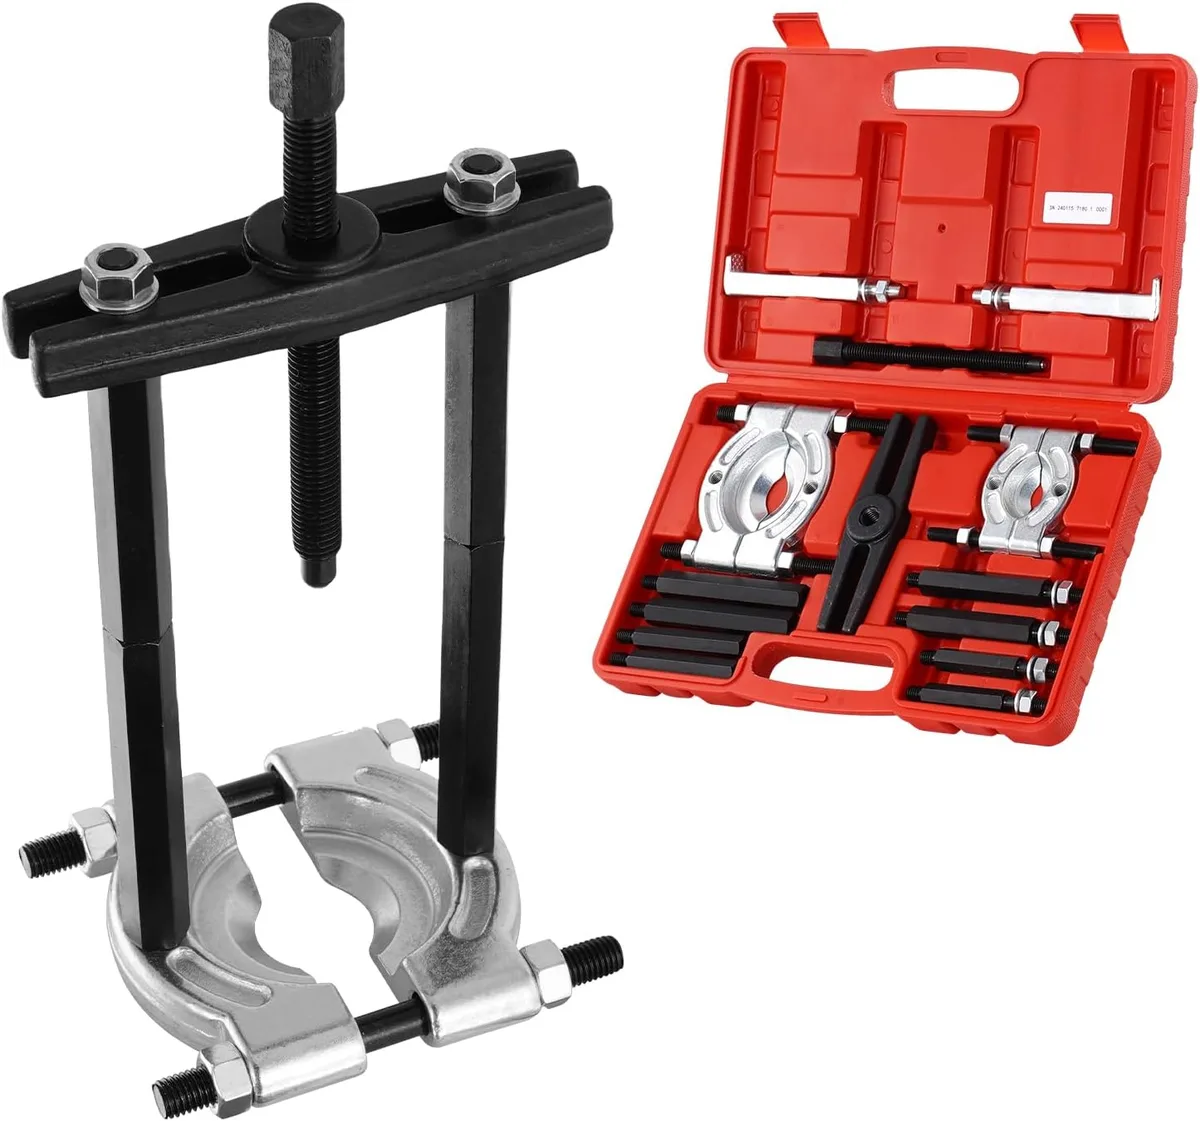
If it catches, that spot will prevent a proper press-fit seal on the new bearing. A bearing separator might help clean up minor surface imperfections before installation.
Four Mistakes That Will Cost You Time, Money, or Safety
Every one of these mistakes shows up in real shops. Some mechanics make them on their third job. Others learn the hard way and still repeat them.
Knowing what to avoid matters as much as knowing the right process.
Mistake 1: Gripping the Outer Race Instead of the Inner Race
This is the most common error and the most damaging. The outer race is pressed into the hub. Pulling on it transfers force through the bearing balls directly into the inner race.
The result is instant bearing destruction and often hub damage too.
How to avoid it: Before tightening, visually confirm each jaw tip is under the inner race lip. Tap the race gently with a punch. If the punch slides under the inner edge, you’re positioned correctly.
If it hits the outer race shoulder, reposition immediately.
Mistake 2: Overtorquing the Arbor Screw
Mechanics sometimes think more force equals better results. It doesn’t. Over-tightening an arbor screw strips threads, bends the screw, or cracks the hub casting.
Cast aluminum hubs are especially vulnerable.
How to avoid it: Stop turning when you feel solid resistance. Give it a few more half-turns maximum. If the bearing hasn’t moved after that, something else is wrong.
Don’t just crank harder. Reassess your jaw placement or switch tools. A proper external vs internal bearing puller choice also prevents over-torquing by matching the tool to the access available.
Mistake 3: Using a Puller Rated Below the Job Requirements
A puller rated for 3 tons won’t move a 6-ton seized bearing. But mechanics sometimes attempt it anyway, hoping the tool will hold. The jaws bend.
The arbor snaps. The bearing stays put and now you have a broken tool to deal with.
How to avoid it: Match your puller’s force rating to the bearing size and expected resistance. Heavier vehicles, trailer axles, and corroded bearings need higher-rated tools. Check manufacturer specifications before purchasing.
A bearing puller selection guide helps clarify capacity requirements for different applications.
Mistake 4: Ignoring Corrosion and Forcing the Tool Anyway
Rust and scale bond bearing races to hub bores with incredible strength. A mechanic who ignores this reality will bind a good puller and blame the tool. The real issue is the corrosion, not the equipment.
How to avoid it: Apply penetrating oil to the bearing seam and let it soak for at least 15 minutes. Lightly tap the outer race with a brass punch from opposite sides to break the corrosion bond. Then attempt removal with your puller.
If it still won’t budge, switch to a slide hammer bearing puller for percussive force instead of increasing torque on a standard puller.
Wheel Bearing Puller FAQs
Can I use a slide hammer on any wheel bearing?
No. Slide hammers deliver shock load that can crack cast aluminum hubs. They work best on steel hubs and heavily corroded bearings where steady pressure fails.
For delicate aluminum assemblies, a screw-style puller with careful torque control is safer. A bearing splitter might also be appropriate when access allows.
How do I know if my hub is damaged after pulling the bearing out?
Inspect the bore surface with a flashlight and your fingernail. Any groove, scoring, or rust pitting means the hub is compromised. Run a feeler gauge around the bore to check for uneven wear.
If damage is present, replacing just the bearing won’t solve the problem. You’ll need a new hub assembly to ensure proper seal contact and prevent premature failure.
Do I really need a three-jaw puller, or will two-jaw work?
Two-jaw pullers handle most light-duty car bearings fine. Three-jaw designs provide better balance for larger bearings and heavier vehicles. The even pressure distribution reduces the chance of cocking the bearing in its bore.
If you’re pulling bearings above 50mm inner diameter frequently, invest in a three-jaw model. Otherwise, a quality two-jaw puller covers most home garage needs.
What’s the safest way to remove a completely seized bearing?
Start with penetrating oil soaked into the bearing seam for at least 15 minutes. Lightly tap the outer race with a brass punch from opposite sides to break corrosion bonds. Then use a screw puller with steady, incremental torque.
If that fails, switch to a slide hammer specifically designed for that bearing size. Never combine impact and steady pressure on the same tool.
How often should I replace puller jaws or tips?
Inspect jaws before each use. Replace them when the contact points show significant wear, cracking, or loss of tension. Worn jaws slip more easily and increase the chance of damaging the bearing race.
Tips should be replaced when threaded or deformed. Proper maintenance extends tool life far more than buying premium brands initially.