How to Remove a Manual Transmission Pilot Bearing
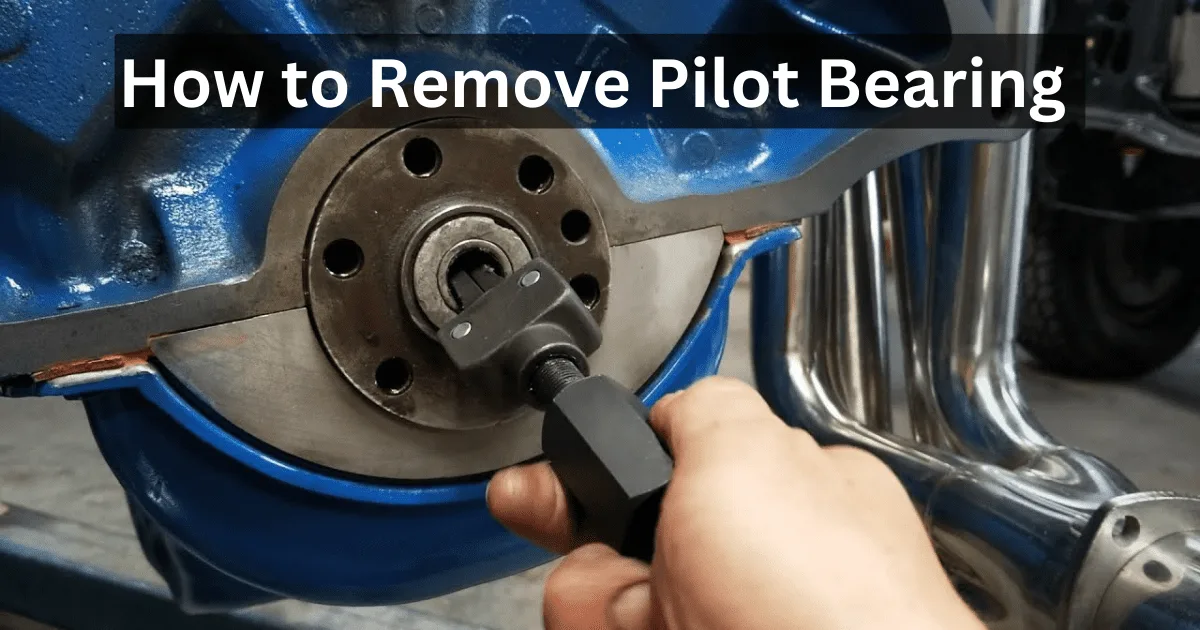
You dropped the transmission, yanked the clutch assembly, and now you are staring at a pilot bearing that will not budge. That tiny component inside the flywheel cost maybe $20 new. Get this wrong and you are looking at a cracked bell housing or ruined input shaft.
Proper manual transmission pilot bearing removal separates a weekend project from a three-thousand-dollar mistake.
Pilot bearings carry the weight of the input shaft while the clutch spins freely around them. Factory specifications call for these parts to last the life of the vehicle under normal conditions. They rarely fail on their own.
When they do give out, it is usually because something else went sideways first. Let us walk through exactly what this part does and why your approach matters.
The Pilot Bearing Problem: Why This Tiny $20 Part Can Destroy Your Transmission
That $20 bearing sits at the center of your flywheel, right where the input shaft rests. It spins freely while taking all the rotational load from the clutch assembly. Get it wrong during removal and you damage the pilot bore, crack the bell housing, or score the input shaft.
Each of those problems turns a simple service job into a transmission rebuild.
The real issue is that most people treat this like any other bearing replacement. They grab a hammer and a punch and start knocking. That approach works fine for loose-fitting components.
It destroys precision-machined surfaces. The pilot bearing is interference-fit by design. It sits tight inside the flywheel pilot bore.
Force it out incorrectly and you are done.
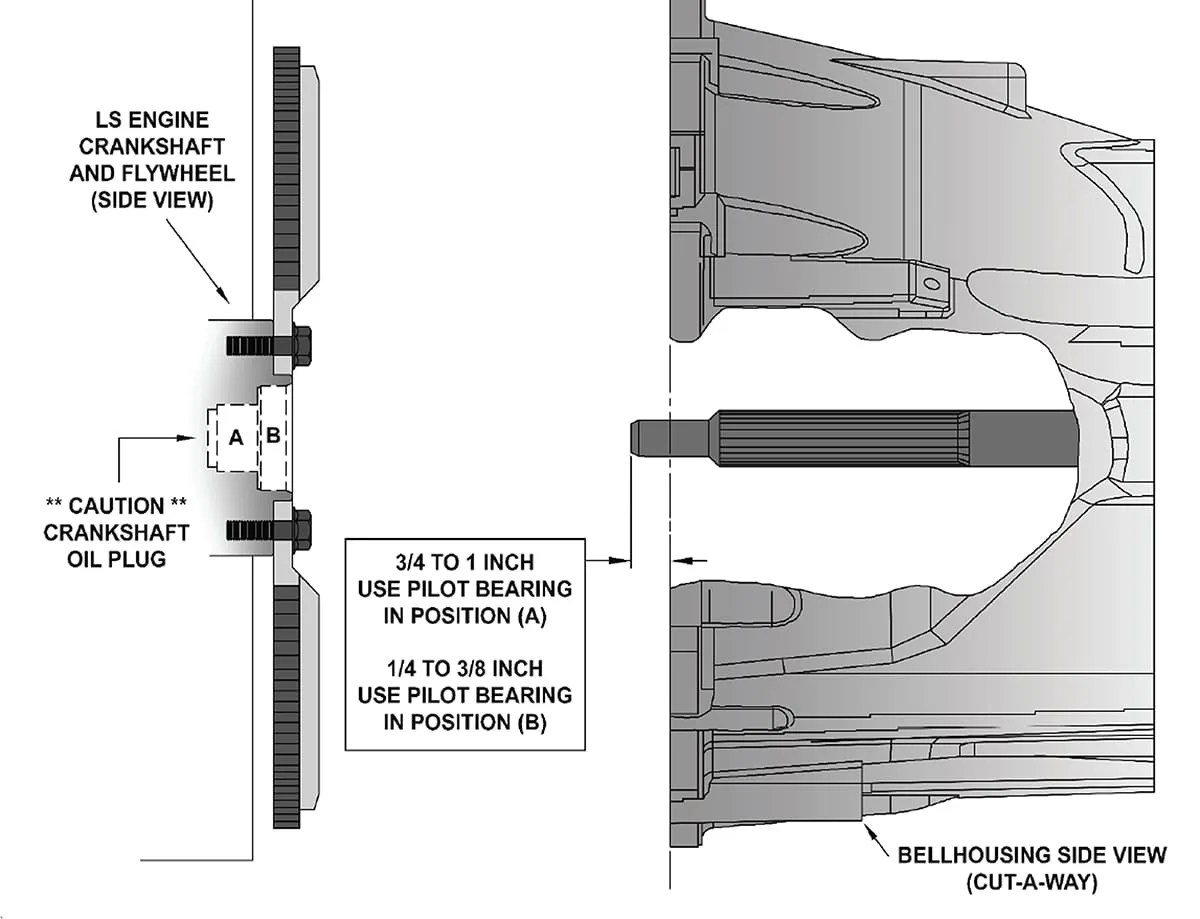
You don't see this bearing when the transmission is mounted. It hides behind the clutch disc and pressure plate. Most drivers never know it exists until something goes wrong.
Erratic shifting, clutch drag, or a grinding noise during engagement usually points here. By then the transmission is already off the car. You have the flywheel exposed.
This is the moment to do it right.
The problem compounds when you consider how many vehicles share the same basic layout. Front-engine, rear-wheel-drive manuals dominate this space. So do many performance and classic cars.
The pilot bearing principle stays the same across nearly all of them. Your extraction method should match that reality, not guess your way through it.
What Is a Pilot Bearing and How Does It Keep Your Clutch Alive
A pilot bearing, sometimes called a pilot bushing, is a small cylindrical component pressed into the center of your flywheel. It provides a smooth rotating surface for the transmission input shaft to spin inside. The bearing keeps the input shaft aligned with the crankshaft while allowing independent rotation.
Without it, the input shaft would wobble, bind, or fail entirely.
Most factory installations use needle roller bearings sealed against debris. These sealed units come pre-packed with grease. You pull them out, clean the bore, and press in a new one.
Some older or specialty applications use bronze sleeve bushings instead. Those require periodic lubrication and wear differently. Knowing which type your vehicle uses changes your entire approach.
The bearing takes serious abuse every time you shift gears. Your throwout bearing pushes against the pressure plate diaphragm springs. That action releases the clutch disc while the input shaft slows or stops.
The pilot bearing handles the remaining rotational force and radial load. It keeps everything centered so the input shaft splines engage properly.
When this bearing seizes or wears out, symptoms show up fast. You get input shaft misalignment, which causes erratic shifting and clutch chatter. The throwout bearing also takes a beating when the pilot bearing is bad.
Replacing just the clutch without addressing the pilot bearing means you will likely repeat the work sooner than expected. Manufacturer guidelines universally recommend replacement during any clutch service.
The Real Cost of Getting Pilot Bearing Removal Wrong
A new pilot bearing costs between five and forty dollars depending on your vehicle. A quality removal tool kit runs twenty-five to one hundred fifty dollars if you already do not own one. The total investment before you start is modest.
The cost of getting it wrong is not.
A cracked bell housing runs eight hundred to two thousand dollars for a replacement unit. Machining or replacing the flywheel adds another four hundred to twelve hundred. A damaged input shaft requires transmission removal either way, but now you are also looking at internal repair costs.
A complete transmission rebuild or replacement easily tops two thousand five hundred dollars.
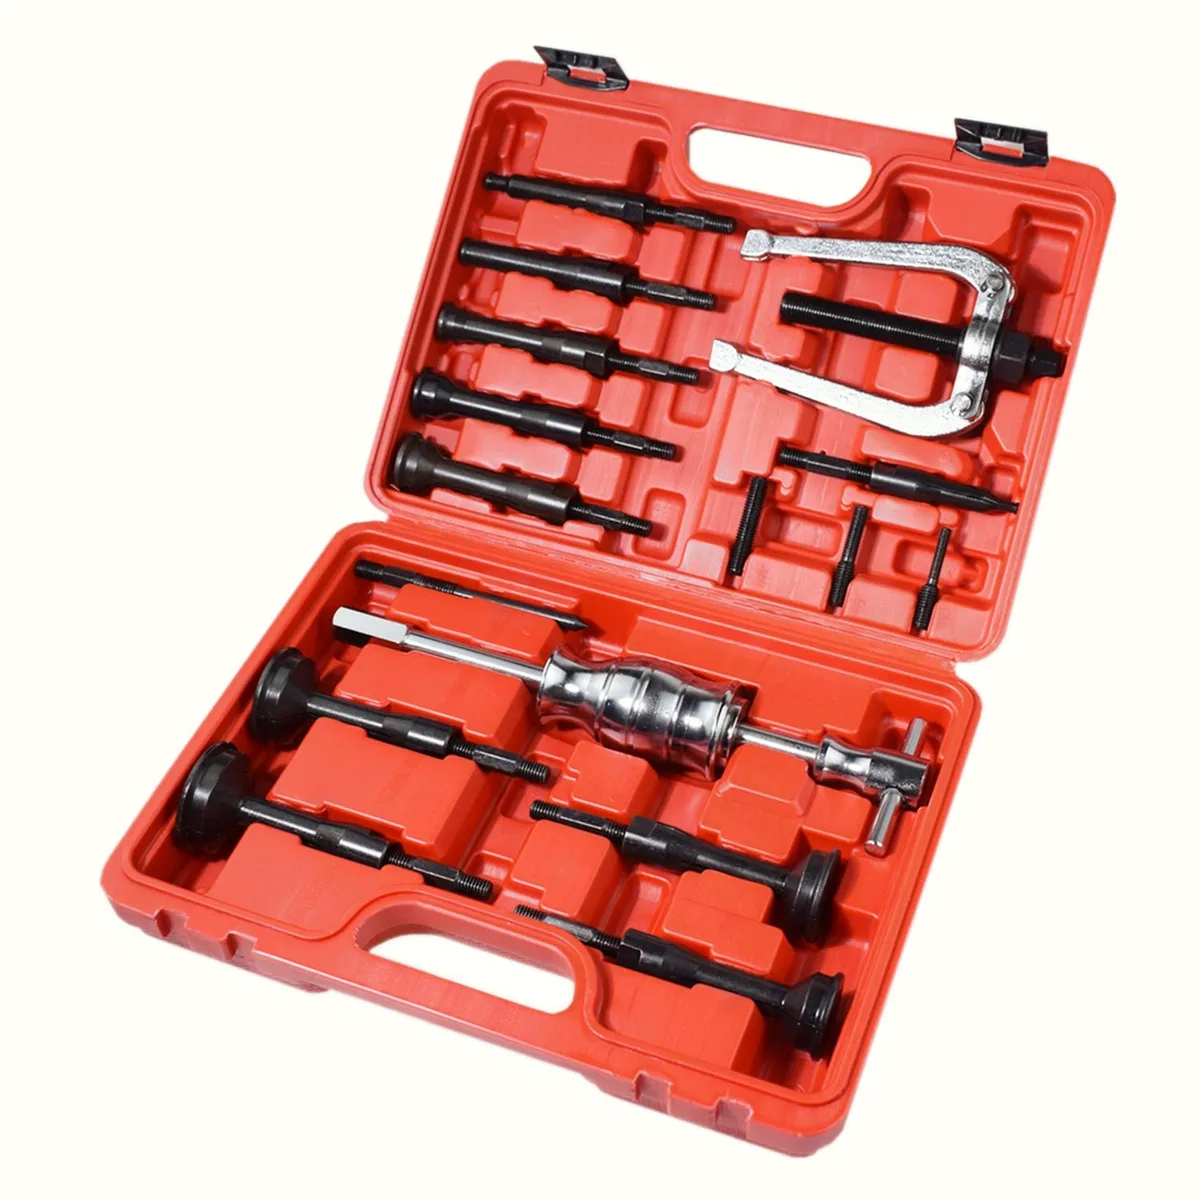
Here is what typically happens when people rush this job. They use a hammer and punch to knock the bearing out. The impact cracks the aluminum bell housing or distorts the pilot bore.
Some try to drive the bearing out through the back side of the flywheel. That spreads force unevenly and warps the mounting surface. Others forget to inspect the bore after removal, only to discover scoring later.
Every one of these mistakes traces back to the same root cause. People treat an interference-fit bearing like it slides out freely. It does not.
The bearing is pressed in with significant force during assembly. Extracting it requires controlled, even pressure. Hammers and improvised tools apply force randomly.
That randomness is what causes the damage.
The financial math is straightforward. Spending an afternoon properly removing and installing this bearing protects a component worth far more than the tool kit. Not doing so gambles thousands of dollars against a twenty-dollar part.
Few mechanics would call that a smart bet.
Tools You Actually Need (and What to Skip)
You need three categories of items to do this job correctly. First, the right removal tool for your specific application. Second, an installation tool or press method to get the new bearing seated evenly.
Third, basic shop supplies for cleaning and inspection. Everything else is either optional or actively harmful.
The removal tool depends on whether your pilot bearing uses internal or external engagement. Most modern applications have the bearing pressed into the flywheel with no visible outer race. A slide hammer puller with adaptive jaws works well here.
Some kits include both removal and installation features in one unit.
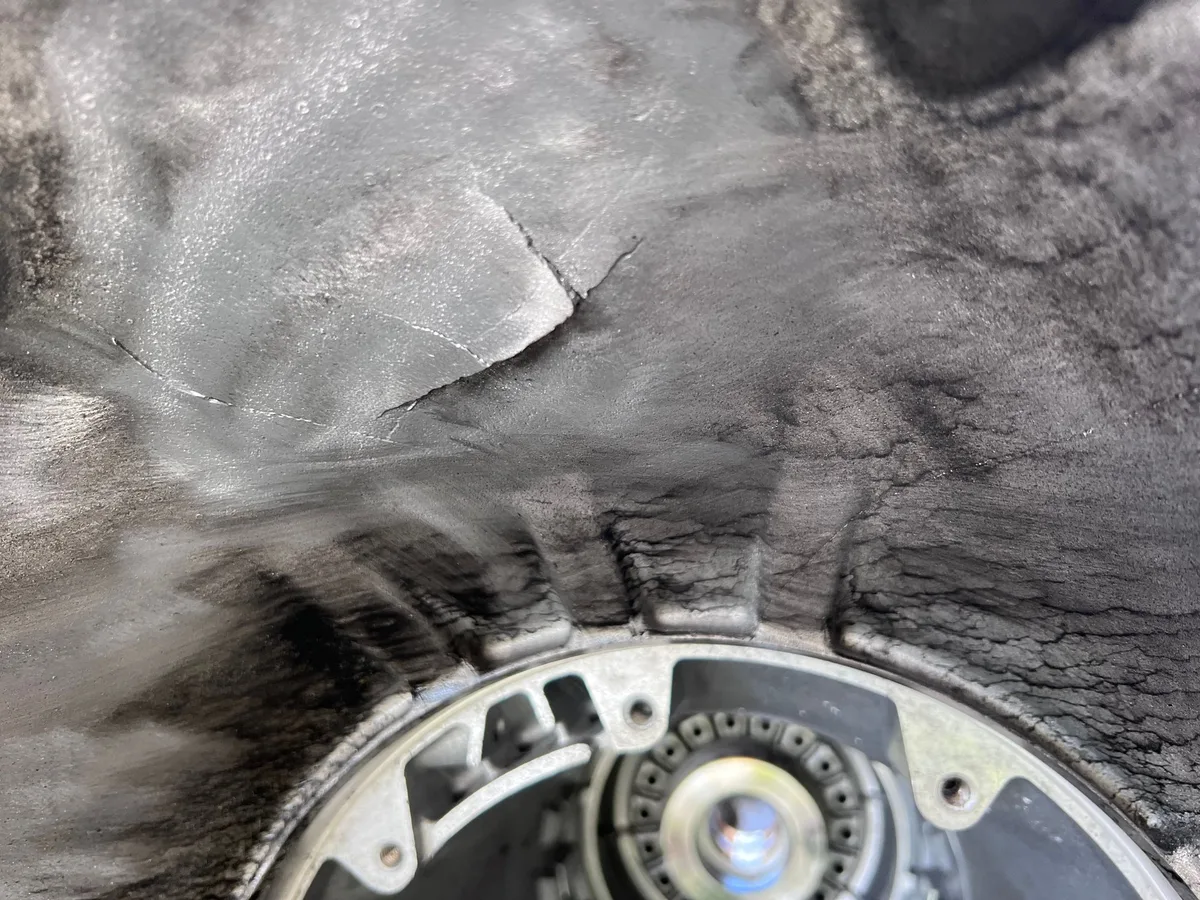
If your bearing has an accessible outer race, a bearing separator or internal puller may work better. This setup grabs behind the race and applies steady pulling force. It distributes pressure evenly around the bearing circumference.
That even force prevents tilting or binding during extraction.
Avoid using a hammer and punch as your primary removal method. The impact force concentrates on a tiny area. That concentrates damage in the same spot.
You might free the bearing, but you will likely crack the housing or score the bore in the process. A bearing splitter works similarly and carries the same risks when used on pilot bearings.
The installation side requires equal care. A bearing driver or installer cup matches the outer race diameter. You press the new bearing in straight and flush.
Using the old bearing as a drift to tap in the new one transfers force through the rolling elements. That damages the new bearing before it even starts.
For vehicles where the pilot bore is difficult to access, consider tools designed for wheel bearing removal applications. The principles are similar. Controlled, even force beats brute impact every time.
A quality bearing puller kit gives you the right options for different scenarios.
Step-by-Step: Removing and Installing the Pilot Bearing Safely
Start with the transmission fully removed and the clutch assembly disassembled. The flywheel should be clean and visible. Inspect the pilot bore before you attempt anything.
Look for scoring, corrosion, or signs of previous improper removal. If the bore is damaged, address that first or replace the flywheel. A damaged bore will destroy your new bearing quickly.
Verify whether your pilot bearing is pressed-in or sleeve-type. Pressed-in bearings have a visible outer race seated flush or slightly proud of the flywheel surface. Sleeve-type bushings look like a smooth bronze cylinder.
The removal method differs between them. Pressed bearings need extraction force. Sleeve bushings sometimes require careful drifting out with a bronze punch.
Extraction Process
Attach your slide hammer puller or bearing separator according to the tool instructions. Ensure the jaws or cups engage the bearing evenly. Tighten everything securely before applying force.
Apply steady, progressive tension. The bearing should begin moving within reasonable effort. If it resists dramatically, stop and reassess your approach.
Do not increase force blindly.
Some seized bearings benefit from penetrating oil applied around the outer race. Let it soak for fifteen to twenty minutes. Reapply if needed.
Heat can help in extreme cases, but avoid direct flame on the flywheel. Excessive heat damages the metal and alters tolerances. A heat gun on medium setting around the outer race area works if necessary.
Once the bearing begins moving, maintain even tension until it clears the bore. Support the flywheel to prevent stress on the mounting surface. Set the removed bearing aside for inspection.
Check for signs of failure such as brinelling, corrosion, or seized rollers. These clues often reveal what caused the original problem.
Installation Process
Clean the pilot bore thoroughly with a non-residue solvent. Remove all old grease, metal particles, and debris. Inspect the bore again after cleaning.
It should be smooth and uniform. Light surface rust can be gently removed with fine abrasive cloth. Deep scratches or gouges require bore repair or flywheel replacement.
Apply a thin film of clean grease to the outside of the new bearing if it is not pre-greased. Most sealed units do not need this. Align the bearing squarely with the pilot bore.
Use your bearing driver or installer tool to press it in evenly. Apply steady, continuous pressure until the bearing seats fully.
Verify the bearing is flush with the flywheel surface or protrudes no more than specified by the manufacturer. Most installations require a flush fit. Do not hammer the bearing into place using the outer race as a contact point.
That transfers force through the rolling elements and compromises the seal. Use the proper driver that contacts only the outer race.
Reinstall the flywheel and inspect the mounting surface one final time. Torque the flywheel bolts to specification in a cross pattern. Clean any threadlocker residue if used.
Reassemble the clutch and transmission following factory procedure. This careful approach gives you a reliable installation that lasts.
Consult detailed guides on bearing separator usage for additional context on controlled extraction methods. Understanding how bearing splitters work also helps you recognize when a tool is the right choice versus when it creates more risk.
Common Mistakes That Turn a Quick Job Into a $3,000 Regret
Using a hammer and punch remains the number one error. The impact force concentrates on one spot instead of distributing around the bearing. That concentrated force cracks bell housings and distorts pilot bores.
You might extract the bearing, but you have likely damaged the flywheel or transmission housing in the process.
Another frequent mistake involves driving the bearing out from the wrong direction. Some people push from the transmission side toward the engine. That forces the bearing against the far edge of the bore.
The uneven pressure scores the bore surface and can bend the input shaft if it is still partially engaged.
Forgetting to inspect the pilot bore after removal causes problems too. People pull the old bearing out and immediately press in the new one. If the bore has scoring, corrosion, or out-of-round damage, the new bearing will not seat properly.
A damaged bore creates vibration and premature failure of the replacement bearing.
Using the old bearing as a drift to tap in the new one is equally harmful. The inner race of the old bearing transfers force through the rolling elements of the new one. That deforms the races and compromises the seal before the bearing ever sees service.
Always use a proper bearing driver that contacts only the outer race.
Some mechanics skip cleaning the pilot bore entirely. Old grease, metal particles, and debris remain inside the bore. The new bearing presses over this contamination and seats unevenly.
A dirty bore also accelerates wear on the new bearing. Clean the bore with solvent and inspect it before installation.
Applying excessive force during installation is another common error. People hammer the bearing driver too hard and bias it to one side. The bearing enters the bore at an angle and binds.
Continued force drives the bearing crooked and damages both the bearing and the bore. Even, controlled pressure produces a straight, clean installation.
Pilot Bearing FAQs: What Mechanics Wish You Knew
Do I really need to replace the pilot bearing every time I change the clutch?
Yes, and this is non-negotiable advice from transmission specialists. The pilot bearing is labor-intensive to access. Removing the transmission and clutch assembly takes hours of work.
Replacing it again later means repeating all of that labor. The bearing costs twenty to forty dollars. That investment protects thousands in potential damage.
Manufacturer guidelines and experienced technicians both agree. Replace it while you have everything apart.
What is the difference between a pilot bearing and a pilot bushing?
A pilot bearing uses滚子 or ball elements inside a sealed housing. It handles higher speeds and loads with less friction. A pilot bushing is a simple bronze or brass sleeve.
It requires periodic lubrication and wears faster under heavy use. Bushings appear in older vehicles and some light-duty applications. Bearings dominate modern manuals and performance builds.
Your vehicle determines which type you have.
Can I reuse a pilot bearing that looks fine after removal?
No, and attempting this practice risks immediate failure. Even bearings that appear clean have compressed rolling elements and worn contact surfaces. The internal clearance is likely outside specification.
A barely-functional bearing will fail quickly under load. The cost savings are negligible compared to the consequence of another transmission removal. Always install a new bearing.
How do I know if my pilot bearing is bad before removing the transmission?
Listen for rumbling or grinding noises that change with clutch engagement. The sound typically comes from the bell housing area. You may also notice clutch chatter or erratic engagement.
Input shaft wobble causes shifting difficulty, especially into reverse. These symptoms do not guarantee a bad pilot bearing. They do warrant investigation once the transmission is removed.
What size pilot bearing does my vehicle need?
There is no universal size. Pilot bearings vary by manufacturer, model, and even production year. Common sizes range from sixteen to thirty-two millimeters in diameter.
The width also varies significantly. Check your vehicle specifications before purchasing. Many clutch kits include the correct bearing.
If buying separately, verify part numbers through an OEM catalog or trusted parts database.
Is an interference fit normal for pilot bearings?
Yes, the outer race presses into the flywheel pilot bore with significant force. Factory specifications call for this interference fit. It prevents the bearing from spinning inside the bore during operation.
You should expect resistance during installation. Proper tools apply even pressure to seat the bearing correctly. Forceful hammering creates the problems described earlier.
Use the right tool for the job.