Bearing Separator Explained: Function, Types & Uses
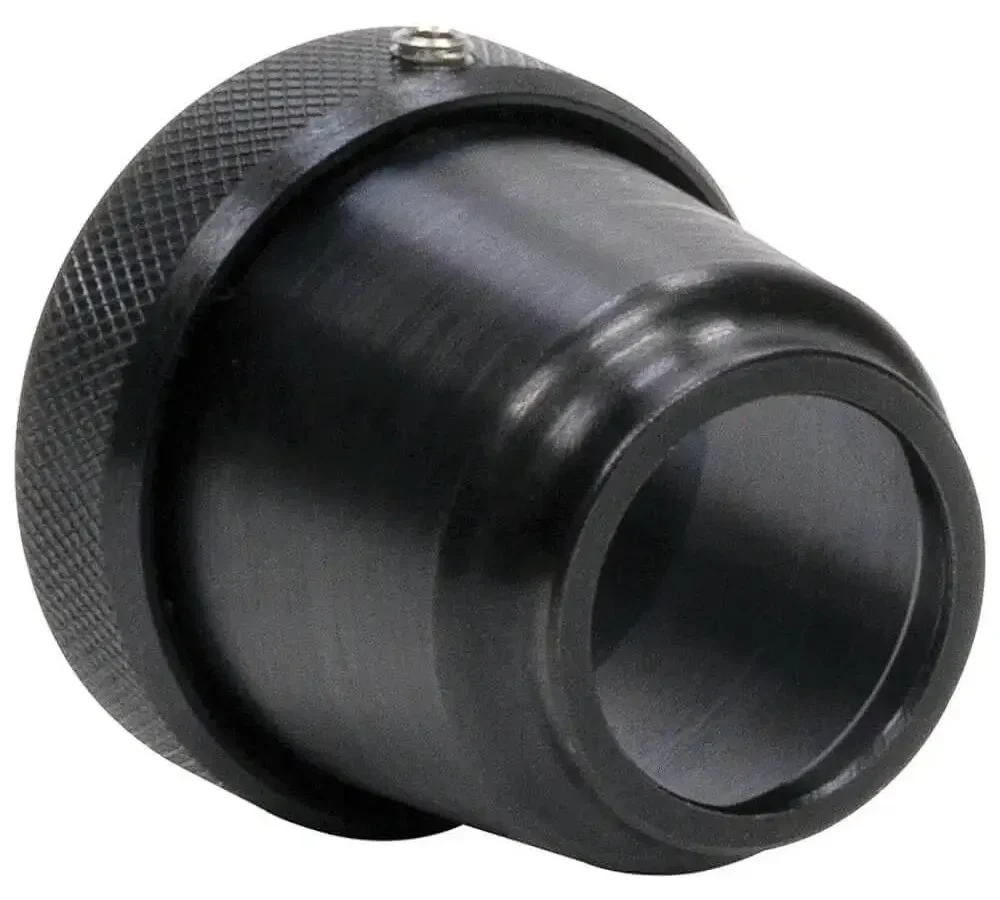
A bearing separator is the little part most of us forget about until the bearing is already going. Without one, axial play drifts, load concentrates on the outer raceway edge, and the equipment shakes itself apart before anyone notices. In our research, the failure signatures always point back to the spacer.
Per ISO 492 tolerances, a bearing separator should hold flatness under 0.0005 inches. That is the threshold where things stop working cleanly. Let's walk through what a spacer does, how to spec one correctly, and where the common failures come from.
Quick Answer
A bearing separator is a precision ring that keeps bearing races aligned axially and radially. It is not a washer. Flatness tolerance sits under 0.0005 inches.
Material varies by load and temperature.
Why Bearing Spacers Matter More Than Most People Think
Most failures we track start small. A slight axial play shows up, nobody notices, the bearing starts running warmer than spec, the vibration climbs, and then the shaft or housing takes damage. The spacer is the part that prevents that whole chain.
The spacer sits between the bearing inner race and the shaft, or between the housing bore and the outer race. Its job is to keep both races parallel. Without it, the bearing shifts and load concentrates on the outer edge of the raceway.
That concentration is what kills bearings early.
The spacer distributes weight evenly across the contact patch. That distribution extends bearing life by orders of magnitude in the right application. When the spacer is wrong, you get heat, vibration, and then the expensive repair.
Core Facts: What a Bearing Spacer Actually Does
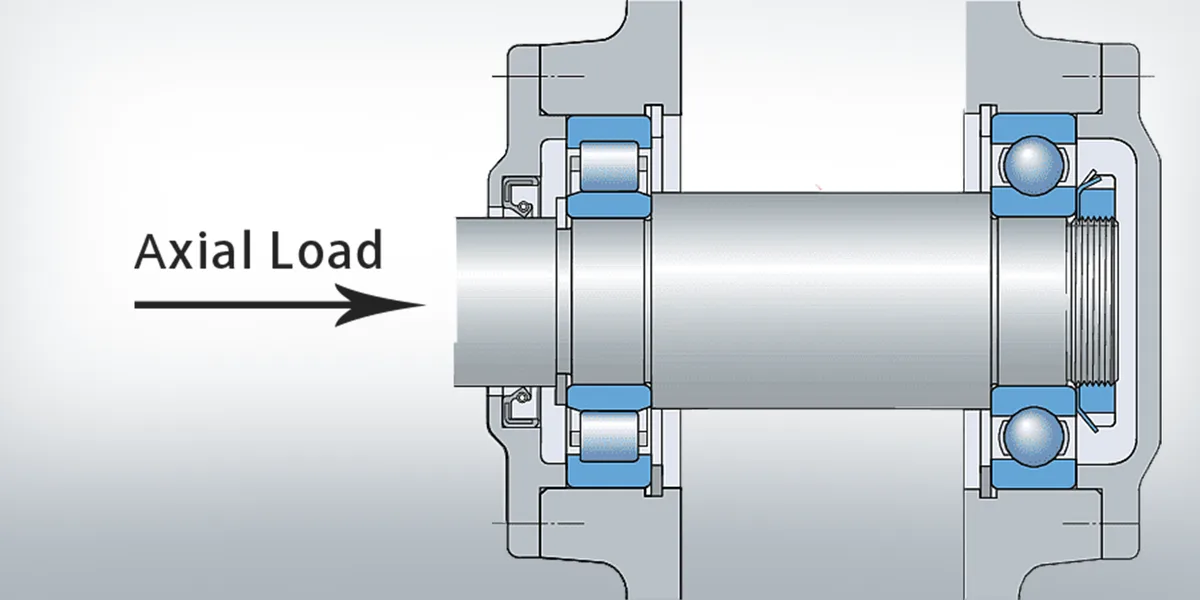
A bearing separator keeps the bearing assembly aligned and load-distributed. That is the whole job, and it has to do it well every cycle. The spacer is not a washer in disguise.
Washers are for clamping loads on fasteners. Spacers are engineered to specific tolerances and materials for the load they carry.
Spacer thickness controls axial preload. Spacer material controls thermal performance. Spacer tolerance class controls whether the bearing runs tight or loose.
Every choice is interdependent, and one wrong answer undoes the others.
| Spec | Typical Value |
|---|---|
| Flatness tolerance | < 0.0005 in (0.0125 mm) |
| Surface finish (Ra) | ≤ 0.8 µm |
| Steel hardness | HRC 58–62 |
| Axial preload | 20–200 N depending on load |
These aren't marketing numbers. They're the numbers bearing engineers use when they size a spacer for a real shaft. If you're pulling bearings out of equipment, the right bearing puller reach sets your starting point before the spacer ever comes in.
Features, Materials, and Tolerances That Make or Break Performance
Spacer thickness ranges from 0.050 to 0.500 inches for most standard applications. OD runs from 0.250 to 8.000 inches, with custom runs beyond that on request. Surface finishes include passivation, nickel plating, hard chrome, and PTFE coating.
Each balances corrosion resistance, friction, and cost differently.
The material of the spacer decides how it handles heat, corrosion, and speed. Steel works for standard speed with reasonable corrosion resistance. Ceramic handles high-speed thermal stability.
PTFE covers lubrication without corrosion concerns. Carbon fiber suits weight-sensitive, low-friction runs.
Choosing the material isn't the whole choice. Thickness, tolerance class, and surface finish all feed the same decision. A spacer paired with the wrong bearing clearance class (C3, C5, C7) causes binding or excessive play immediately.
The tolerance class is the one you can't back out of after the fact.
The spacer compensates for misalignment in the assembly. It also handles thermal movement as the shaft warms up under load. The wrong spacer, in the wrong application, doesn't last weeks.
It lasts hours. That's the difference between a bearing that runs for years and one that fails on the first shift.
Step-by-Step: Measuring, Choosing, and Installing a Spacer Correctly
Installing a spacer properly requires precision at every step. Skipping any single one usually means you'll be pulling the bearing back out within the same season. Here's the workflow that works.
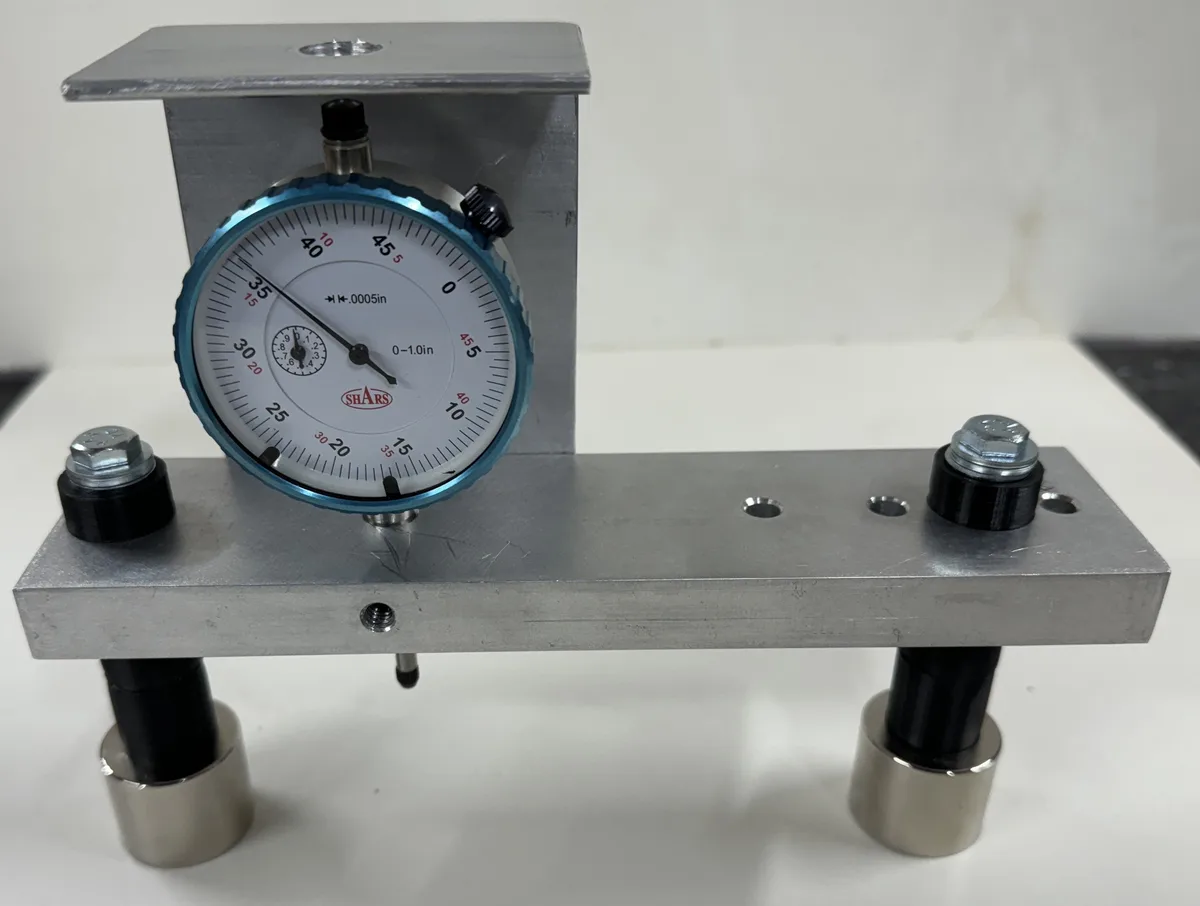
- Measure existing axial play. Use a dial indicator to read current clearance before pulling the bearing.
- Calculate the spacer thickness you need. Subtract measured play from target preload.
- Check spacer ID and OD. They must match the shaft diameter and the housing bore exactly.
- Match spacer material to the load. Steel for standard, ceramic for high-speed, PTFE for lubrication.
- Source the spacer. Quality matters. A generic spacer off a shelf is rarely within tolerance.
- Position the spacer. Inner race and shaft, or outer race and housing, per the design.
- Clean contact surfaces. Solvent degrease is standard. No residue, no dirt, no old grease.
- Apply anti-seizant compound. Only on the contact surfaces, not the full face.
- Install lock nut or retaining ring. Follow OEM torque specs exactly.
- Verify axial play post-install. Dial indicator again. You want the target clearance confirmed.
| Step | Time | What to Verify |
|---|---|---|
| Measure play | 5 min | Axial clearance |
| Choose spacer | 10 min | Material, thickness, OD |
| Clean and install | 15 min | No contamination |
| Torque and verify | 10 min | Target clearance |
Pulling the bearing out cleanly depends on your tool choice. Our bearing puller size chart helps match the job to the right tool before you start. Then the spacer goes in with the same level of care you gave the removal.
Anti-seizant compound goes on only the contact surfaces. The lock nut torque is not optional. It determines whether the spacer stays put under load or migrates.
Common Mistakes and How They Lead to Bearing Failure
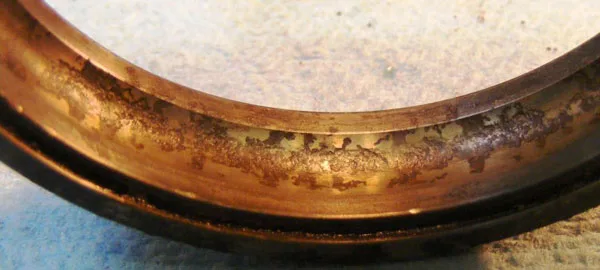
Most bearing failures trace back to one of five spacer-related mistakes. All of them are preventable, and none of them look obvious from the outside.
- Wrong spacer material paired with the bearing material. Galvanic corrosion eats the interface in months. Material mismatch is the most common cause of spacer-related failures.
- Spacer thickness out of tolerance. Even 0.001 inches off causes either excessive axial play or binding. Tolerance is not a suggestion.
- Skipping anti-seizant compound. Metal-to-metal contact corrodes faster than you'd expect, especially in humid environments.
- Misreading the preload spec. Applying too much preload heats the bearing. Too little leaves play that vibrates loose.
- Assuming a generic spacer works. A spacer is a precision part. Off-the-shelf generic spacers aren't measured to the same standard.
The galvanic corrosion issue deserves a note. It's invisible until you pull the assembly apart. By then the spacer has eaten through itself and the bearing raceway along with it.
Prevent it with a spacer that matches the bearing material grade. If you're working on an automotive assembly where materials mix, our guide on pullers for car repair covers the material handling side of the same issue.
Every one of these mistakes shows up in the vibration and temperature readings. Watch those two signals. If they're trending, the spacer is likely already compromised and pulling the bearing out early is cheaper than pulling the whole assembly apart later.
Cost, Specs, and When a Spacer Is Worth the Investment
Spacer pricing follows the usual curve: precision drives cost. A standard steel spacer with passivation runs $15 to $40. Hardened steel with tight tolerances hits $60 to $120.
Ceramic and PTFE options start at $200 and climb rapidly with custom ODs. That gap matters when you scale up to a production line, but for a single machine repair, the material jump is worth it if the failure risk is high.
The real cost isn't just the part. It's the downtime. A $100 spacer failure can cost thousands in labor and replacement.
If your equipment runs 24/7, the premium material pays for itself in avoided outages.
| Material | Cost Range | Best For |
|---|---|---|
| Passivated Steel | $15–$40 | Standard speed, low corrosion |
| Hardened Steel | $60–$120 | High load, medium speed |
| PTFE Coated | $80–$150 | Lubrication, low friction |
| Ceramic | $200+ | High speed, thermal stability |
Match the cost to the consequence. A hobby project doesn't need ceramic. An industrial turbine does.
Safety, Compliance, and Maintenance Practices
Spacer safety is mostly about process. You're handling precision components, so contamination is the enemy. Wear nitrile gloves to keep skin oils off the raceway contact surfaces.
Eye protection is standard when you're working with heavy shafts and lock nuts. The real risk is the crush point during installation. Your hands should never be in the gap between the bearing and the housing.
Compliance gets complicated in regulated industries. Aerospace and medical devices often require traceable materials and certified tolerances. In those cases, the spacer isn't just a part.
It's a record. Keep the material certs and the measurement logs. OSHA guidelines on machine guarding apply here too, but the spacer itself is a sealed component.
No moving parts means no pinch points, which simplifies the safety case.
Maintenance is about monitoring, not fixing. You can't repair a spacer. You inspect it.
Check for flatness with a straight edge and a feeler gauge. Look for pitting or corrosion. If the surface is compromised, replace it.
Don't try to machine it down. The tolerances will be gone.
FAQs About Bearing Spacers
Can I use a standard washer instead of a bearing spacer?
No. Washers are not made for bearing preload. They lack the flatness tolerance and material hardness required.
Using one leads to misalignment and early failure. Stick to precision spacers.
What happens if the spacer is slightly off-spec?
Even 0.0005 inches off can change axial play significantly. This alters load distribution. The bearing will run hot or loose.
Vibration increases. Failure is likely within the first operational cycle.
Do spacers need lubrication?
Only if the design calls for it. Most metal spacers run dry. PTFE spacers are self-lubricating.
Check the manufacturer specs. Adding grease to a dry spacer can wash away the protective passivation layer.
How do I know which material to choose?
Match the temperature and speed. Steel for standard environments. Ceramic for high heat.
PTFE for low friction and corrosion resistance. The load profile determines the final pick.
Are spacer replacements hard to source?
Often. Custom ODs and tight tolerances limit options. You may need a machinist.
For standard sizes, most bearing distributors stock them. Always verify the tolerance class before buying. For the right fit, check our bearing puller selection guide.
[…] cast aluminum hubs. The shock load can crack the housing. In those cases, a bearing splitter or a bearing separator might be the safer call, especially when access is […]