How to Choose the Right Bearing Puller: Selection Guide
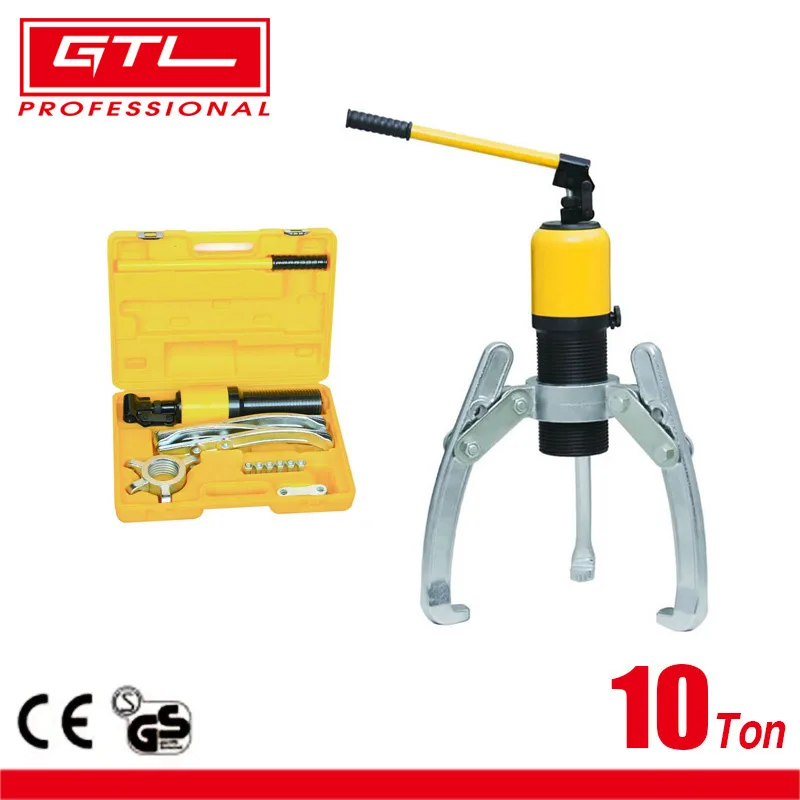
The wrong puller can crack a shaft, strip mounting threads, or drive a race deeper into the housing. Bearing puller selection is a match between force, geometry, and workspace. Most technicians grab whatever fits the bore, and that’s where things go wrong.
As of 2026, standard medium-duty shafts often need 1,000 to 5,000 pounds of pulling force. A basic two-jaw manual puller might show 10,000 pounds of rated capacity, but friction and alignment losses cut real-world performance. The right tool depends on bore type, jaw reach, interference fit, and available clearance.
Quick Answer
Bearing puller selection depends on four factors. First, check if the shaft has a through-bore. Next, measure the required jaw reach.
Then, estimate the interference fit force. Finally, choose between manual and hydraulic based on weight. Match the tool to these specs for safe removal.
Why Puller Selection Matters More Than People Think
Most technicians treat pullers as generic hand tools. They grab a random set from the box and hope it works. That approach leads to broken screws and bent shafts.
A bearing puller is a force multiplier, not just a grip.
If the jaw alignment is off by a few degrees, the force vector shifts. Side-loading twists the mounting threads. Our research points to misalignment as the top cause of puller failures, ahead of weak metal.
You need to respect the mechanics of the tool.
Image source: Bing (Web (fair-use with source credit))
Getting it right saves the housing. It preserves the shaft. It prevents costly rework.
You avoid shipping a $500 component to a machine shop for drilling. The five minutes you spend choosing the right tool pays off immediately.
The Four Variables That Determine Your Puller Choice
You don’t pick a puller just because it looks big enough. Four physical variables dictate the correct choice. If one is wrong, the others fail.
Measure these before you buy or select a tool.
1. Bore Geometry
First, look at the shaft end. Does it have a through-hole? If yes, you can use a slide-in puller.
If it’s a blind hole, you need a screw-in or clamp-on mount. Blind bores limit your options significantly. You cannot slide through what doesn’t exist.
2. Required Reach
Next, measure the distance from the mounting surface to the inner race. This is jaw reach. If the bearing sits deep inside a housing, a standard 2-inch reach won’t grab it.
You need extended arms or a specialized tool.
3. Interference Fit
How tight is the bearing? A loose fit pops off with little effort. A heavy press fit requires massive force.
Per ISO 286, interference fits are classified by tolerance zones. Light fits need less force. Heavy fits demand high-tonnage tools.
4. Workspace Constraints
Finally, check clearance around the component. Can you get a socket wrench on the screw? Is there room for a large hydraulic cylinder?
Confined spaces often force you into pneumatic or compact hydraulic systems.
| Variable | What to Check | Impact on Choice |
|---|---|---|
| Bore Type | Through vs. Blind | Determines mounting method |
| Jaw Reach | Distance to Race | Dictates arm length |
| Fit Type | Light vs. Heavy | Sets force requirement |
| Clearance | Available Space | Limits tool size |
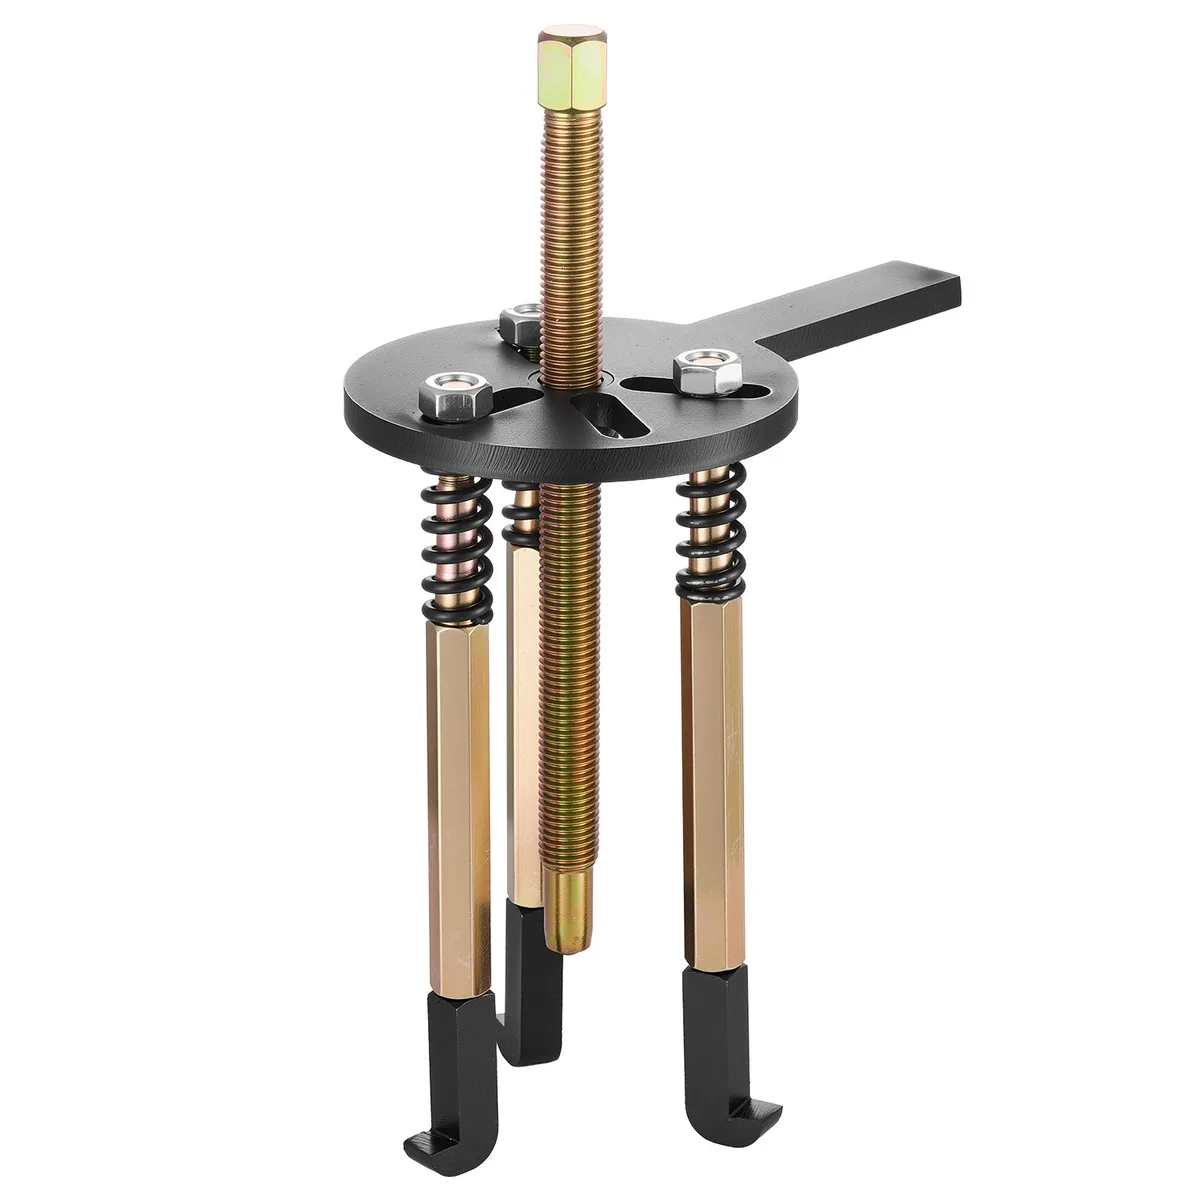
Image source: Bing (Web (fair-use with source credit))
These variables drive every decision that follows. For a deeper look at how jaw count affects grip stability, check our guide on puller mechanics and jaw design.
Step-by-Step: Working Through the Decision
Now that you’ve identified the variables, let’s walk through the actual selection logic. This is a decision tree. If condition A is true, you do B.
If condition C is true, you do D. Follow this sequence to avoid guesswork.
Step 1: Inspect the Assembly
Look at the bearing. Are you removing the inner race? Or the outer race?
Most pullers are designed for the inner race. If you’re removing the housing, you need a different approach. Confirm your target first.
Step 2: Determine Mounting Method
If you have a through-bore, you have two choices. A slide-in puller is fast and requires no drilling. It floats on the shaft.
A screw-in puller is more stable but needs precise threading. If you have a blind bore, you’re stuck with screw-in or clamp-on styles. These are slower to set up but very secure.
Step 3: Calculate Force
Estimate the force needed. A rule of thumb for medium-duty fits is 100 to 150 pounds of force per millimeter of shaft diameter. Use the technical manual if you have it.
Multiply the specified press-in force by 1.5. This safety factor keeps you from bottoming out the screw.
Step 4: Select the Tool Type
If your calculated force is under 2,000 pounds, a manual screw puller usually works. If it’s over 5,000 pounds, move to hydraulic. Hydraulic pullers provide consistent, massive force without operator fatigue.
For in-between scenarios, a gear-type puller offers good mechanical advantage.
Step 5: Verify Jaw Geometry
The jaws must hook under the inner race. They cannot touch the outer race. They cannot catch on the shaft shoulder.
If the jaw width is wider than the race, it won’t engage. If it’s narrower, it slips off. Measure the inner race diameter.
Ensure your puller’s jaw opening range matches.
For a visual breakdown of how these steps apply to automotive components, see essential automotive specialty tools.
Manual vs. Hydraulic: When It’s Time to Upgrade
Most shops start with manual pullers. They are cheap, light, and require no power source. But they hit a ceiling quickly.
Once the interference fit gets heavy, manual cranking becomes exhausting and slow. That’s when you need to consider an upgrade.
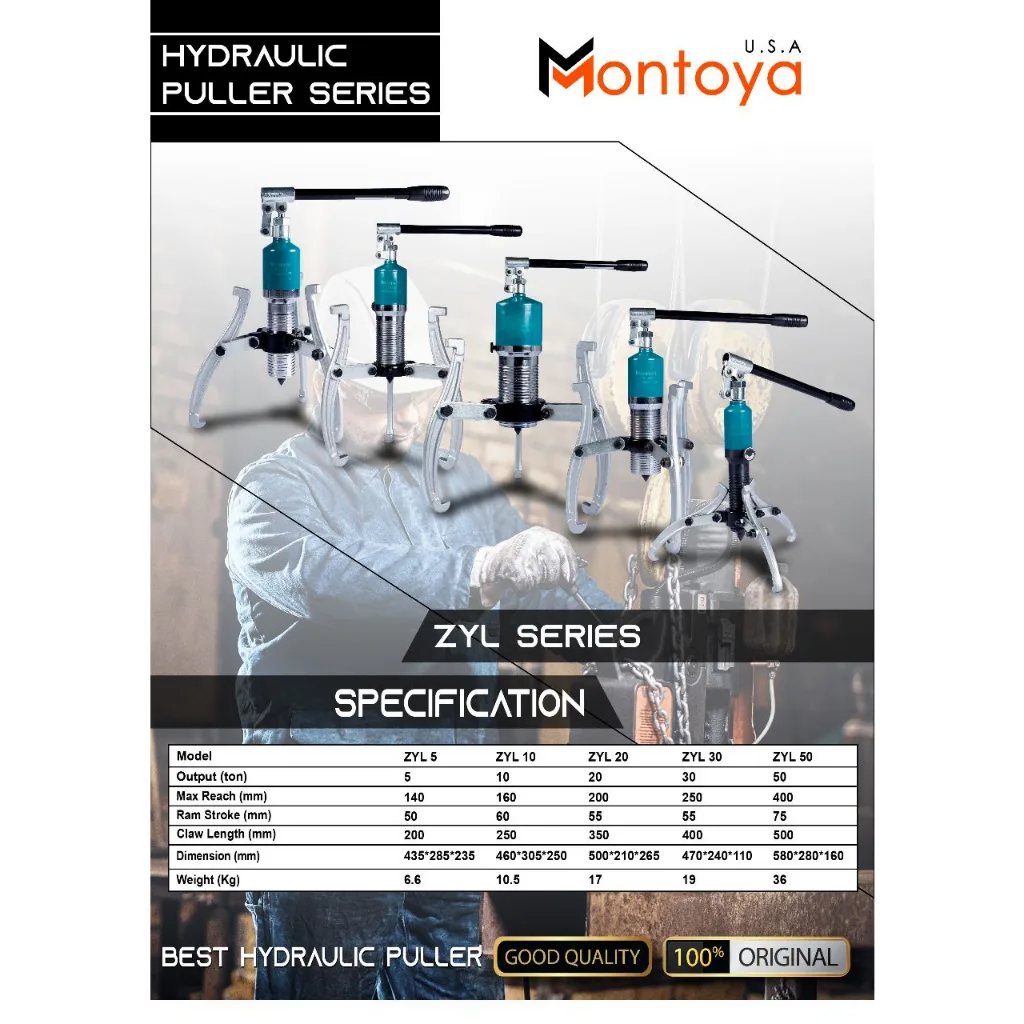
Image source: Bing (Web (fair-use with source credit))
Hydraulic pullers use a cylinder and fluid pressure to generate force. They are expensive, but they save time and back pain. You apply pressure with a pump, and the ram does the work.
This allows for precise control. You can back off slightly if the bearing binds.
When to Stick with Manual
Use a manual puller if:
- The component is under 50 pounds.
- The fit is light to medium.
- You are in a mobile or field environment without power.
- Budget is a primary constraint.
Manual tools are great for small motors, pumps, and hand tools. They are easy to store and transport. A good two-jaw manual set costs between $50 and $150.
When to Go Hydraulic
Upgrade to hydraulic if:
- The component is over 100 pounds.
- The fit is heavy or frozen.
- You are removing bearings repeatedly in a production line.
- Operator fatigue is a safety risk.
Hydraulic systems start around $500 for portable kits. Stationary presses can cost thousands. They handle forces up to 100 tons.
For heavy industrial work, hydraulic pullers are often the only viable option.
The Middle Ground: Pneumatic
Pneumatic pullers use air pressure. They are faster than manual and cheaper than hydraulic systems. They require a compressed air line.
This makes them popular in automotive and light manufacturing. They provide quick, high-force strokes without the mess of hydraulic fluid.
Mistakes That Cost You More Than the Bearing
Even with the right tool, you can still mess up. These are the most common errors we see in field reports. Each one has the potential to turn a simple job into a major repair.
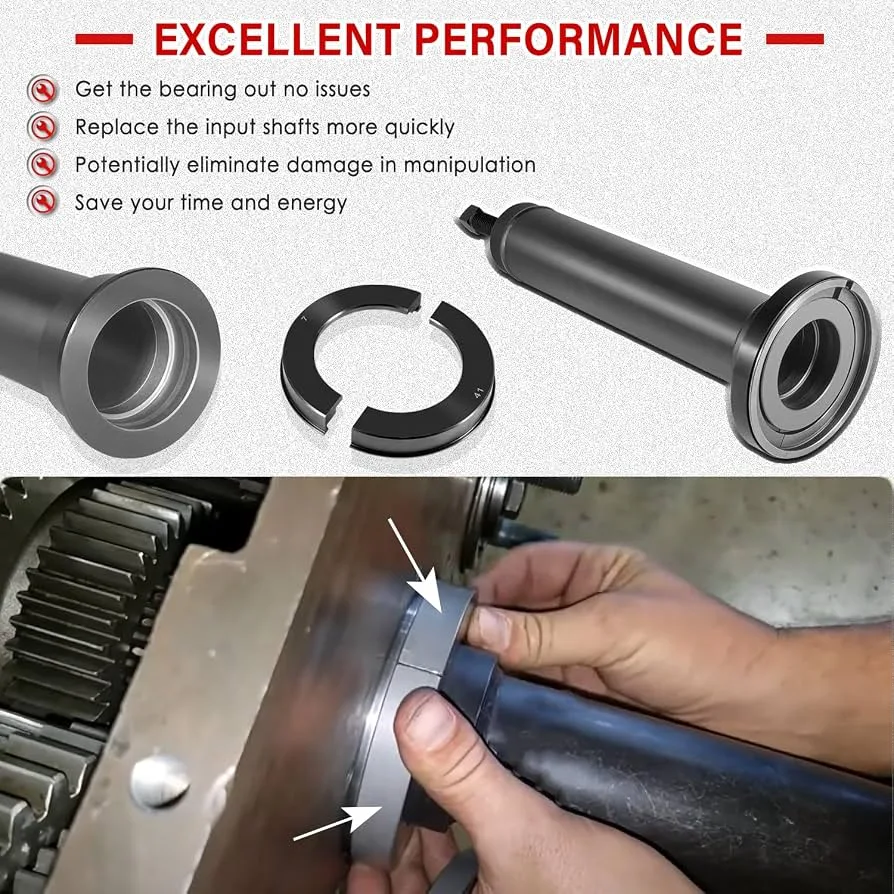
Image source: Bing (Web (fair-use with source credit))
1. Pulling the Wrong Race
This is the cardinal sin. You must pull the inner race off the shaft. If you pull the outer race, it will expand and jam in the housing.
Or it will fall off, and you’ll have a crushed outer race. Always double-check which part is moving.
2. Off-Center Alignment
If the puller isn’t straight, the force is uneven. This twists the screw. It can shear the mounting threads in the shaft.
Use a straightedge or laser to ensure the ram is concentric with the shaft centerline. Small angles create massive lateral loads.
3. Over-Torquing the Screw
Manual pullers have a breaking point. If you keep turning a stuck screw, it will snap. This leaves a broken thread in the shaft.
You now have to tap out the broken screw. That is a major headache. Use a torque wrench or stop when you feel resistance spike.
4. Ignoring Lubrication
Dry threads increase friction by 30% or more. They require more force to move. This pushes you closer to the failure limit of the tool.
Always use a light oil or anti-seize compound on the puller screw. It makes a significant difference in smoothness.
5. Using Corroded Tools
Rusty jaws and pitted screws can gouge the bearing surface. They can also strip under load. Inspect your tools before use.
If the jaw is rounded or the threads are damaged, replace it. A $15 replacement screw is far cheaper than a $500 shaft. For more on maintaining these tools, see our tips for keeping your gear running smoothly.
Quick-Reference Decision Guide
Stop guessing and start matching your situation to the right tool. This guide cuts through the noise. Use it to pick your puller in under 60 seconds.
| Your Situation | Recommended Puller | Why |
|---|---|---|
| Small motor, light fit, through-bore | Two-jaw manual puller | Low cost, fast setup |
| Heavy gearbox, blind bore | Hydraulic slide-in puller | High force, no drilling |
| Confined space, no power access | Gear-type manual puller | Compact, good leverage |
| Production line, repeated removals | Pneumatic puller | Speed, consistency |
| Tapered sleeve removal | Sleeve puller (internal) | Designed for tapered seats |
If you’re in a home shop, start with a manual set. If you’re on a production floor, go hydraulic. Field technicians often carry both for flexibility.
Don’t try to force a manual tool to do hydraulic work. That’s how screws break.
For a detailed breakdown of each tool type and its ideal application, check out our complete puller tool guide.
Frequently Asked Questions
What size puller do I need for a standard motor bearing?
For most 1/4 to 1-inch shaft motors, a two-jaw puller with a 3/4-inch screw is sufficient. Light fits usually require under 1,000 pounds of force. If the bearing is frozen, step up to a 1-inch screw or switch to a hydraulic puller.
Always verify the inner race diameter first to ensure jaw engagement.
Can I use a bearing puller to remove a bushing?
Yes, but you need the right jaw type. Standard pullers work for round bushings. For tapered bushings, use a dedicated sleeve puller with ring-style jaws.
The geometry is different. Using a standard puller on a tapered seat can spread the sleeve unevenly. This damages the housing bore.
How do I know if my puller screw is rated for the job?
Check the manufacturer’s load rating on the tool’s body or manual. Manual screws typically range from 5,000 to 10,000 pounds depending on diameter. If you’re unsure, multiply shaft diameter in millimeters by 150 for light-to-medium fits.
If your estimated force exceeds the screw rating, use a larger tool.
Should I lubricate the puller screw before use?
Yes, always. A light coat of machine oil or anti-seize compound reduces friction by up to 30%. This lowers the force needed to turn the screw.
It also prevents galling, which can seize the threads mid-job. Never run a puller dry. The extra turning effort adds risk of shear failure.
What’s the difference between a slide-in and a bolt-on puller?
A slide-in puller floats through a through-bore and clamps on the shaft. It requires no drilling. A bolt-on puller uses threaded holes in the shaft or housing for mounting.
Bolt-on provides more stability for heavy loads. Slide-in is faster for light-to-medium jobs. Choose based on bore access and force requirements.
How often should I inspect my puller set?
Inspect before every use. Check screws for stretching or pitting. Check jaws for rounding or wear.
Check the mount plate for flatness. A warped plate causes uneven force. If any component is damaged, replace it immediately.
A $15 replacement screw is far cheaper than a $500 shaft. For preventive maintenance tips, see our guide on keeping pullers in top shape.