Bearing Puller Size Chart: Find the Right Fit in Seconds
Most people grab a bearing puller size chart and pick the number that looks close. That approach leads to stripped shafts and cracked housings. The chart is a decision tool, not a guesswork list.
You need to understand what each column actually means before you trust it.
Per manufacturer specifications, a puller rated for 10 tons (about 45 kN) of axial force still requires precise jaw engagement on the outer race. If the jaws catch the inner ring, the load shifts and the bearing fuses to the shaft. Get the geometry right first.
Then the size chart tells you exactly which tool handles your part safely.
Quick Answer
A bearing puller size chart maps housing bore to jaw capacity. You measure the housing inner diameter first. Then check the bearing outer ring clearance.
The chart confirms if your puller fits inside the housing. It also shows the maximum pulling force needed for safe removal.
Why the Wrong Bearing Puller Size Causes Expensive Failures
Picking the wrong tool size damages the part you are trying to save. We have seen this pattern consistently in industrial maintenance reports. When a puller does not fit properly, the operator forces it.
That force concentrates on weak points.
The most common failure is a cracked cast iron housing. The crack starts at the bearing seat and runs to the outer edge. You now have a housing that is useless.
The shaft often scores from friction during the struggle. Both parts cost money to replace.
- Housing Cracks: Structural failure of the casing at the bearing seat.
- Shaft Scoring: Surface damage from improper load alignment.
- Jaw Slippage: The tool releases suddenly, causing injury risk.
Before you even look at a size chart, you need to know if your tool can physically fit. That brings us to the measurements that decide everything.
The Four Measurements You Need Before Checking Any Chart
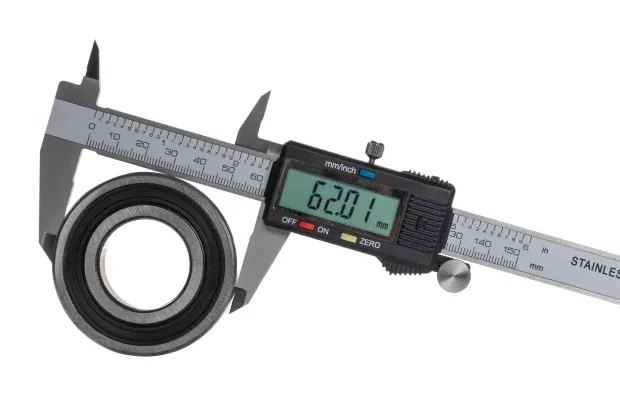
You cannot use a size chart without four specific numbers. Get these measurements with a caliper or micrometer. A tape measure is not accurate enough for this work.
- Housing Bore Diameter: The inner diameter of the housing where the bearing sits.
- Bearing Outer Diameter: The outer ring measurement of the bearing itself.
- Shaft Diameter: The diameter of the metal shaft running through the center.
- Housing Wall Thickness: The distance from the bearing outer edge to the housing outer edge.
If the housing wall is too thin, a three-jaw puller will not fit. You need a split-ring puller or a two-jaw puller. The wall thickness determines your tool choice more than the force rating does.
- Step 1: Measure the housing bore.
- Step 2: Measure the bearing outer ring.
- Step 3: Calculate the clearance between the two.
- Step 4: Check the wall thickness.
If the clearance is under 5mm, your options shrink. You are no longer looking for any puller. You are looking for a specific low-profile tool that fits inside that tight space.
Reading a Bearing Puller Size Chart: What Actually Matters
Most charts are confusing because they list too many specs at once. Focus on three columns. Ignore the rest for now.
The first column is Jaw Reach, or how far the jaws extend. The second is Minimum Housing Bore, the smallest hole the tool fits into. The third is Maximum Pulling Force, the tonnage rating of the unit.
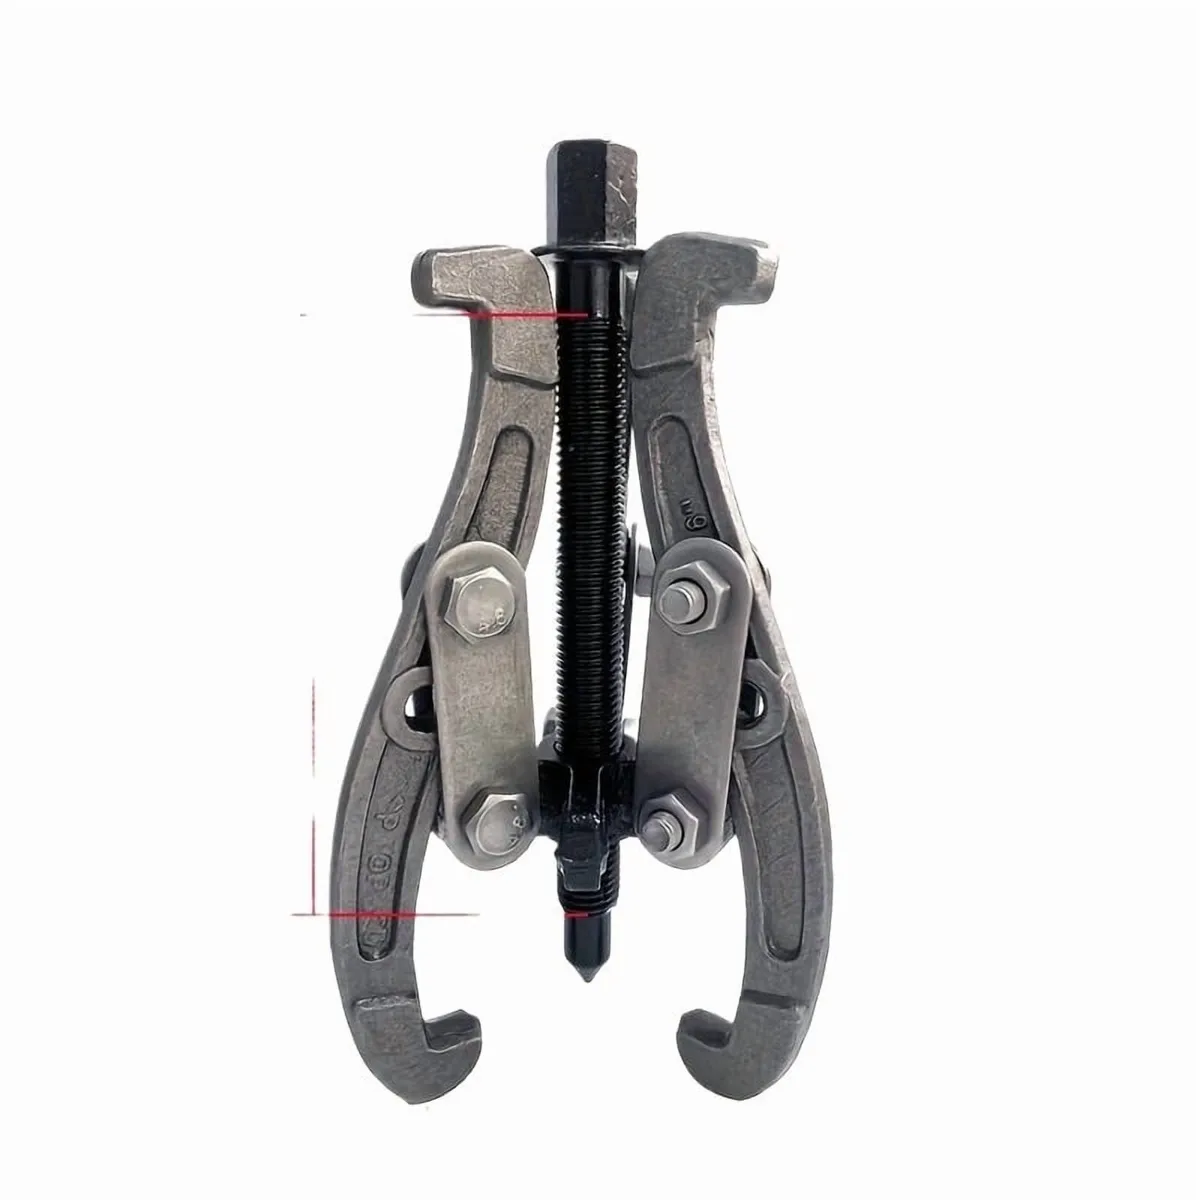
Here is a typical row from a standard chart:
| Jaw Reach | Min Housing Bore | Max Force |
|---|---|---|
| 100mm | 65mm | 5 Tons |
| 200mm | 85mm | 10 Tons |
| 300mm | 105mm | 15 Tons |
As of 2026, manufacturers like GearWright and Snap-on publish charts using these standardized ranges. If your housing bore is 70mm, the first row works. If your housing bore is 50mm, none of these standard rows apply.
You need a dedicated low-profile tool.
Pro Tip: Always add 10% to your required force. If the bearing is rusted, it will need more force than the spec sheet suggests. A 5-ton job might act like a 7-ton job in practice.
Two-Jaw vs. Three-Jaw vs. Split-Ring: Matching the Puller to Your Situation
The type of puller depends on your access constraints. A three-jaw puller is the standard for most industrial work. It offers even force distribution and stable loading.
But you cannot use it if the housing is tight. A two-jaw puller handles spaces where three jaws will not fit. It is less stable, so you must be careful.
You need to keep the load pin centered on the shaft.
A split-ring puller is for very tight clearances. It hugs the bearing outer ring completely. It applies even pressure all around.
This is the best option for precision work and prevents the bearing from tilting.
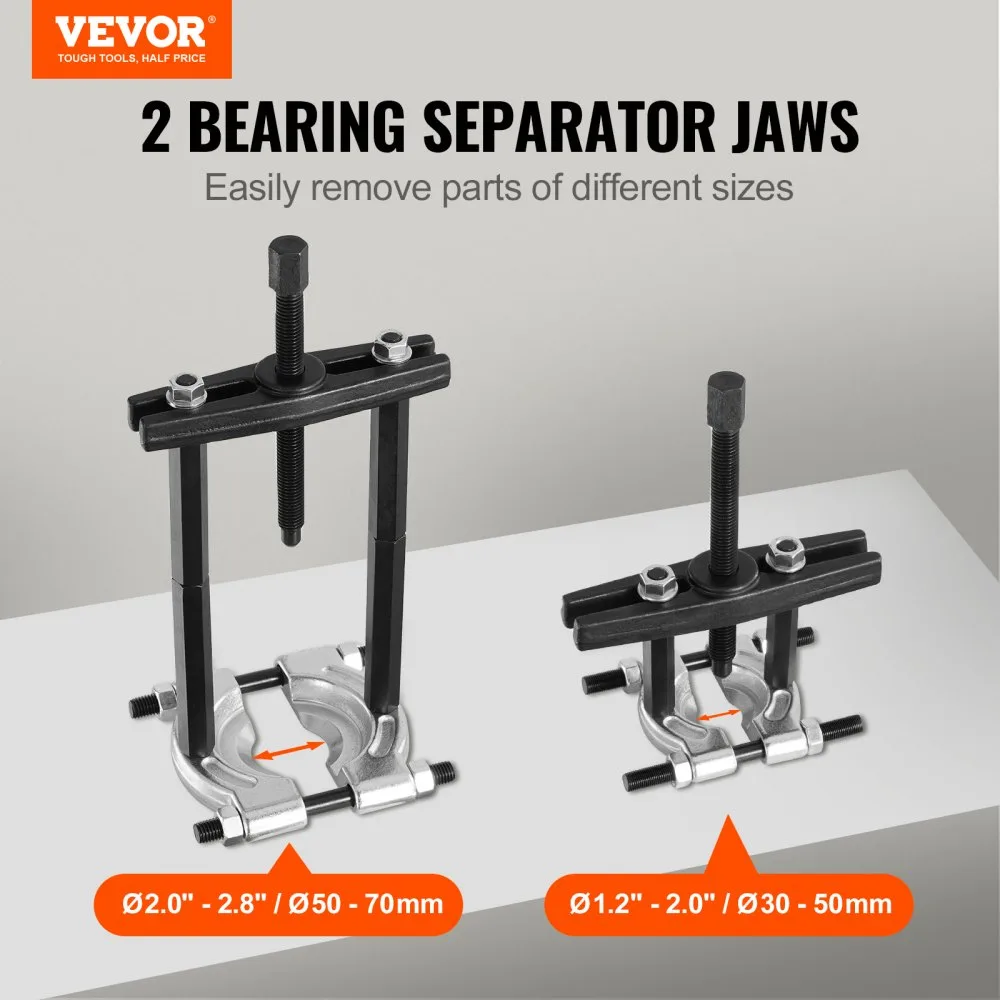
- Three-Jaw: Best for general use. High stability. Fits most housings.
- Two-Jaw: Best for tight spaces. Less stable. Requires caution.
- Split-Ring: Best for low-clearance housings. Highest precision. Most expensive.
If you are working on a car engine, a two-jaw puller is often enough. For industrial pumps, a split-ring or three-jaw is better. You can find more detail on matching the tool to the job in our guide to specific tool types.
Sizing Mistakes That Strip Shafts and Crack Housings
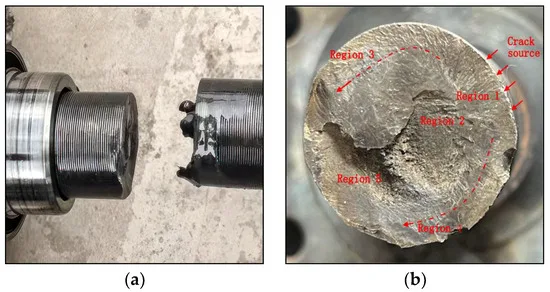
Even with the right tool, mistakes happen. The biggest one is cross-threading the load pin. If the threads catch, the tool seizes.
When you force it, the housing twists and cracks.
The second big mistake is pulling on the inner ring. If the jaws slip off the outer ring, they bite the inner ring. The bearing pulls off the housing instead of the shaft.
The inner ring is now fused to the shaft. You have to machine it off or replace the shaft entirely.
To avoid these issues, follow these rules:
- Lubricate the Shaft: Use light oil to prevent rust and slippage.
- Check Jaw Angle: The jaws must sit parallel to the shaft axis.
- Use Backer Plates: If the housing face is uneven, add a backer plate.
- Verify Ring Contact: Confirm the jaws grab the outer ring, not the housing.
These errors cost more in labor than the tool itself. You can read more about preventing these issues in our article on common puller errors. If you are still unsure about the fit, check our puller selection chart for visual examples.
Bearing Puller Size Chart: Quick Reference Decision Guide
This section consolidates the logic into a direct workflow. Use it to verify your tool choice before you start work. It saves time and prevents unnecessary shopping.
Start with your housing bore measurement. If it is over 100mm, most options are available. Standard three-jaw pullers work well here.
If the housing bore is between 60mm and 100mm, you are in the mid-range. Two-jaw pullers become more common in this bracket. Below 60mm, you need low-profile or split-ring tools.
- Large Bore (>100mm): Use a three-jaw puller. High stability. Easy access.
- Mid Bore (60-100mm): Use a two-jaw or universal puller. Check jaw reach carefully.
- Small Bore (<60mm): Use a split-ring or flat-jaw puller. Precision required.
Next, check the required force. If the bearing is rusted, multiply your calculated force by 1.5. A standard 6200-series bearing usually needs 2 to 5 tons of force.
Heavy industrial bearings may need 10 to 25 tons. Match your tool's tonnage rating to this number. Always add a safety margin.
You can review detailed tonnage ratings in our comprehensive tool guide.
Finally, verify jaw reach. The jaws must sit on the outer ring, not the housing. If the housing flange is too thick, the jaws will not engage.
Measure the distance from the shaft face to the bearing outer edge. Your puller's jaw reach must exceed this distance. If it does not, you need a different tool style.
Safety Rules You Can't Skip When Pulling Bearings
Pulling bearings involves high force and moving parts. Safety is not optional. It is the difference between a finished job and a trip to the hospital.
- Wear Eye Protection: Metal shards can fly if a jaw fails. Always wear safety glasses.
- Keep Hands Clear: No fingers near the load pin. Use a handle on the screw.
- Secure the Component: Clamp the housing down. It should not move while you apply force.
- Release Slowly: Do not let the screw snap back. Back it off gradually.
Hydraulic pullers carry specific risks. Pressure can reach 3000 PSI. A failed hose shoots fluid like a needle.
Wear protective sleeves. Always depressurize before removing the cap.
If you are working on a rotating assembly, perform Lockout/Tagout procedures. Make sure the machine is off and isolated. A sudden spin-up while your hands are in the housing is fatal.
Follow your site's specific industrial safety standards for any large equipment. These rules save lives. Do not skip them for speed.
Common Questions About Bearing Puller Sizing
People often get stuck on specific edge cases. Here are the answers to the questions we see most often.
What if my housing bore is smaller than any puller jaw?
You need a split-ring puller or a flat-jaw puller. These tools have thin profiles and fit into tight spaces. A standard three-jaw puller will not fit inside the housing wall.
You may also need to remove a snap ring first to access the bearing seat.
How much force do I need to pull a standard motor bearing?
Most small electric motor bearings need 1 to 5 tons of force. Larger industrial motors need 10 to 25 tons. Rust increases this requirement by 50%.
Always check the bearing series. A 22200-series bearing takes much more force than a 6200-series one.
Can I use a gear puller instead of a bearing puller?
Yes, if the housing is very deep. Gear pullers have longer jaws that reach deeper into tight hubs. They are not ideal for standard bearing seats.
Use them when jaw reach is the limiting factor, not force.
What if the bearing is stuck tight and will not move?
Do not increase the force blindly. You risk cracking the housing. Use heat.
Apply a heat gun to the housing, not the bearing. The housing expands and loosens the fit. Then pull.
This reduces the force needed significantly.
For more complex scenarios, check our automotive tool recommendations for specific engine applications. Each part behaves differently under stress.