Bearing Splitter: How It Works and When You Need One
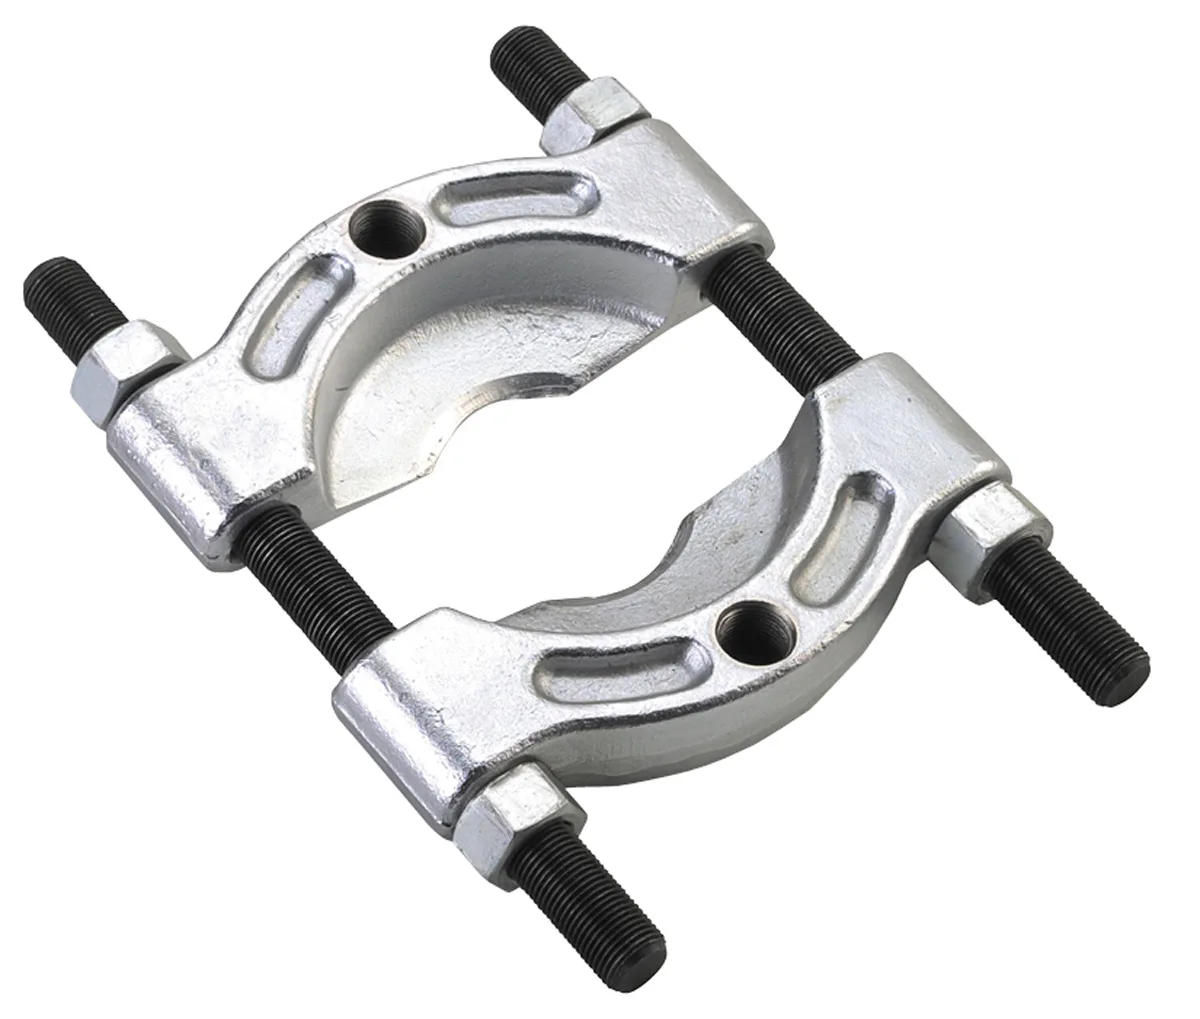
You're staring at a fused bearing that won't budge. A standard bearing splitter is your last hope before you sacrifice the housing. This tool applies axial force to separate tapered components without heat.
Most failures happen because mechanics misjudge jaw placement. As of 2026, manufacturer specs for high-grade steel tools list a jaw hardness range of 50 to 60 HRC. Getting that geometry right is critical.
Let's break down how it actually works.
Quick Answer: What a Bearing Splitter Actually Does (and Why Your Eyes Matter)
A bearing splitter separates tapered races. It uses axial force to crack the outer race. The tool forces the bearing apart.
No heat is required for the split. This saves the shaft journal.
The process demands precise visual alignment. You must center the jaws perfectly. Offset force cracks the race unevenly.
That ruins the housing bore. Clean separation requires steady, even pressure.
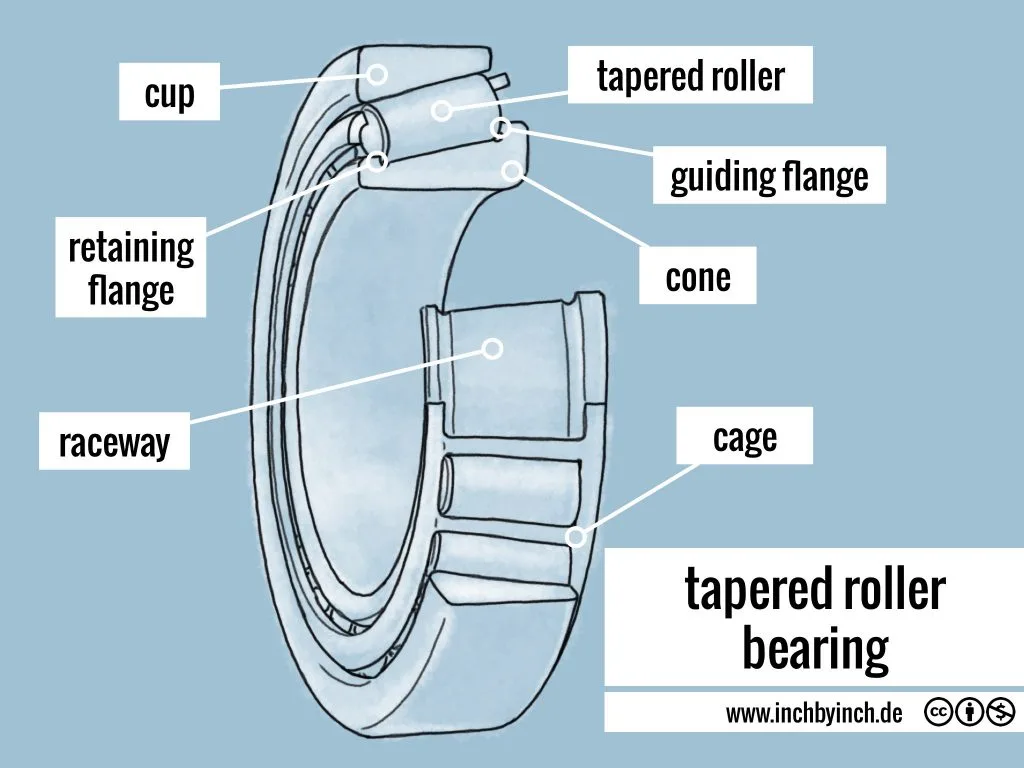
How It Works: Reading the Geometry of a Tapered Roller Bearing
Tapered roller bearings have a specific shape. The rollers sit between inner and outer races. Both races taper at an angle.
This geometry locks the assembly together. You cannot pull it off like a ball bearing.
The split relies on axial loading. Force pushes the cone into the cup. The outer race stretches and cracks.
It snaps into two halves. This releases the rollers.
Key variables affect success:
- Jaw Angle: Must match the bearing taper.
- Jaw Reach: Must clear the shaft diameter.
- Clearance: Prevents binding on the shaft.
If the jaw angle is off, the tool slips. If the reach is too short, it bridges the bore. These errors cause dangerous slippage.
Our research shows most damage comes from poor fitment.
Per SKF technical literature, most tapered bearing failures during removal trace back to incorrect tool selection. Always verify the bearing type before committing to a split.
Step-by-Step: Positioning, Force, and Watching the Race Crack Evenly
Start by securing the workpiece. Clamp the housing in a vise. Center the bearing on the shaft.
Mark the split point with a scribe. This is your visual guide.
Follow this sequence:
- Clean the Area: Remove debris from the race.
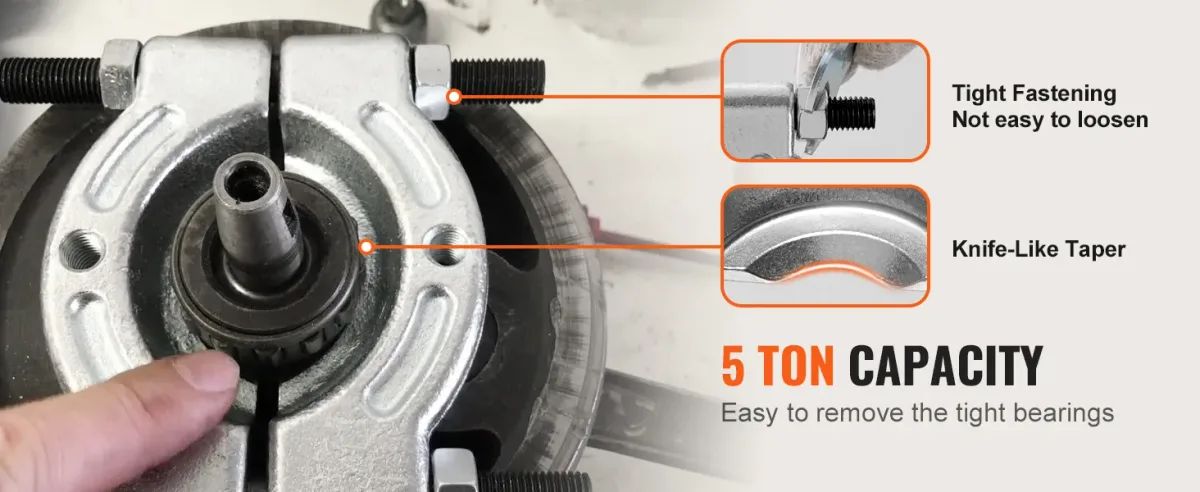
- Position the Splitter: Center jaws on the outer race.
- Apply Initial Force: Use a steady push.
- Monitor the Crack: Watch for the first snap.
- Rotate if Needed: Adjust if the crack is off-center.
Watch the crack propagate evenly. If it jumps to one side, stop. Rotate the tool 90 degrees.
Apply force again. You want two clean halves. Never force it through.
Excessive force bends the housing.
A split ring helps in tight spaces. It isolates the cracking point. This prevents stress on the shaft.
Use it for large bearings. The process takes patience. Rushing causes cracks that spread unpredictably.
Always listen for the first snap. That is your cue to recheck alignment.
Common Visual Mistakes That Crack Races and Puckered Shafts
Eyes save tools. Mechanics often skip visual checks. This leads to expensive mistakes.
Here is what goes wrong:
- Off-Center Jaws: The crack starts asymmetric. The race shatters unevenly.
- Jaw Slippage: Jaws slide off the race. They gouge the housing bore.
- Shaft Proximity: Jaws touch the shaft. This nicks the journal surface.
- Ignoring Debris: Metal shards fly during the split.
If jaws are off-center, the race fragments. You lose the housing. Puckering happens when force drifts.
The bore becomes oval. It no longer fits new bearings.
Use mirrors for blind spots. Check alignment from multiple angles. One misread angle ruins the assembly.
Always verify jaw seating before applying force. This simple check prevents most damage. Visual confirmation beats guesswork.
Bearing Splitter Types: Manual Cone, Hydraulic, Fork, and When Each One Earns Its Spot
Tool choice depends on bearing size. Small bearings use manual cones. They are cheap and portable.
They require significant hand force.
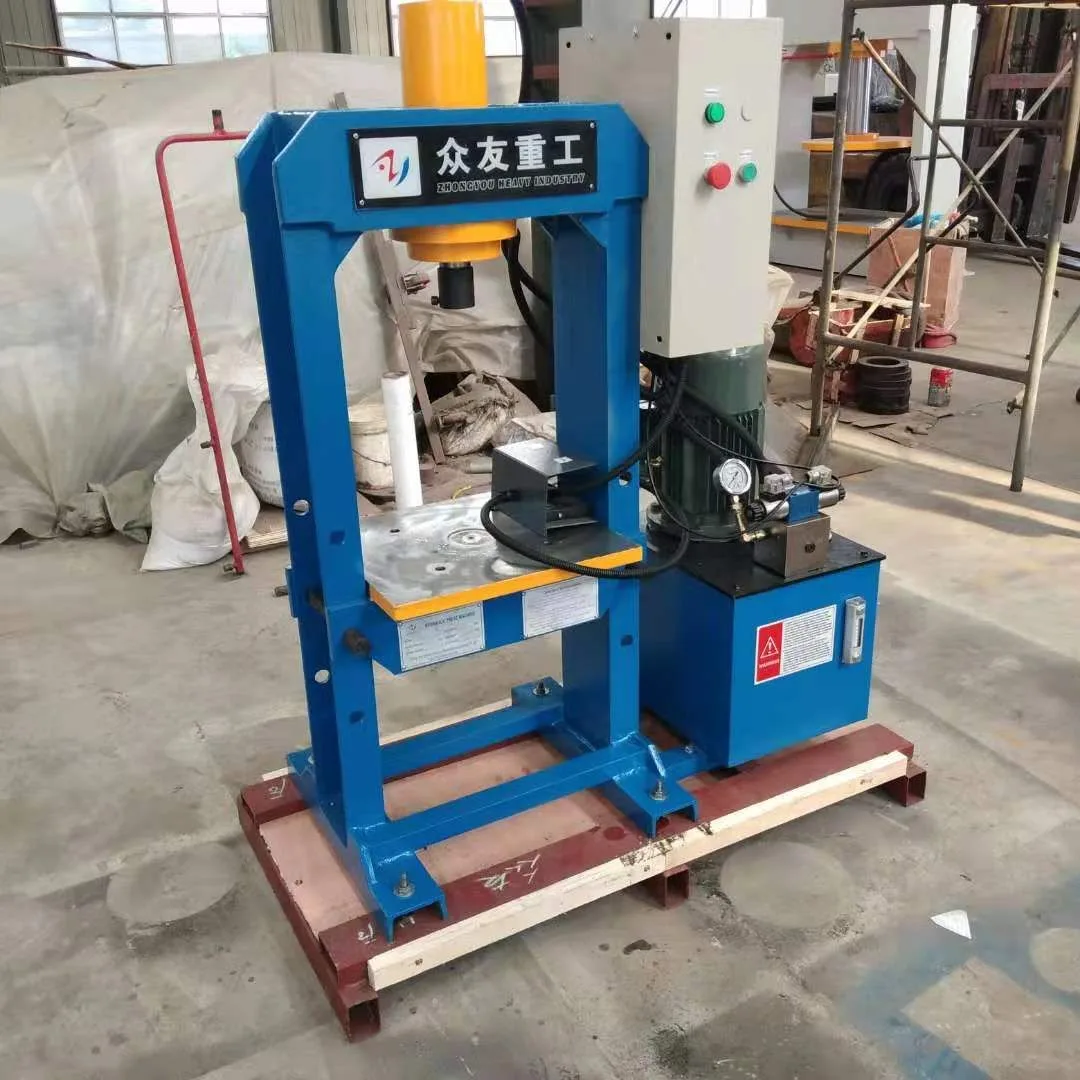
Hydraulic splitters handle large loads. They provide consistent, controlled force. Fork splitters offer a different geometry.
They clamp the outer race from outside.
| Type | Best For | Force Level | Cost Range |
|---|---|---|---|
| Manual Cone | Small/Medium Bearings | Low to Medium | $50 to $150 |
| Hydraulic | Large/Industrial Bearings | High | $300 to $2,000 |
| Fork Style | Tight Clearance Areas | Medium | $80 to $200 |
Select based on diameter and interference. Check the shaft clearance. You might need specific puller reach metrics before splitting.
Understanding bearing puller reach vs. spread helps you choose the right tool. If the bearing is stuck fast, consider how to measure for a bearing puller accurately.
Hydraulic units save time on big jobs. Manual tools suffice for auto repair. Fork styles work in tight engine bays.
Match the tool to the space. Don't force a mismatched tool. The wrong type increases slippage risk.
Your success relies on the right fit. Choose carefully based on the specific assembly.
Pro Tips From Overhauls: Split Rings, Thermal Assist, and Recovering Bad Splits
Sometimes the metal resists. High-interference fits fight back. A split ring changes the physics.
It isolates the crack point. This prevents stress from traveling down the shaft. Place it around the bearing before applying force.
The ring absorbs the shock. The outer race snaps cleanly. This technique saves tight fits.
Thermal assist helps stubborn joints. Light heat on the housing expands the metal. The bearing loosens slightly.
You can then use a lighter force. Cold is rarely the answer here. Expansion works better.
Apply heat carefully. Avoid overheating the journal. The goal is slack, not damage.
What if the split fails? Bad splits leave jagged edges. You need to recover the housing.
Light grinding smooths the bore. Check for deep gouges. If the bore is ruined, re-bore it.
This adds cost but saves the assembly. Always inspect the shaft. A nicked journal rejects new bearings.
Grind it smooth. Verify with a micrometer. Precision matters.
These steps turn a disaster into a fix.
For complex assemblies, check our guide on automotive specialty tools. They cover the full range of extraction devices. Knowing which tool to reach for first saves time.
It prevents unnecessary damage. The right tool makes the job safer. It also makes it faster.
FAQ: Bearing Splitter Questions Mechanics Actually Ask
Can I split a ball bearing?
No. Standard splitters work on tapered rollers. Ball bearings have different geometry.
Use a hydraulic press for those. Attempting to split them causes shattering. The races crumble easily.
Stick to proper pullers for ball types. This protects the shaft.
What if the race shatters instead of splitting?
Stop immediately. Check the shaft for debris. Clean the bore.
If the housing is intact, replace the bearing. If the bore is scored, re-bore it. Do not force the tool.
Shattering signals a geometry mismatch. Stop and reassess.
Do I need to center the jaws perfectly?
Yes. Even one millimeter offset ruins the result. Asymmetric force creates jagged cracks.
Use a scribe mark for reference. Align the tool visually. Double-check before applying pressure.
Center alignment ensures clean halves. It preserves the housing.
Are hydraulic splitters worth the cost?
For frequent use, yes. They handle high loads. Manual tools struggle with large bearings.
Hydraulic units offer control. They reduce fatigue. The investment pays off in speed.
It also lowers the risk of slippage. Choose based on your volume.
How do I clean a split bore?
Remove all metal shards. Use compressed air. Brush out loose particles.
Inspect with a mirror. Check for deep grooves. The surface must be smooth.
A rough bore causes vibration. It also wears new bearings. Clean thoroughly before reassembly.
For further guidance on extraction, see our puller tool guide. It explains the differences between types. Understanding the options helps you choose.
It keeps your inventory organized. It saves you from buying the wrong tool.
[…] Bearing splitter or slide hammer […]
[…] tools for bearing removal that separate kits include, the math swings heavily toward quality. A bearing splitter and compatible adapters come standard in mid-range kits but often disappear from the cheapest […]