How to Measure for a Bearing Puller: A Step-by-Step Guide
A bearing stuck tight on a shaft isn't a mystery. Nine times out of ten, the failure to remove it cleanly comes down to a mismeasurement. You might have the wrong tool sized to the wrong dimension, or you measured the same tool at the wrong spot on the shaft.
This is how to measure for a bearing puller without guessing your way through it.
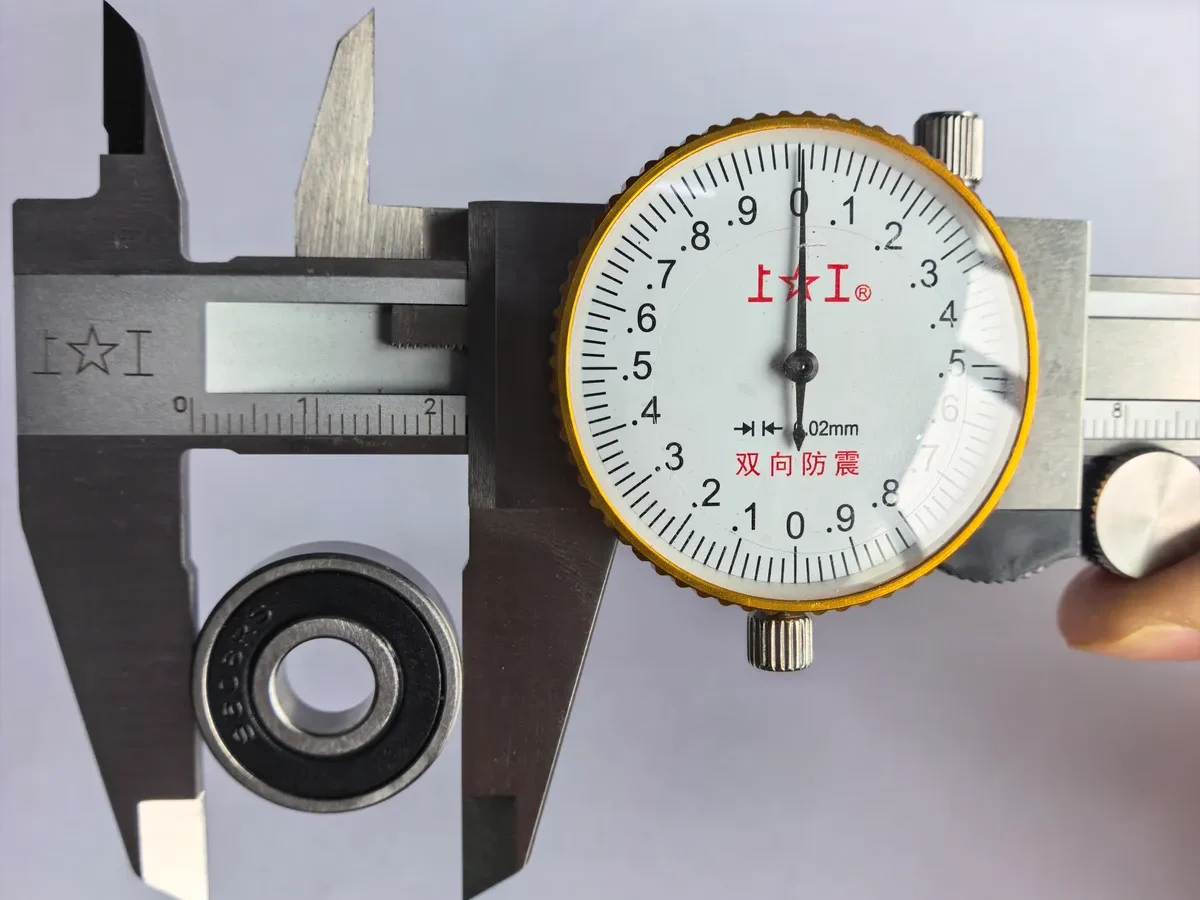
You don't need fancy gear. A digital caliper reads ±0.01mm and is more than accurate enough for the job. The trick is knowing what to measure, and where, per ISO 15 bearing dimension standards.
Skip that and no amount of precision on the caliper saves you.
Quick Answer
How to measure for a bearing puller starts with identifying the bearing type and the friction fit. You pull the race that's press-fit in place, not both. Measure the shaft diameter at the bearing seat, not at the shaft end.
Measure the housing bore if you're removing the outer race. Cross-check both readings against the puller's jaw reach.
Why Your Caliper Reading Might Be Wrong
Your caliper is probably fine. You're likely measuring the wrong place. Most shafts have taper, step-downs, and shoulders.
These features make a reading at the shaft end completely different from the diameter where the bearing actually sits. If the bearing is still on the assembly and you can't access the housing bore, a caliper won't help. The relevant diameter is the shaft journal, and that's the one you need.
Worse, people often confuse the bearing's bore diameter with the shaft diameter. Those two numbers aren't the same. The shaft is typically a few microns larger to create an interference fit.
Get this mixed up and your puller spec is off before you buy anything.
If the inner race can't be reached because a housing wall or adjacent step blocks access, a puller isn't going to work at all. That's when you go hydraulic. We've covered that transition in a guide to the core principles of puller tools.
Identifying Bearing Type & Fitment Conditions
Whether the inner race sits press-fit on the shaft or the outer race fits into the housing changes everything. You pull the race that is friction-fit. You measure for that race, not the other one.
| Fitment | What You Pull | What You Measure |
|---|---|---|
| Inner race press-fit | Inner race off the shaft | Shaft diameter |
| Outer race press-fit | Outer race off the housing | Housing bore |
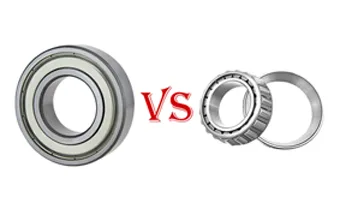
There are really four bearing families to identify before you reach for calipers. Deep groove ball bearings follow the ABMA and ISO code scheme, common examples include 6204 and 6205. Tapered roller bearings use codes like 22210.
Needle and thrust bearings each come with their own catalogue entries. Plain sleeve bearings have no outer race at all, so a puller can't grab anything on them.
Pullers don't work on plain sleeve bearings, so measure the shaft and use a press instead. Before any of this, identify the type, spot seals or shields covering the code, and know which race is the friction-fit piece. All three matter before you touch a caliper.
The Step-by-Step Shaft & Housing Measurement Workflow
First step is to strip everything back. Remove adjacent caps, seals, and any snap ring that's holding the bearing in place. The stamped code is often hidden under grease and you want a clean read on the race face.
If the code is legible, you can look up dimensions in a manufacturer's bearing catalogue and skip measuring entirely.
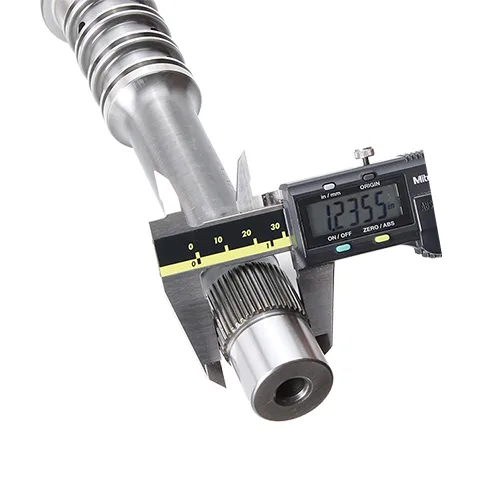
If the code is unreadable, use calipers on the shaft at the bearing seat, not at the end. Take two readings 90° apart and average them. Measure the housing bore the same way, again two perpendicular readings.
For bearing width, catalogue data is more reliable than caliper reads, especially on sealed bearings where the outer race is flush with the seal.
| Dimension | Guides Tool Spec |
|---|---|
| Shaft diameter | Confirms friction fit, informs capacity |
| Housing bore | Jaw placement clearance |
| Bearing width | Jaw reach requirement |
| Inner race diameter | Max reach for puller jaws |
| Outer race diameter | Identification only |
Selecting the Right Puller Reach & Capacity
Reach and capacity solve two different problems. Jaw reach tells you whether the prongs fit behind the inner race. Capacity tells you how much pulling force the tool can generate.
A 2-prong puller concentrates load on fewer points and can deform a soft inner race. A 3-prong puller distributes force evenly and is the default for most inner race jobs. Universal pullers cap out around 65mm of jaw reach, so anything larger means a bigger dedicated unit, or a hydraulic setup.
Capacity ratings assume clean conditions, and old corrosion or hardened grease can double the pull. If the rating feels close, step up one size. Automotive and heavy-duty applications use specialized pullers.
See a chart of common puller ranges for typical dimensions as of 2026.
Five Common Measurement Errors to Avoid
The most frequent miss is confusing bore and shaft diameter. The shaft is always slightly larger in an interference fit, and getting this backwards throws off everything downstream.
The second is measuring at the wrong spot on a tapered shaft. The shaft diameter at the end is not the shaft diameter where the bearing sits. Always measure at the bearing seat.
The third is pulling a sleeve bearing with a puller. There's no outer race on a plain bushing, so nothing for the jaws to grab. Press the shaft out instead.
The fourth is measuring once instead of averaging two perpendicular readings. Shaft journals have tolerances, and a single reading can be off by a few thousandths.
The fifth is assuming the puller will reach behind the inner race without checking. If the race is thicker than your puller's max reach, you'll struggle and damage the race on the first pull.
Safety Protocols & Load Limits Before Pulling
Never exceed the puller's stamped tonnage rating. Overloading a puller stud ruptures it, and metal fragments travel fast. Never add a pipe extension to the handles to gain leverage, because that multiplies force beyond the rating.
Never strike the stud with a hammer, because the stud is engineered to shear before the jaws do.
Position the jaws centered on the inner race, never on the shaft. Pulling the shaft off is a different job with a different tool. Stand to the side, not inline with the stud, because a failed stud releases energy straight down the pull axis.
Wear ANSI Z87.1 rated eye protection. Prongs and studs snap at projectile speeds under load. Secure the workpiece so it doesn't rotate during the pull.
Lock out any powered equipment first, per OSHA general industry requirements to prevent accidental restarts mid-pull.
If you're working on vehicles or heavy machinery, the same rules apply. See a rundown of common shop tools for a quick safety checklist before every pull.
Frequently Asked Questions
Can I measure a bearing with a tape measure instead of calipers?
No. Tape measures give rough dimensions, but bearing and shaft diameters vary by thousandths of an inch. You need a caliper for anything better than ±0.01mm resolution.
A vernier caliper is plenty. A digital caliper is even better and removes any reading error from parallax. Micrometers are overkill for most puller jobs.
What if I can't read the code on the bearing?
Measure the shaft directly with calipers at two perpendicular points and average them. Do the same for the housing bore if you can access it. This gives you the friction-fit diameter and the jaw-reach diameter.
Cross-reference against a manufacturer catalogue. SKF publishes free dimension lookup tables at skf.com that take a bore in millimetres and return the full spec.
Do I need to measure the bearing width?
For most universal pullers, no. But on thicker or thinner bearings, width matters because it affects how your jaw spacing distributes across the race. If your puller has adjustable prong spacing, wide bearings may require opening the prongs wider, which can exceed the jaw reach.
Read the catalogue width before you pull.
What if the puller jaws don't reach behind the inner race?
You're at the tool limit. Either step up to a hydraulic puller for higher capacity and deeper reach, or switch to a dedicated puller category, like an automotive hub puller or engine mount puller. Don't improvise with extensions.
See a dedicated tool overview for specialty categories beyond a standard universal puller.
Should I use a 2-prong or 3-prong puller?
Use a 3-prong puller by default. It distributes load evenly across the race and reduces the risk of deforming the inner race. 2-prong pullers concentrate force on fewer points and work best on small, hard shafts where you can reach behind the race easily. For general use, 3-prong is the safer choice.
See how to differentiate tool types for a full comparison.