How to Remove a Harmonic Balancer Without Damaging the Crank
The harmonic balancer—also called a crankshaft damper—bolts to the front of the crankshaft and absorbs torsional vibration while driving engine accessories. Removing it is often necessary for timing cover, front seal, or crankshaft work, but the crank snout is a precision-machined surface. One slip with a pry bar, an impact gun, or a crooked puller can score the snout, wallow the keyway, or stretch the center bolt, turning a straightforward job into an expensive crankshaft repair.
This guide covers the correct removal sequence, the puller setup that protects the crank, what to do when the balancer is stuck, and how to reassemble it safely. It assumes you have basic hand tools and a factory service manual for your specific engine.
What the Harmonic Balancer Does and Why the Crank Snout Matters
The balancer mounts directly to the crankshaft snout, typically through a tapered or interference fit. Its job is to dampen torsional harmonics created by firing cylinders. Because it spins at engine speed, even minor runout or damage to the mounting surface can cause vibration, front seal leaks, or accessory belt problems.
In practice, most crank damage happens during removal, not operation. Common mistakes include:
- Breaking the center bolt loose with an impact wrench, which sends shock directly through the crankshaft.
- Prying between the balancer and timing cover, which can bend the snout or crack the balancer hub.
- Pulling at an angle instead of straight back along the crankshaft axis.
- Skipping the crank lock, allowing the engine to rotate while torque is applied to the bolt.
If the snout is scored, the balancer may not seat true, and the front seal can leak after reassembly. Severe damage often means professional machining or crankshaft replacement—far more costly than the right puller and an extra 15 minutes of setup.
Tools and Setup You’ll Need Before Starting
Using the correct tools is the single biggest factor in preventing crank damage. A mismatched puller can tilt under load and score the snout, so tool selection matters more than brand.
- Harmonic balancer puller matched to the bolt pattern. A universal puller works on many engines, but an OEM-style unit centers better on the crank snout. a dedicated balancer puller
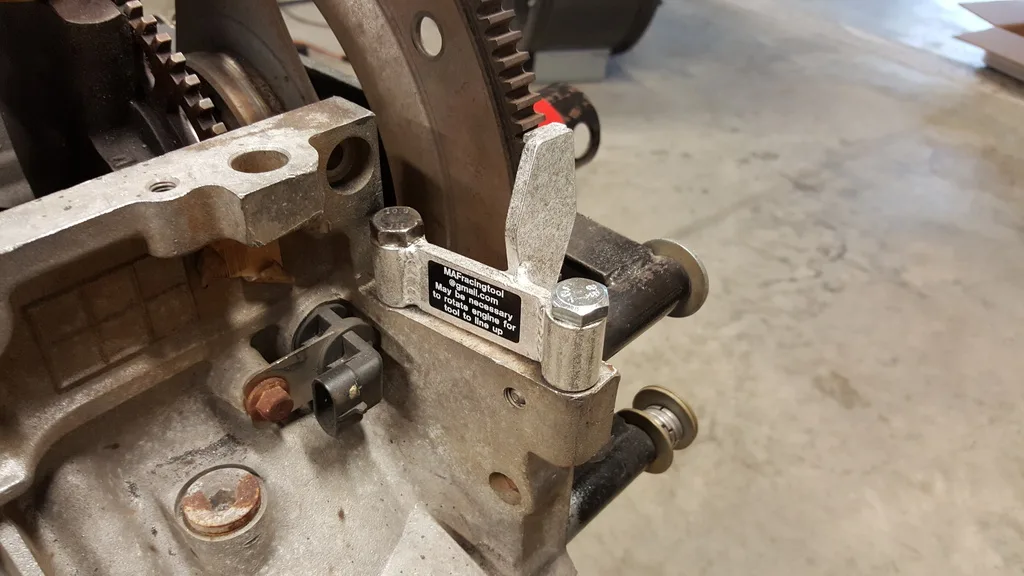
- Counter-hold or flywheel holder. Locks the crankshaft so you can loosen the center bolt without the engine turning.
- Breaker bar and correct socket. Provides steady leverage without the shock of an impact gun.
- Torque wrench. Required for reinstallation; center bolts are often torque-to-yield and need exact specification.
- Penetrating oil. Helps loosen corroded center bolts; it needs dwell time, not brute force.
- Safety glasses, jack stands, wheel chocks, and a paint marker. For support, eye protection, and marking timing alignment.
In practice, the best results come when the puller screws engage evenly and the tool body sits square against the balancer. If the puller legs cock to one side, stop and reset before applying more force.
Preparation: Battery Disconnect, Vehicle Support, and Timing Marks
Start with the vehicle safely supported. Never rely on a hydraulic jack alone; use jack stands rated for the vehicle weight, set the parking brake, and chock the rear wheels. OSHA’s vehicle service safety guidance covers safe lifting and support practices that apply to home garages as well as professional shops.
Disconnect the negative battery terminal to prevent accidental starter engagement. Then locate the harmonic balancer on the front of the engine. Before loosening anything, mark the relationship between the balancer and the timing cover or crankshaft with a paint marker or scribe. Note the position of any keyway or alignment dowel, and confirm engine rotation direction if your service manual references it.
Consult the factory service manual for the center bolt torque specification and removal sequence. Some engines use a standard bolt; others use a torque-to-yield fastener that should be replaced rather than reused. Skipping this step is one of the most common causes of reassembly problems.
Step-by-Step Removal: Protecting the Crank at Every Stage
Follow these steps in order. Do not skip the crank lock, and do not rush the puller.
- Mount the counter-hold fixture. Attach the flywheel holder or equivalent to the ring gear or flexplate so the crankshaft cannot rotate. This lets you break the center bolt loose without the engine fighting you. locking the crankshaft
- Loosen the center bolt. Use a breaker bar with the correct socket. Apply steady pressure; if the bolt will not move, add penetrating oil and allow it to dwell for 15 to 30 minutes. Do not use an impact gun.
- Thread the puller into the center bolt hole. Align the puller screw squarely with the crank snout. On single-bolt balancers, the screw pushes directly against the snout. On multi-bolt designs, the puller legs engage the outer lip.
- Tighten gradually. Turn the puller screw in small increments, watching the balancer move straight back. If you see tilting or hear grinding, back off and check alignment.
- Remove the balancer. Once it breaks free, support its weight so it does not drop onto the crank snout or radiator.
- Inspect immediately. Look at the crank snout, keyway, and balancer bore before setting anything aside.
A counter-hold fixture keeps the crankshaft from rotating while you break the center bolt loose.
Balancer Types, Bolt Patterns, and Puller Engagement
Not every balancer comes off the same way. Internally balanced units mount on a relatively smooth snout, while externally balanced versions carry offset counterweights and often have recessed faces that change how a puller engages. Single-bolt balancers thread the puller screw into the crank bolt hole; multi-bolt balancers, commonly five or six bolts, require the puller to grip the outer diameter because there is no central push point.
Before renting or buying a puller, measure the bolt circle and confirm the reach needed to clear the balancer face. tool fit dimensions can tell you whether the tool will engage the lip properly without bottoming out. Using the wrong reach is a common cause of bent puller legs and marred crank snouts.
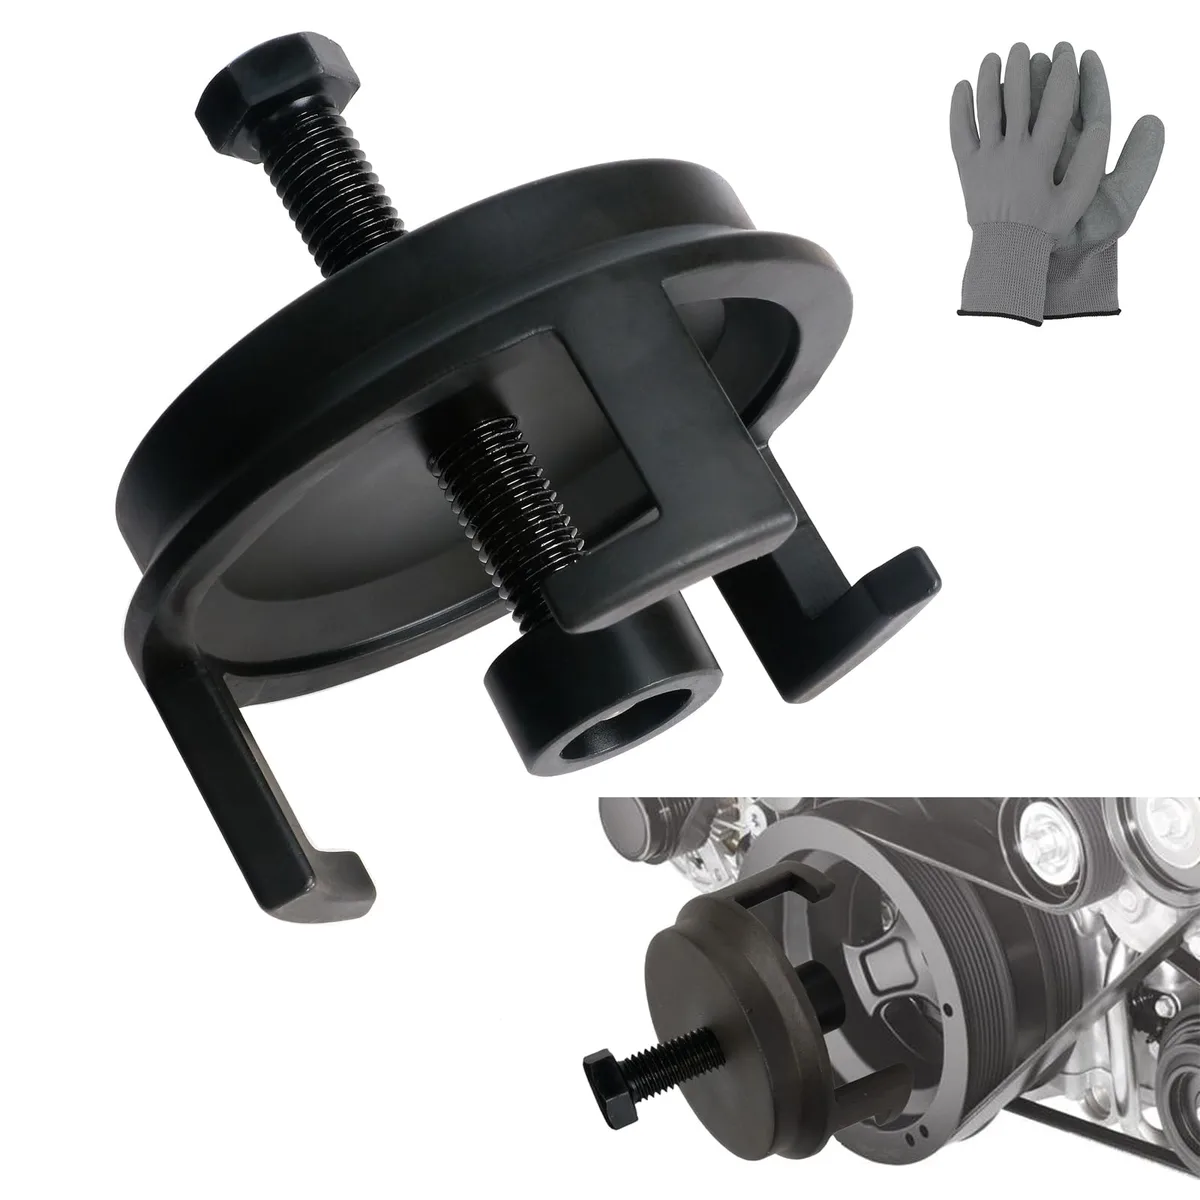 Even puller leg engagement keeps force moving straight back along the crank snout.
If the Balancer Will Not Come Off: Splitters, Separators, and Patience
A stuck balancer usually means corrosion between the hub and the crank snout. The worst thing you can do is hammer on the balancer or pry between it and the timing cover. That risks cracking the dampener, damaging the front seal surface, or scoring the crank.
If pulling fails:
- Apply more penetrating oil and let it sit longer. Carefully applied heat to the balancer hub—never the timing cover seals—can help, but it requires a fire extinguisher and caution around fluids.
- Use a bearing separator behind the balancer hub if there is enough clearance. deciding on a separator
- A slide hammer or splitter can work in some cases, but only if the puller legs cannot reach. a splitter tool
The choice between a splitter and a puller often comes down to how much room you have behind the balancer. choosing between tools
The honest trade-off is time versus force. Spending an extra hour with penetrating oil usually beats replacing a crankshaft.
Inspection and Cleaning Before Reinstallation
Once the balancer is off, clean every mating surface. Brake cleaner and a lint-free rag work well for the crank snout and balancer bore. Inspect for:
- Scoring, nicks, or burrs on the crank snout.
- A worn, cracked, or mismatched keyway.
- Damage to the balancer key or key slot.
- Loose or separated rubber in elastomeric dampers.
If the snout shows significant scoring, do not simply reinstall the balancer and hope. The surface may need professional assessment, and in some cases the crankshaft requires machining or replacement. Cleanliness matters because debris trapped between tapered mating surfaces creates false seating and can allow the balancer to loosen in service.
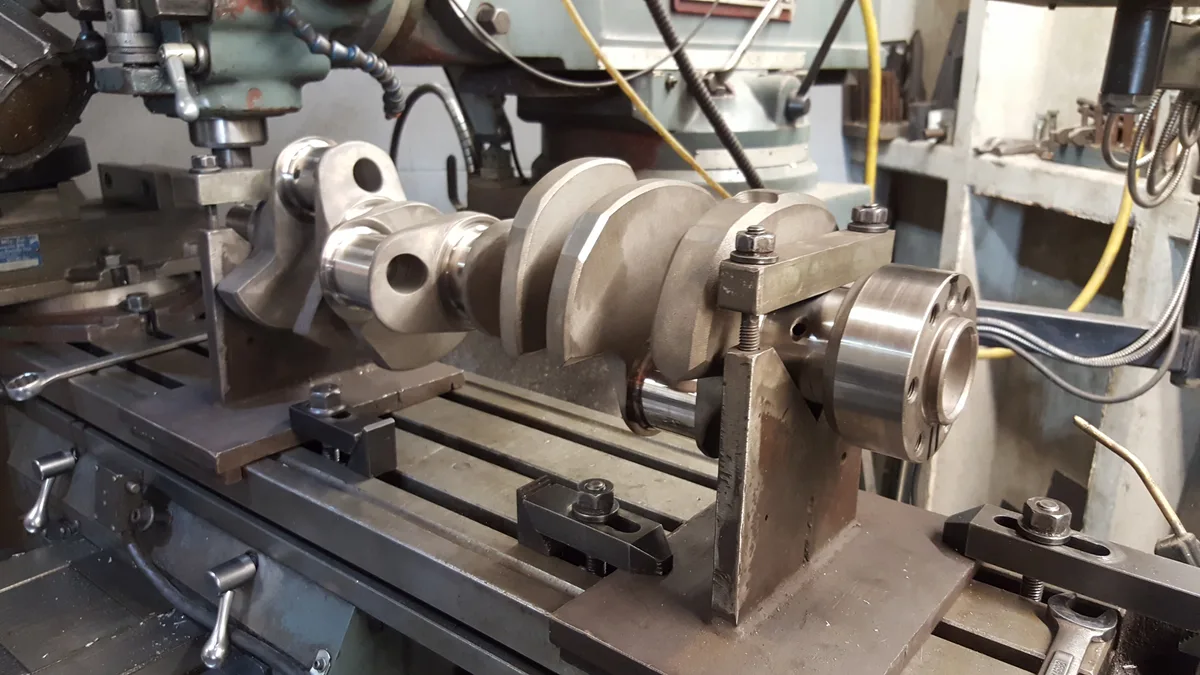 Check the keyway and snout for scoring, burrs, or cracks before reinstalling the balancer.
Reassembly: Torque, Timing, and Thread Locker
Reassembly is where protection turns into long-term reliability. Install the balancer in the same indexed position you marked earlier, making sure the key and keyway align. Do not force the balancer onto the snout with a hammer; it should seat with hand pressure or light, controlled pressure.
Torque the center bolt to the factory specification using a calibrated torque wrench. Specifications vary widely by manufacturer. Some large V8 applications call for values in the 200-plus ft-lb range, while smaller engines use far less, sometimes with an angle-turn method. These are examples only—your service manual is the authority. Many manufacturers specify a high-strength thread locker on the bolt, while others call for clean threads only. Never assume blue-strength thread locker is adequate for a crank bolt, and never reuse a torque-to-yield bolt unless the manual explicitly permits it.
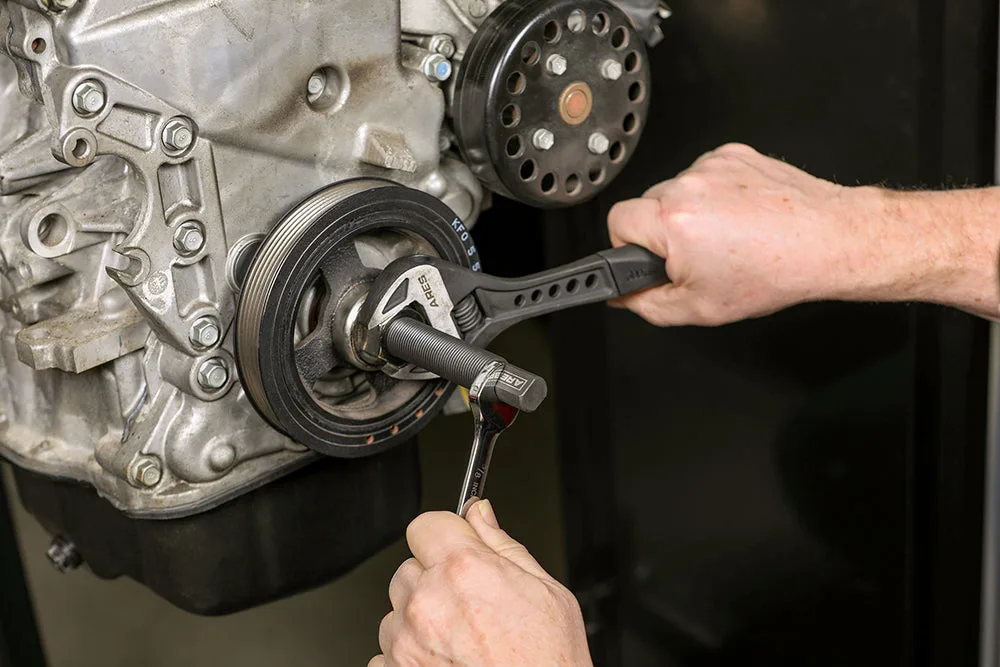 A calibrated torque wrench ensures the center bolt meets factory specification without over-tightening.
After installation, verify that timing marks line up and that the balancer spins true with no wobble. Reconnect the battery, start the engine, and listen for unusual front-end vibration or noise.
Safety and Compliance Considerations
Working on the front of an engine introduces specific hazards. The balancer can crack under uneven pulling force, sending metal fragments toward your eyes, so safety glasses are non-negotiable. Keep hands clear of pinch points between the puller and the balancer, and never support a vehicle on a jack alone.
Because the harmonic balancer can influence crankshaft position sensing and accessory drive loads, some vehicles with variable valve timing or complex emissions strategies may require a diagnostic reset or relearn procedure after the balancer is disturbed. EPA vehicle emissions requirements provide context for why emissions-related work should follow manufacturer procedures, though your service manual will list the exact steps for your engine.
Frequently Asked Questions
Do I need a special puller for harmonic balancer removal?
Yes. You need a puller matched to your balancer’s bolt pattern and crank snout design. Universal pullers work on many applications, but a properly matched puller reduces the risk of tilting and scoring the snout.
Can I remove a harmonic balancer without locking the crankshaft?
No. The crankshaft must be held stationary while you loosen the center bolt. Use a flywheel holder, counter-hold fixture, or equivalent. Without it, you risk stripping the bolt threads or injuring yourself if the engine rotates unexpectedly.
How much force is too much when pulling a harmonic balancer?
If you hear grinding, feel sudden binding, or see the puller legs flexing, stop immediately. Steady, gradual pressure should move the balancer straight back. Excessive force usually means misalignment, a stuck key, or the wrong puller engagement.
What happens if the crank snout gets damaged?
A damaged crank snout can prevent the balancer from seating correctly and may cause front seal leaks or destructive vibration. Repair often involves professional machining or crankshaft replacement, which costs substantially more than the puller and time required to do the removal correctly.
Can I reuse the crankshaft bolt?
It depends on the engine. Many modern crank bolts are torque-to-yield and are designed to stretch during installation; reusing them can lead to inaccurate clamping force. Check your factory service manual before reusing any fastener.
Conclusion
Removing a harmonic balancer without damaging the crank comes down to patience, the right puller, and a locked crankshaft. Mark your timing alignment before disassembly, apply steady pulling force straight back along the snout, inspect the crank and keyway after removal, and torque the center bolt to factory specification during reassembly.
Your next step is to pull the factory service manual for your engine, confirm the correct bolt pattern, and gather a matched puller and counter-hold fixture before you break anything loose. That preparation is what separates a clean job from a crankshaft repair.