Harmonic Balancer Puller Rental: Save Money & Time
rent a harmonic balancer puller
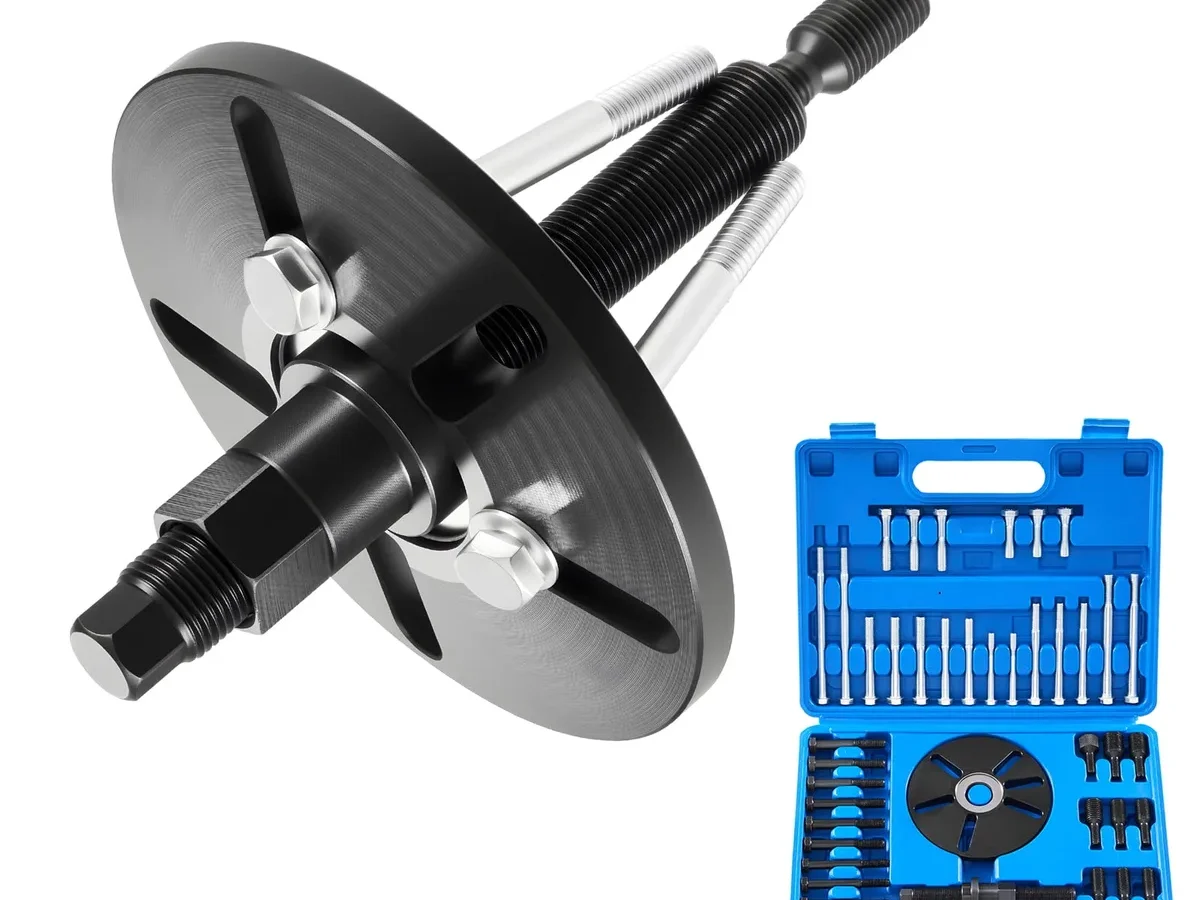
Renting a harmonic balancer puller means borrowing the correct removal tool from an auto parts store instead of buying it outright. You pay a small daily fee plus a refundable deposit, use the tool, then return it clean and undamaged. Always bring your vehicle's exact year, make, model, and engine size when requesting the rental.
Before You Rent: What You Actually Need to Know
The biggest trap people fall into is renting the wrong puller without confirming compatibility first. A harmonic balancer is the heavy pulley bolted to your crankshaft snout that smooths out engine vibration. Not every puller fits every engine.
Some pull via threaded holes machined into the balancer itself. Others grip the outer edge with jaws.
If you're removing a press-fit or tightly secured balancer, you need a dedicated harmonic balancer puller. A generic three-jaw gear puller won't handle the axial force safely. The wrong tool can crack the balancer, strip threads, or bend your crankshaft snout.
Before calling any shop, write down:
- Your vehicle's exact year, make, model, and engine displacement
- Whether the balancer has threaded holes or a smooth outer edge
- Clearance available around the front of the engine
This tells you if the rental shop will likely have a compatible puller in stock.
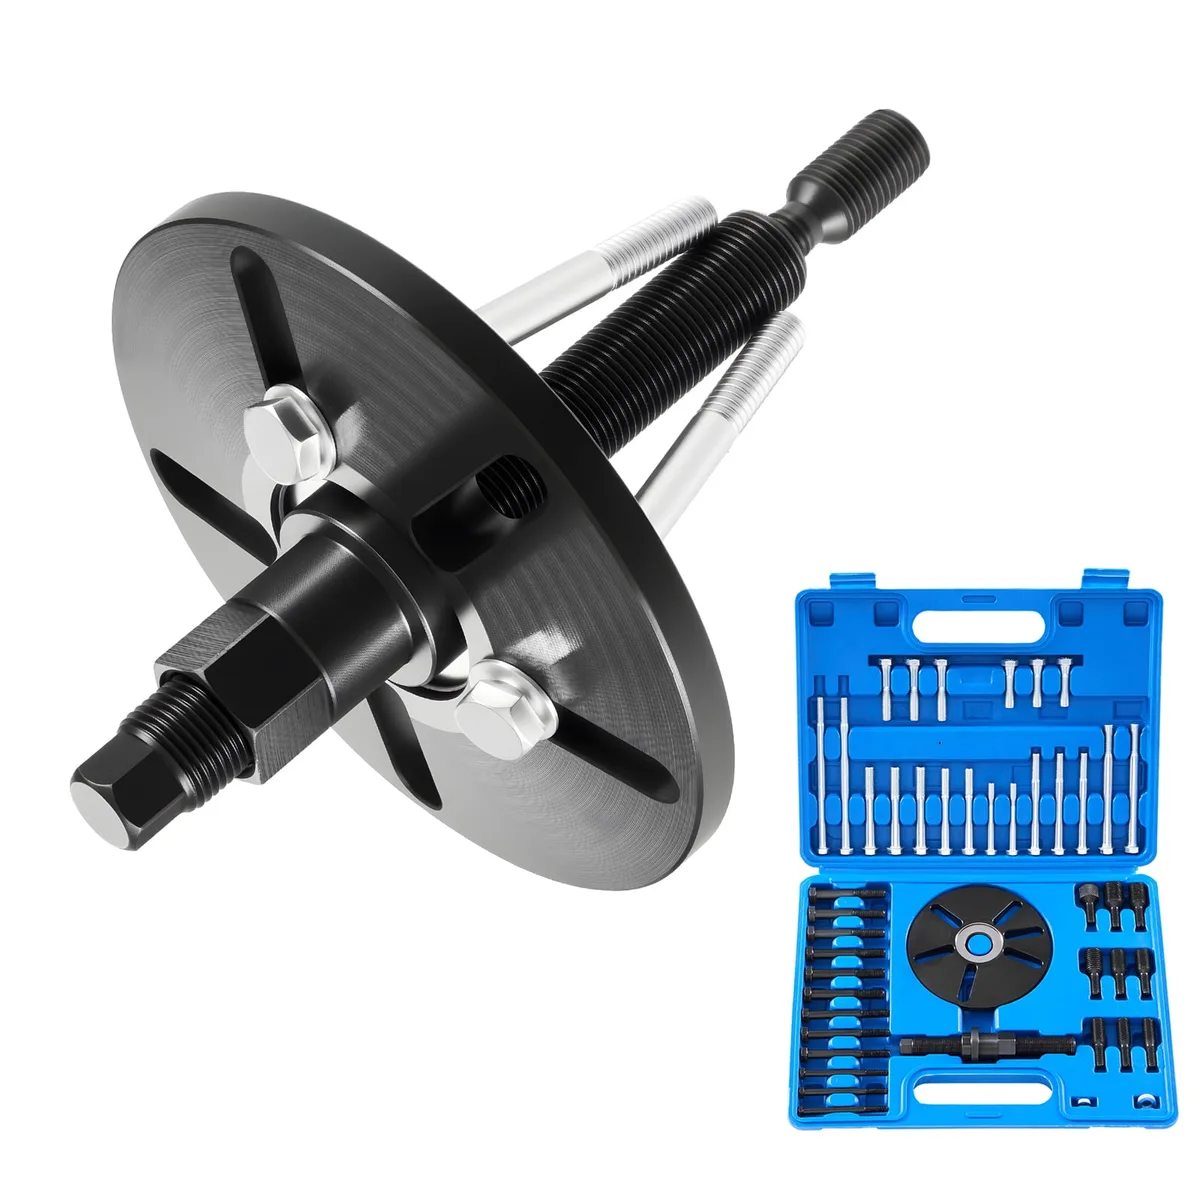
Image source: Web (Bing) / walmart.com (Web image (fair-use with source credit))
How to Identify the Right Puller for Your Specific Engine
Most rental pullers fall into two main styles. A threaded-hole balancer puller uses adapter bolts that screw directly into matching holes in the balancer face. It's common on many GM, Ford, and Chrysler V8 engines.
These pullers push against a central thrust bolt threading into the crankshaft snout.
A jaw-type balancer puller grips the outer edge with two or three arms. You'll see this on Honda, Toyota, and Mitsubishi four-cylinder engines where the balancer has no center threads.
The key is matching your balancer's bolt circle pattern to the puller's jaw reach. If the jaws can't grip enough, or the center screw bottoms out early, the puller won't work.
When unsure, take a photo of your balancer to the rental counter. Or look up your engine's specific puller part number using a repair manual.
Where to Rent One and What to Expect at Pickup
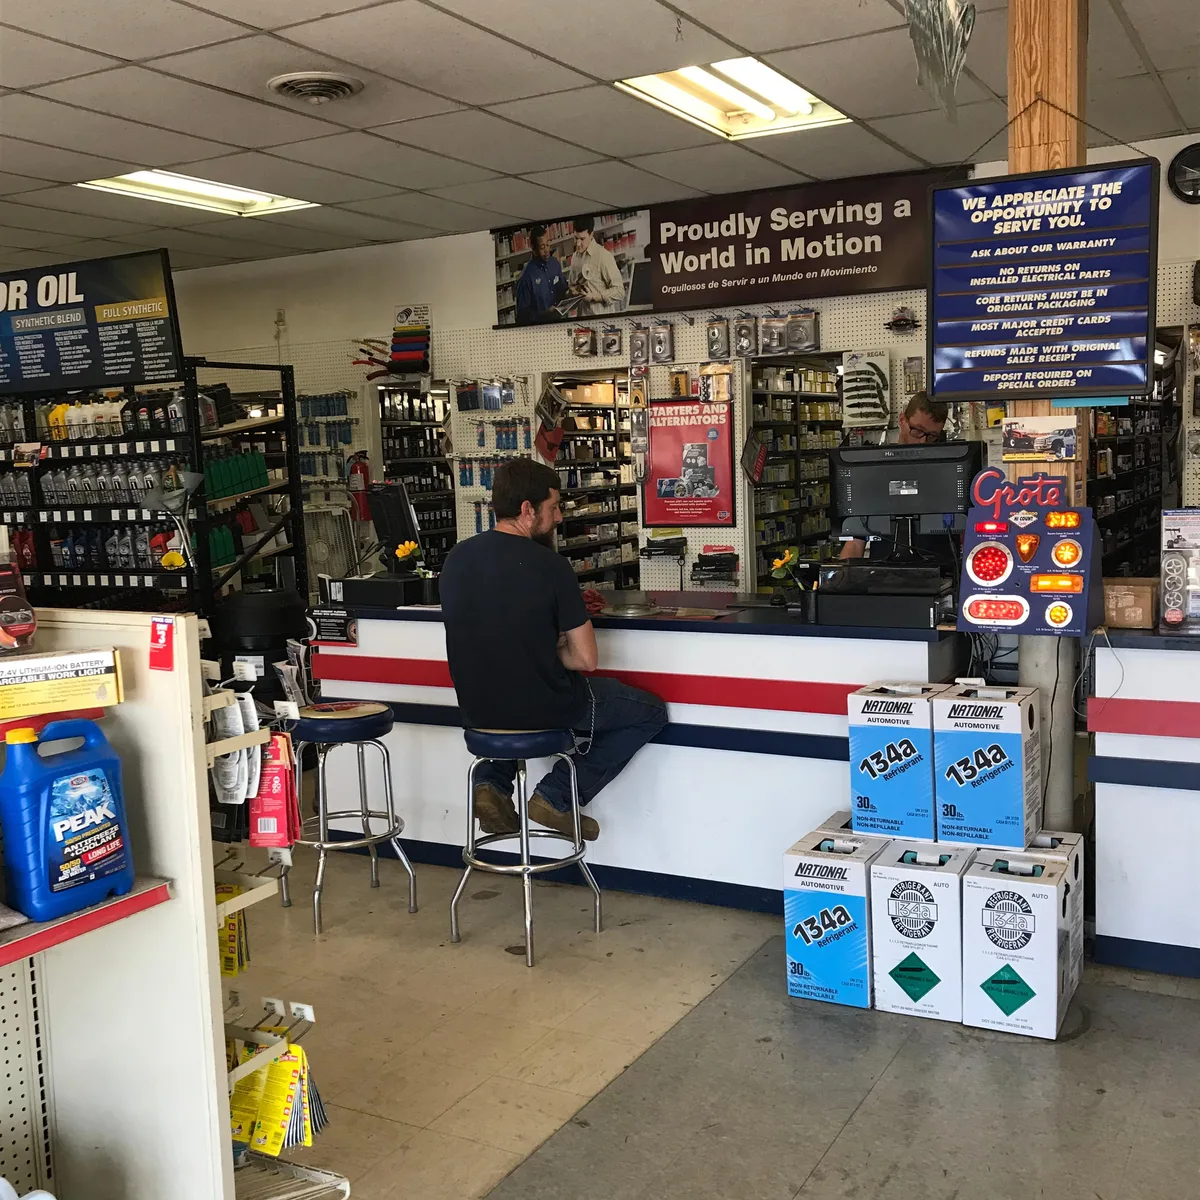
Image source: Web (Bing) / animalia-life.club (Web image (fair-use with source credit))
The most common rental sources are auto parts chains like AutoZone, O'Reilly Auto Parts, and Advance Auto Parts. They run loaner-tool programs where you pay a refundable core charge, typically $50 to $150 depending on the tool.
You'll also find rentals at independent auto parts stores and equipment rental shops.
Here's what usually happens at pickup:
- Show ID. They'll place a hold on your card.
- Pay the core charge. Refunded when you return the tool in good condition.
- Inspect the tool. Check jaws, threads, and center screw for cracks or wear.
- Confirm the rental period. Most shops allow 4 hours to 24 hours.
Call ahead. Inventory varies by location and popular tools go fast during peak seasons.
As of 2026, rental fees average $15 to $40 per day, with core charges from $40 to $150.
Common Mistakes That Cost Extra or Damage Your Engine
Renting the wrong puller is the biggest mistake. But several others we consistently see cause problems:
- Forcing the puller instead of turning the center screw gradually. Sudden jolts can shear adapter bolts.
- Not securing the crankshaft before pulling. Without holding the snout still, the engine spins and ruins your grip.
- Misaligning the puller so it pulls at an angle. Off-axis force bends the crankshaft snout.
- Returning dirty tools with grease or oil. Some shops deduct cleaning fees from your core charge.
- Keeping the tool past the agreed rental window. Late returns trigger extra fees or deposit forfeiture.
The damage from forcing or misaligning a puller often costs more than the tool itself. If it doesn't fit smoothly, stop and reevaluate.
Step-by-Step Removal Process (Once You Have the Tool)
Removal moves quickly once the tool is properly set up. Rushing the prep usually causes problems.
Follow this sequence:
- Remove accessory drive belts and any shrouds blocking access to the balancer.
- Hold the crankshaft still using a socket on the crank bolt or a specialized holding tool.
- Attach the puller. Install adapter bolts finger-tight, then align the center screw with the crank snout.
- Turn the center screw gradually. Make quarter-turn adjustments, checking alignment between each.
- Apply steady pressure until the balancer releases. Watch for binding.
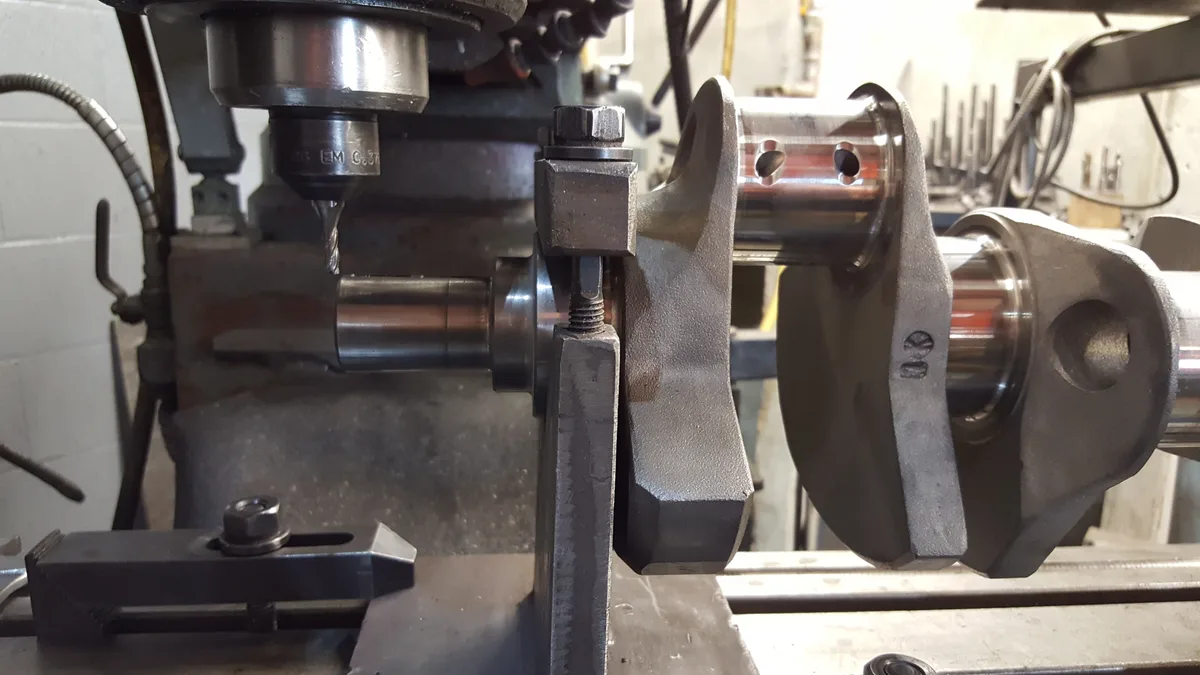
- Inspect components once removed. Look for cracks or keyway damage on the crank snout.
The entire removal often takes under an hour if everything goes smoothly. Most failures happen during steps 3 or 4 when setup is rushed.