


Most people ask this because a drill feels mysterious until it doesn’t. What Do the Numbers on a Cordless Drill Mean? Short answer, they’re mostly torque settings on the clutch ring, plus gear numbers for speed, and icons for mode.
Once you match those to your task, screws stop stripping and holes cut cleaner.
You will see real specs on the tool body too. Manufacturer specifications indicate torque in inch-pounds or newton-meters, and speed as no-load RPM, often split across two gears. Per IEC 62841 classification, modern drills standardize controls and safety, not a universal torque scale.
Let’s make those markings work for you, starting with the quick version.
Quick Answer
What Do the Numbers on a Cordless Drill Mean?
Numbers on the clutch ring set the torque limit.
Gear numbers select mechanical speed ranges, like 1 or 2.
The drill icon bypasses the clutch for boring holes.
The hammer icon adds percussion for masonry drilling.
What Do the Numbers on a Cordless Drill Mean?
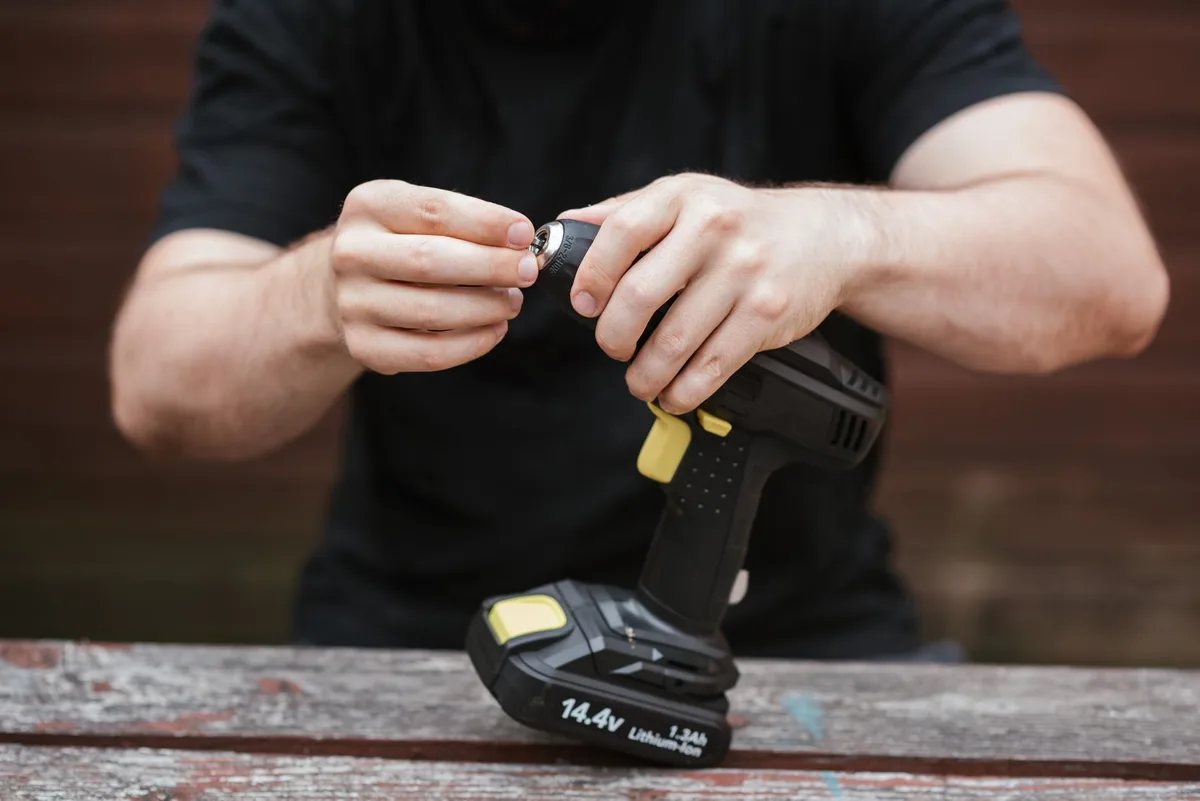
Image source: Pexels / Anete Lusina (Pexels License)
The problem: those drill numbers are confusing, what do they actually control?
You see a ring of numbers, a 1 and 2 slider, and a few icons. Then you pull the trigger, and screws either bury themselves or strip out. Brands use different scales and symbols, so the learning curve is real.
Here is the core of it. The numbered clutch ring limits torque, which is the turning force. Lower numbers slip earlier and protect the screw, higher numbers drive harder.
The gear selector changes the mechanical ratio. Gear 1 multiplies torque with a lower top speed. Gear 2 increases speed with less torque at the chuck.
Mode icons change behaviour. The screw icon uses the clutch. The drill icon bypasses it for constant drive.
The hammer icon adds rapid impacts for drilling masonry with a carbide masonry bit.
Where it trips people up:
- Clutch numbers are not standardized across brands. A 10 on one drill is not equal to 10 on another.
- Gear 1 or 2 is separate from the clutch ring. You use both together.
- Battery voltage and amp-hour ratings do not change the meaning of the clutch numbers. They affect overall power and runtime.
If you remember this pairing, you win. Task and material first, then gear for speed and control, then clutch number for screw depth. When drilling holes, use the drill icon and ignore the clutch.
Where you’ll see numbers on a cordless drill, clutch ring, gear selector, RPM, voltage, chuck size
Every cordless drill packs several number systems. Each lives in a specific place, and each does a distinct job.
- Clutch ring, the numbered collar behind the chuck. It sets the slip point so you do not overdrive screws.
- Gear selector, usually a 1 and 2 slider on top. It picks low or high mechanical speed.
- Mode ring or switch, icons for screw, drill, and sometimes hammer. The drill icon bypasses the clutch completely.
- Specs badge or user manual, lists torque, no-load RPM, hammer blows per minute, voltage class, and chuck size.
Here is a quick map you can trust.
| Location on tool | What the number means | Typical values | Action it controls |
|---|---|---|---|
| Clutch ring | Torque limit step | 1 to 16, 1 to 20, or 1 to 24 steps | Limits drive force for screws |
| Gear selector | Mechanical gear | 1 or 2, sometimes 3 | Low gear for control, high for speed |
| Speed spec | No-load RPM per gear | Gear 1: 0 to 450. Gear 2: 0 to 1,800+ | Max rotational speed range |
| Hammer spec | Blows per minute | 20,000 to 30,000+ BPM | Percussive drilling in masonry |
| Battery label | Voltage class and capacity | 12 V, 18 V or 20 V Max, 2.0 to 5.0 Ah | Power class and runtime, not torque step |
| Chuck marking | Chuck capacity | 3/8 inch or 1/2 inch | Max shank size the chuck can hold |
Two fast clarifiers:
- 20 V Max in the US is the same class as 18 V nominal in many other regions.
- Torque is rated in inch-pounds or newton-meters. 1 newton-meter is about 8.85 inch-pounds.
If you ever wonder what a number controls, think location. If it is on the clutch ring, it is torque-limiting. If it is on top as a slider, it is gear.
If it is on the label, it is a specification.
For deeper specs or symbols, manufacturer manuals are your best reference. DeWalt, Makita, Milwaukee, and Bosch all publish free PDF guides, for example at DeWalt. Industry safety classification for these tools is published by the International Electrotechnical Commission at the IEC.
How the clutch numbers work, torque steps, slip point, when to bypass with the drill icon
The clutch ring is a mechanical slip clutch. Each number is a detent that compresses a spring more or less. When the screw resists rotation past that setting, the clutch slips and clicks, and torque to the bit drops.
What that means for you:
- A low number protects delicate work. Think hinge screws into a cabinet door.
- A high number drives harder and deeper. Think deck screws into joists.
- The drill icon bypasses the clutch. Use it for boring holes with drill bits.
No brand uses a universal scale. A 12 on one drill can feel like 8 or 16 elsewhere. Treat the numbers as steps from soft to hard, not as absolute torque values.
How to set the clutch, step by step
Use this if and then workflow on any job.
- Identify the material and screw size.
If softwood and small screws, start low. If hardwood or large screws, start mid to high.
- Select the gear.
If you need control, pick Gear 1. If you need speed for small screws, pick Gear 2.
- Start at a low clutch number.
Pick 4 to 6 for small screws in softwood, 8 to 12 for hardwood, and 14+ for big deck screws. These are starting points, not rules.
- Test on scrap of the same material.
Drive a screw until the clutch clicks. If the screw sits proud, increase one or two steps. If the screw buries too deep or the head strips, drop one or two steps.
- Lock it in and repeat.
When the depth is right without stripping, keep that number for the batch.
Quick examples to anchor it:
- #6 hinge screws in a soft pine door stile. Gear 1. Start clutch 4 to 6. Add a pilot hole and a countersink.
- #8 or #10 cabinet install screws into hardwood frames. Gear 1. Start clutch 8 to 12. Always drill a proper pilot hole.
- 3 inch exterior deck screws into treated lumber. Gear 2 if your drill has strong torque, else Gear 1. Start clutch near the top of the ring.
Two important realities:
- The clutch limits peak torque, but your trigger finger and bit fit matter. A tight bit in a matching drive recess reduces cam-out and stripping.
- If the clutch chatters too soon and stalls progress, you are either too low on the ring or in the wrong gear.
When to use the drill icon instead of a number
Use the drill icon any time you are boring holes. The clutch has no value for twist bits, spade bits, auger bits, Forstner bits, brad-point bits, masonry bits, or step bits. The bit must cut without interruption.
If you are drilling large diameter holes in wood, stay in Gear 1. If you are drilling small holes in softwood or thin metal, Gear 2 is often fine. If the tool tries to twist your wrist, step down a gear and keep a firm stance.
For metal, always center-punch the mark, use cutting fluid for thicker stock, and slow the speed for larger bits. The goal is sharp chips, not smoke or squeal.
Gears and speed ranges, Gear 1 vs Gear 2 or 3, no-load RPM, when to choose control or speed
The gear selector changes the mechanical ratio before the chuck. Gear 1 multiplies torque and reduces top RPM. Gear 2 increases RPM and reduces torque at the bit.
As of 2026, many 18 V or 20 V Max drill-drivers list about 0 to 450 RPM in Gear 1, and 0 to 1,800 to 2,000 RPM in Gear 2. Compact 12 V models are often closer to 0 to 400 and 0 to 1,500 RPM. You control actual speed with the variable-speed trigger in either gear.
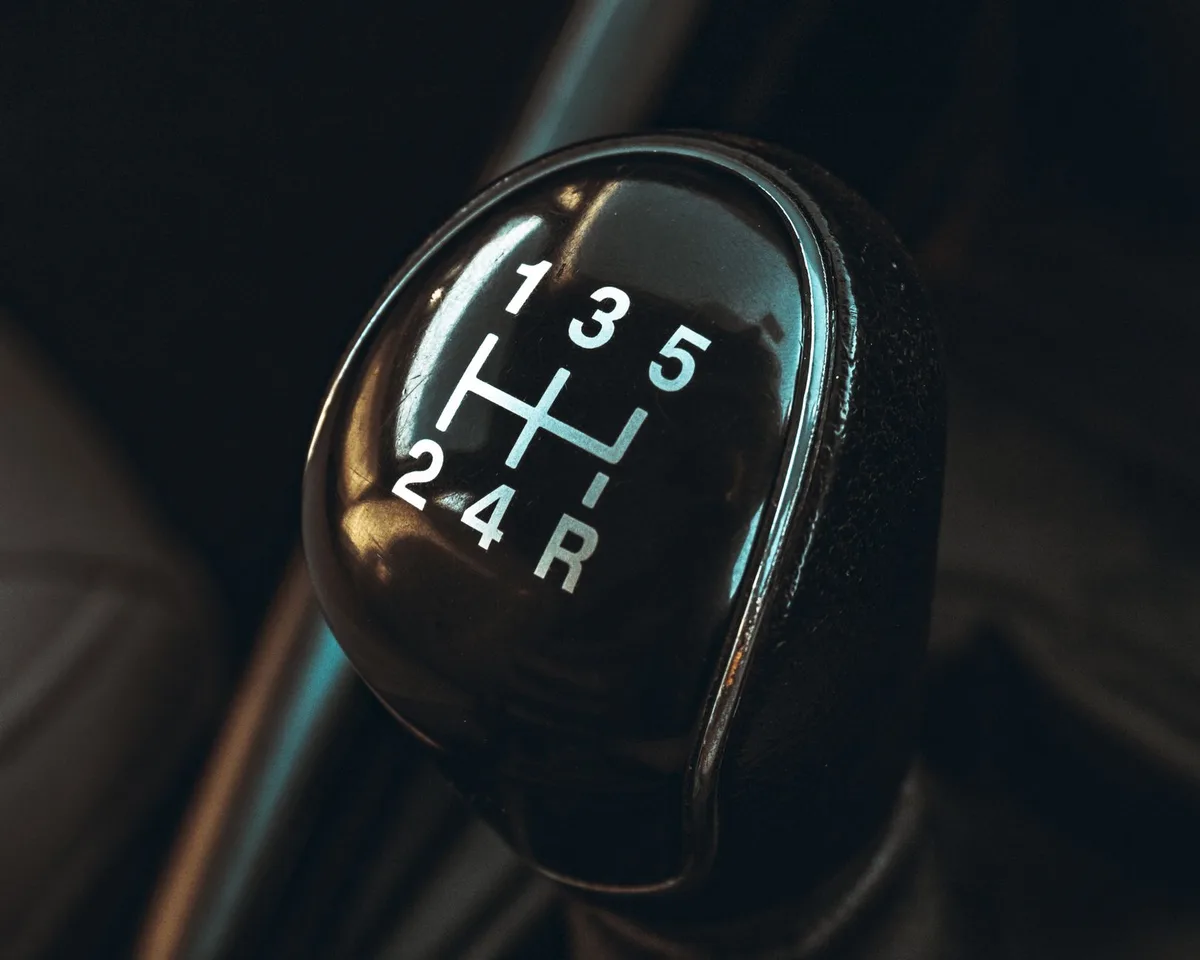
Image source: Pexels / Shantanu Goyal (Pexels License)
If and then choices that get you the right gear
Use these quick rules.
- If you are driving screws and want control, pick Gear 1. This reduces cam-out and splitting.
- If you are drilling small holes in wood or thin metal, pick Gear 2. You cut faster and make cleaner holes.
- If the drill stalls or feels weak in high gear, drop to Gear 1. You gain torque and avoid overheating.
- If your screws bury too fast in high gear, use Gear 1 and lower clutch numbers. You will stop stripping heads.
A small table helps lock this in.
| Gear | Typical no-load RPM | Best for | Why it works |
|---|---|---|---|
| 1, low gear | 0 to 400–500 | Driving screws, large hole saws, augers | More torque, finer control |
| 2, high gear | 0 to 1,500–2,000 | Small drill bits, softwood boring, fasteners in soft materials | Higher top speed, faster cutting |
| 3, if present | Up to 2,100–2,500 | Light drilling only | Speed-biased models with less torque |
No-load RPM is measured without a load. Expect real drilling speeds to be lower under cutting load. A clean, sharp bit and proper pressure get you closer to the top of each range.
What if your drill has hammer mode
Hammer mode is not a gear. It overlays rapid axial impacts on the bit. Use it only with a masonry bit and only for brick, block, and concrete.
If you hear the hammer chatter in wood or metal, you switched modes by accident. Go back to the drill icon. For dust safety in masonry, control debris and wear a respirator where silica may be present, see OSHA guidance at OSHA.
Common speed mistakes and quick fixes
- Spinning too fast in metal causes heat and dulls bits. Slow down, add cutting fluid, and clear chips often.
- Starting a hole in metal without a center punch makes the bit walk. Center-punch first, then drill at lower RPM.
- Forstner and spade bits that smoke need lower speed and more chip clearing. Pulse the trigger and back out often.
If you are unsure which gear to use, start in Gear 1. If the cut is clean and you want faster progress, step to Gear 2 for the next hole or screw and reassess.
Modes explained, screw-driving, drill, and hammer, what changes and when
Each mode changes how torque reaches the bit. Screw-driving mode uses the clutch so you can limit torque. Drill mode bypasses the clutch for continuous rotation.
Hammer mode adds rapid axial blows for masonry.
Use screw-driving mode when the goal is depth control. Hinges, cabinet hardware, drywall screws, and furniture assembly all belong here. The clutch will click when the set torque is reached.
Use drill mode when you are cutting material with a bit. Wood, metal, and plastic all need uninterrupted drive. The clutch will not slip, so keep your grip steady and choose the right gear.
Use hammer mode only with a carbide masonry bit in concrete, brick, or block. The impacts pulverize the surface ahead of the bit. Turn hammer mode off for wood or metal, or you will damage the work and the bit.
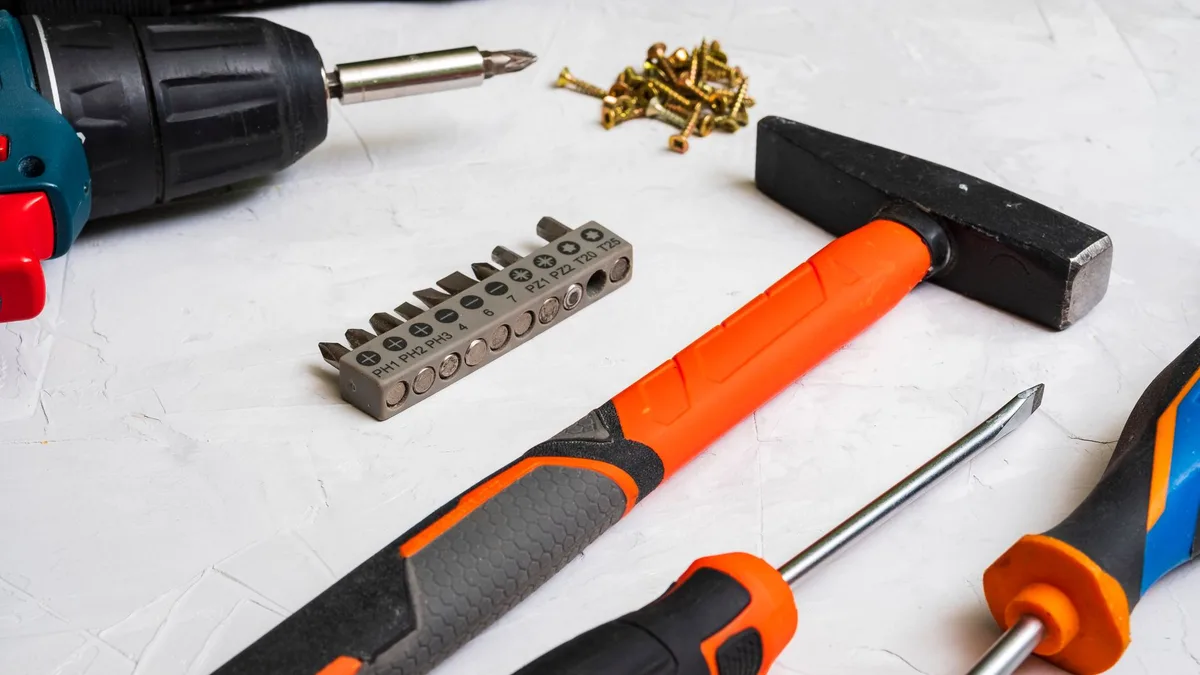
Image source: Pexels / Саша Алалыкин (Pexels License)
Quick mode chooser:
- If you want consistent screw height, pick screw-driving mode and set the clutch.
- If you are drilling any hole in wood or metal, pick drill mode.
- If the substrate is masonry, pick hammer mode and a masonry bit, then manage dust.
Specs that matter at a glance, torque in in-lb or Nm, clutch ranges, RPM bands, BPM, 12 V vs 18 or 20 V Max, 3/8 vs 1/2 inch chucks
Specs tell you what the numbers can deliver. Read them like a dashboard. You will find them on the housing or in the manual.
| Spec | Typical values as of 2026 | What it affects | Notes |
|---|---|---|---|
| Torque rating | 300 to 1,200 in-lb, 34 to 136 Nm | Max drive force | Often quoted as hard or soft joint. 1 Nm is about 8.85 in-lb. |
| Clutch steps | 1 to 16, 1 to 20, 1 to 24 | Fineness of depth control | More steps give finer adjustment, not more peak torque. |
| No-load RPM | Low 0 to 400–500. High 0 to 1,500–2,000 | Speed range by gear | Trigger controls speed within the band. Load reduces actual RPM. |
| Hammer BPM | 20,000 to 30,000+ | Masonry drilling speed | Only relevant in hammer mode. |
| Voltage class | 12 V, 18 V or 20 V Max | Power class | 20 V Max equals 18 V nominal. Higher class gives more headroom. |
| Battery capacity | 1.5 to 5.0 Ah+ | Runtime per charge | Bigger Ah, longer runtime at similar load. |
| Chuck size | 3/8 inch or 1/2 inch | Max shank size | 1/2 inch chucks accept larger bits and grip better. |
| Motor type | Brushed or brushless | Efficiency and control | Brushless usually means longer life and better electronic control. |
Two clarifiers that prevent mix-ups:
- Torque rating and clutch numbers do not map one to one. The rating is the tool’s max, the ring is your chosen limit.
- Hard joint torque is measured on rigid setups, soft joint on compressible materials. Driving into wood behaves like a soft joint.
For metal drilling, lower RPM with larger bits prevents overheating. For big wood bits like a 1 inch spade, Gear 1 and steady pressure cut faster than high RPM with chatter. For masonry, BPM dominates progress, and dust control improves life.
Set your drill the right way every time, step-by-step workflow
Use this repeatable workflow so you can forget guesswork. The order matters.
- Identify the task and material.
Ask, am I driving a screw or drilling a hole. Name the material, for example pine, oak, MDF, aluminum, mild steel, brick, or concrete.
- Choose the mode.
If screw-driving, pick the screw icon. If drilling, pick the drill icon. If masonry, pick the hammer icon.
- Pick the gear.
If you need control or torque, pick Gear 1. If you need speed for small bits or light screws, pick Gear 2.
- Install the right bit.
Use a properly sized driver bit, brad-point for clean wood holes, twist bits for metal, spade or auger for large wood holes, masonry bits for hammer mode. Seat the bit fully and tighten the keyless chuck from all three jaws.
- Set a starting clutch number if driving screws.
If softwood with small screws, start 4 to 6. If hardwood or medium screws, start 8 to 12. If large structural or deck screws, start near the top of the ring.
- Make a test drive or hole on scrap.
If the clutch clicks too soon, raise the number. If screws bury or strip, lower the number or switch to Gear 1.
- Adjust speed with the trigger, not the gear.
Feather the trigger for finesse. Only switch gears if the tool is struggling or overdriving.
- Use pilot holes where needed.
For hardwood, drill a pilot near the screw’s minor diameter. For softwood, a slightly smaller pilot works. Countersink if you need a flush or plugged finish.
- Monitor heat and chip quality.
If chips turn to dust or smoke appears, slow down. In metal, add cutting fluid and clear chips often. In wood, back out to clear long shavings.
- Repeat with consistency.
Lock in what works and keep it for the batch. If material or screw changes, retest and tweak.
Troubleshooting on the fly:
- If the bit chatters or walks, slow the speed and improve guidance. Use a center punch for metal and a brad-point for clean wood entry.
- If the drill kicks your wrist on large bits, step down to Gear 1 and add an auxiliary handle if your model supports one.
Pick your settings, quick decision tree by job
Use these presets as starting points. Fine-tune one or two clutch clicks at a time.
Image source: Wikimedia Commons / United States National Museum (Smithsonian Institution), Washington D.C.
Driving small wood screws, #6 to #8, in softwood
Use screw-driving mode. Gear 2 for speed if control is good, else Gear 1. Start clutch 4 to 6, pilot 70 to 80 percent of the screw’s minor diameter, and add a countersink.
If the head cams out, drop to Gear 1 or switch to a Torx bit. Keep the bit straight and press firmly.
Driving larger screws, #10 to deck, in hardwood
Use screw-driving mode in Gear 1. Start clutch 8 to 12, or higher for dense species like maple. Drill a proper pilot near 85 to 90 percent of the minor diameter and add a countersink.
If you feel splitting, increase pilot size or wax the screw threads. If the clutch chatters early, go up two clicks.
Driving lag screws or structural fasteners
Use screw-driving mode in Gear 1. Pre-drill a shank hole and a pilot in the member. Start clutch near the top of the ring or switch to drill mode with caution if the clutch slips too soon.
If the drill fights you, add an impact driver for final seating. An auxiliary handle improves safety and control.
Drilling wood with brad-point, spade, auger, or Forstner bits
Use drill mode. Gear 2 for brad-points up to 3/8 inch. Gear 1 for spade, auger, and Forstner bits, especially over 1/2 inch.
Back out often to clear chips and keep the bit cool.
If the hole burns, slow down or sharpen the bit. Clamp workpieces to prevent spin.
Drilling metal with twist or step bits
Use drill mode. Center-punch the mark first. Gear 2 for small bits under 1/8 inch, Gear 1 for 1/4 inch and larger.
Use cutting fluid on steel and clear chips frequently.
If the bit squeals or turns blue, reduce RPM and pressure. Step bits like stable pressure and lower speed.
Drilling masonry with a masonry bit
Use hammer mode in Gear 2. Mark the hole, hold the drill square, and let the percussion do the work. For deep holes, pull out periodically to dump dust.
If progress stalls, switch to a fresh carbide bit or step up through sizes. Control dust and wear eye and respiratory protection.
Delicate hardware and hinges
Use screw-driving mode, Gear 1. Start clutch 3 to 5 with a snug pilot and a countersink. Drive by feel and stop as soon as the head seats.
If screws strip, switch to a better fitting bit or a Torx or Square fastener. If they still strip, pre-thread the hole with a steel screw of the same size.
Who this helps, DIYers, installers, carpenters, electricians, plumbers, hobbyists
Different users want different outcomes. The settings help you deliver them quickly and safely.
- DIY homeowners. You get consistent results on shelves, curtain rods, and furniture without stripping fasteners or chewing wood.
- Cabinet installers and carpenters. You hit repeatable screw depth in hardwood frames and avoid blowouts on face frames and veneers.
- Drywallers. You prevent overdriving and paper tears by setting the clutch low and keeping Gear 2 for pace.
- Electricians. You drill clean pilots in studs with brad-points, then use step bits in panels at controlled speed.
- Plumbers. You bore larger holes in studs with spade or auger bits in Gear 1, then switch to hammer mode for masonry penetrations.
- Hobbyists and makers. You learn repeatable clutch numbers for plastics and soft woods, and switch to drill mode for clean acrylic or aluminium holes.
If your team shares tools, write down the clutch range that works for common tasks. A small label on the case with gear and clutch presets saves time and keeps finishes consistent.
Common mistakes to avoid, mixing up clutch and gear, overdriving, cam-out, wrong mode, stalling in high gear
Confusing clutch steps with gear selection. Gear changes speed and torque balance, the clutch limits torque spike.
Driving screws in drill mode. You lose the safety slip and strip or snap fasteners.
Using high gear with big cutters. Large spade, auger, or hole saws demand Gear 1 for control.
Poor bit fit. A worn Phillips bit cams out fast. Use fresh bits, consider Torx or Square.
Skipping pilots in hardwood. Wood splits or screws snap. Size pilots to the minor diameter.
Hammer mode in wood or metal. It ruins bits and scars the work.
Over-tightening until a screw shears. Stop when the head seats or the clutch clicks.
Loose chuck jaws. Tighten from all three positions so the bit does not slip.
Safety must-knows, PPE, clamping work, kickback control, battery and charger safety, dust precautions
Wear eye protection and hearing protection. Chips and percussion are not predictable.
Clamp work. Never hand-hold small parts near the bit.
Use Gear 1 with large cutters and hole saws. Hold the tool with two hands.
Use the correct charger for your battery system. Do not short battery terminals.
Inspect the chuck and bit before work. Replace damaged accessories.
Control silica dust in masonry. Use a vacuum or wet method and a respirator.
Follow tool markings and manuals. Look for UL or CSA marks aligned to IEC 62841.
Pro tips for clean, consistent results, pilot hole sizing, bit selection, depth stops, testing on scrap, managing heat
Match pilots to the screw’s minor diameter, about 85 to 90 percent in hardwood.
Use Torx or Square for tougher driving. They resist cam-out better than Phillips.
Countersink before driving finish screws. Heads sit flush and wood does not bulge.
Test and label clutch presets for common tasks. Share them with the crew.
Keep bits sharp. Sharpen or replace dull bits before they burn the work.
Use cutting fluid on steel and stainless. Slow the RPM as diameter increases.
Back out to clear chips in deep holes. Packed chips create heat and bind the bit.
Tighten keyless chucks from all three jaws. You get a truer grip on the shank.
Frequently Asked Questions
Are clutch numbers standardized across brands?
No, they are relative steps. Treat them as softer to harder and test on scrap to confirm depth.
What starting clutch number should I pick?
Start low in softwood, higher in hardwood. Try 4 to 6, then 8 to 12, adjusting one click at a time.
Is 20 V Max different from 18 V?
It is the same class. 20 V Max is full-charge marketing, 18 V is nominal voltage under load.
Do brushless motors change the numbers’ meaning?
No, they improve efficiency and control. The workflow stays the same, you still set gear and clutch.
Why does my clutch click immediately without driving the screw?
Your setting is too low or the gear is too high. Increase the clutch one or two steps or switch to Gear 1.
Can I use an impact driver instead of a drill for screws?
Yes, impacts drive fast and resist cam-out, but they lack a clutch. Use care on delicate work or switch to your drill with a low clutch.
Final decision guide, simple rules of thumb and a quick cheat sheet
- If driving screws, use screw mode, Gear 1 for control, then raise clutch until perfect.
- If drilling wood or metal, use drill mode, pick gear by bit size, manage speed with the trigger.
- If drilling masonry, use hammer mode, Gear 2, a masonry bit, and manage dust and PPE.
Quick presets to remember:
- Small screws in softwood, Gear 2, clutch 4 to 6.
- Medium screws in hardwood, Gear 1, clutch 8 to 12.
- Large deck screws, Gear 1 or strong Gear 2, clutch near the top.
