






A faulty bearing doesn't announce its troubles, it just seizes when you least expect it. When that happens, having a puller selection chart in your back pocket can be the difference between a 30-minute fix and a trip to a machine shop. This guide cuts straight to the point so you pick the right tool every time, without overthinking it or buying gear you don't need.
Manufacturer specifications and bearing engineering data show that matching puller type to application prevents damaged shafts and stripped threads. Whether you're rebuilding a transmission or swapping out a pulley, this straightforward breakdown helps you move confidently. Let's walk through exactly what to look for before you ever turn a screw.
Quick Answer
A puller selection chart matches your task to the correct mechanical pulling device. First, identify whether you are removing an internal or external component. Next, measure available clearance and required pulling capacity.
Then, select either a 2-jaw or 3-jaw puller based on geometry. Always choose a tool rated slightly above your estimated force needs.
Why Getting Your Puller Wrong Costs More Than You Think
You might think any old gear puller will do, but picking the wrong one often leads to ruined parts and extra work. A miscalculated pull creates uneven force, which scores shafts or cracks housings. Before we break down the technical side, it helps to understand puller types explained so you know exactly how each variation functions under load.
This isn't about buying the most expensive kit. It is about recognizing the mismatch between a job's actual demands and the tool you happen to have handy. When force isn't applied evenly or through the proper engagement points, you risk bending jaws, stripping the lead screw, or damaging delicate bearing races.
The goal here is simple: stop guessing and start selecting based on solid logic. That is what separates a quick repair from a costly mistake.

Four Decisions That Determine Which Puller You Need
Finding the right tool comes down to four specific variables. If you skip even one, you increase the chance of a failed extraction. Let's break them down logically so you can build a reliable mental checklist before heading to the toolbox.
What You're Actually Removing
Your first decision depends entirely on what is being extracted. Are you pulling a sealed bearing, a loose gear, a pulley, or an internal retaining ring? Each item has a unique geometry that dictates the contact points.
For instance, removing a press-fit bearing typically requires a 2-jaw or 3-jaw puller applied to the inner race.
Attempting to yank a delicate pulley with aggressive serrated jaws will likely gouge the mounting surface. You might find helpful insights into automotive pullers that address these exact component-specific challenges. Always inspect the part to see where the tool can grip safely without crushing adjacent components.
The material hardness and shape of the target piece should drive your initial choice.
How Much Clearance You Have
Clearance is often the overlooked factor that forces a last-minute tool swap. You need enough physical space around the assembly for the puller arms to open and for the lead screw to engage properly. Tight engine bays or confined industrial housings frequently restrict access.
If your workspace is cramped, a standard open-frame puller simply won't fit.
In those tight scenarios, you may need a slide hammer or a specialized low-profile hydraulic unit. Measure your workspace beforehand. Ensure you have clearance for the full arc of the puller arms during operation.
Limited access often dictates a change in tool style rather than just a smaller size.

The Force and Capacity You'll Need
Never ignore the force requirements of your job. Every bearing or pressed component has a specific interference fit that dictates the tonnage needed. Using an undersized puller invites tool failure.
A broken lead screw under high tension can become a dangerous projectile or cause severe injury.
Consult manufacturer specifications or bearing engineering charts to estimate the necessary pulling power. As a general rule, always select a puller rated for at least 25 percent more capacity than your calculated requirement. This safety margin ensures the tool operates well within its structural limits during stubborn extractions.
Overestimating capacity is far safer than underestimating it.
Internal vs. External Geometry
Finally, you must determine if you are working externally or internally. External removal involves components mounted on the outside of a shaft or hub. Standard jaw pullers handle these tasks effortlessly.
Internal removal, however, requires expanding mechanisms from the inside of a hollow shaft or housing.
Internal pullers utilize special gripping hooks or expansion chucks that anchor behind the component. Using an external puller on an internal part is impossible without destructive modifications. Reviewing puller types explained further clarifies these fundamental geometric differences and helps you avoid costly order mistakes.
Jaw Configurations, Capacity Ratings, and Specs That Actually Matter
Once you understand the four deciding factors, the next layer involves the physical attributes of the tool itself. Not all pullers are created equal, and minor spec differences often define success or failure on the job. Let's look at what truly matters beyond the price tag.
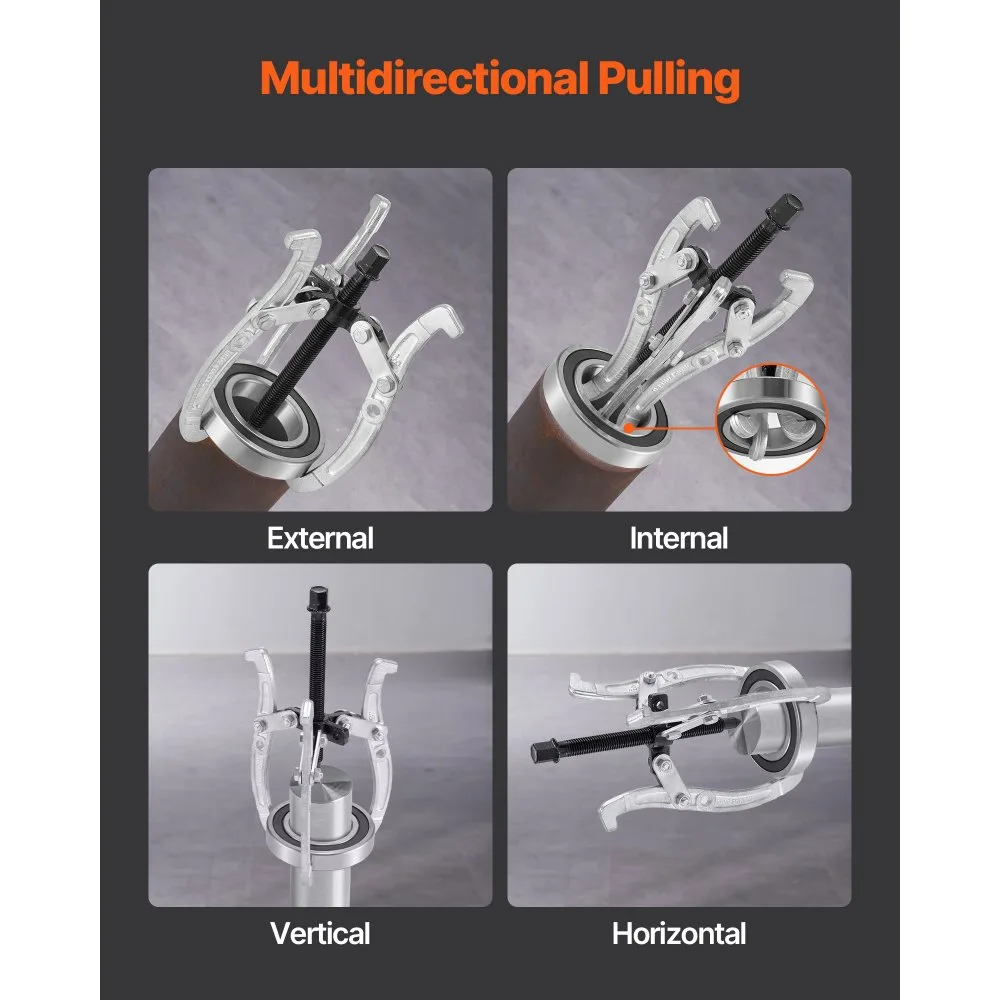

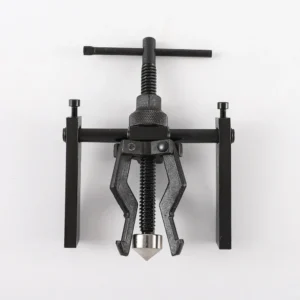
Jaw configuration is your first stop. Two-jaw pullers offer better visibility and easier positioning but require careful alignment to prevent tilting. Three-jaw pullers provide superior stability and self-centering action.
However, they can obscure your view of the release point. Both designs have their place depending on precision needs versus raw stability requirements.
Capacity ratings indicate maximum safe working load, usually measured in tons. These ratings assume proper usage conditions. Always verify the thread size and lead screw diameter.
Larger screws resist bending under heavy loads significantly better than slender ones. Material quality is equally critical. High-grade alloy steel joints and hardened tips endure repeated stress far better than standard mild steel alternatives.
Additional specs include throat depth and jaw reach. Throat depth determines how far the central screw sits from the arm pivot. Deeper throats accommodate larger assemblies.
Check for replaceable jaw tips as well. Worn serrations lose grip quickly, so interchangeable replacements extend the tool's usable life considerably.
Step-by-Step: Walking Through the Right Selection
Now that you grasp the theory, let's apply it through a practical workflow. Follow these sequential steps to navigate from a vague need to a precise tool purchase with confidence.
Step 1: Identify the Component and Mounting Style
Start by examining the stuck part closely. Note whether it is mounted externally or internally. Look for keyways, set screws, or opposing flats that might interfere with standard jaw placement.
Document the outer diameter and the shaft diameter immediately. This basic information sets the boundary conditions for your search.
Step 2: Map the Physical Access Points
Measure the available radius around the component. Check overhead clearance for the lead screw path. If you plan to use an air-grip or hydraulic system, ensure hose routing won't tangle.
Taking accurate spatial measurements now prevents frustrated returns later. Use hydraulic puller usage principles to evaluate if powered assistance fits your access constraints.
Step 3: Calculate Estimated Force Requirements
Refer to bearing fit tables from suppliers like SKF to gauge interference fit severity. Multiply the base pull force by a safety factor of 1.25 to 1.5. This calculated value becomes your minimum puller capacity requirement for safe operation.
Step 4: Choose Jaw Type and Configuration
Select between 2-jaw or 3-jaw models based on symmetry and visibility needs. For perfectly round bearings, 3-jaw models excel. For irregular shapes like split collars, adjustable 2-jaw setups offer necessary flexibility.
Consider adding jaw extensions if your target has limited gripping surfaces.
Step 5: Verify Physical Specifications and Materials
Confirm that the puller's throat depth exceeds your assembly width. Ensure the shank diameter matches your intended drilling or tapping requirements if modification is necessary. Prioritize tools made from heat-treated alloy steel for longevity.
Cheaply made alternatives often deform permanently after a single heavy extraction.
Step 6: Cross-Reference with Similar Jobs
Review past projects to see if this puller would have solved previous stubborn extractions. Matching current needs against historical performance builds a robust mental library. This retrospective analysis sharpens your future selection instincts remarkably well.

Which Puller Fits Your Most Common Jobs
Not every mechanic needs every tool in the catalog. Often, focusing on a few high-utility configurations covers the majority of real-world scenarios efficiently. Let's map specific puller types to common jobs to streamline your purchasing decisions.
| Most Common Job | Recommended Puller Type | Key Specification Focus | Typical Capacity Range |
|---|---|---|---|
| Automotive wheel bearings | 3-jaw mechanical puller | Swinging jaws, high throat | 3 to 10 tons |
| Electric motor pulleys | 2-jaw adjustable puller | Replaceable serrated tips | 1 to 5 tons |
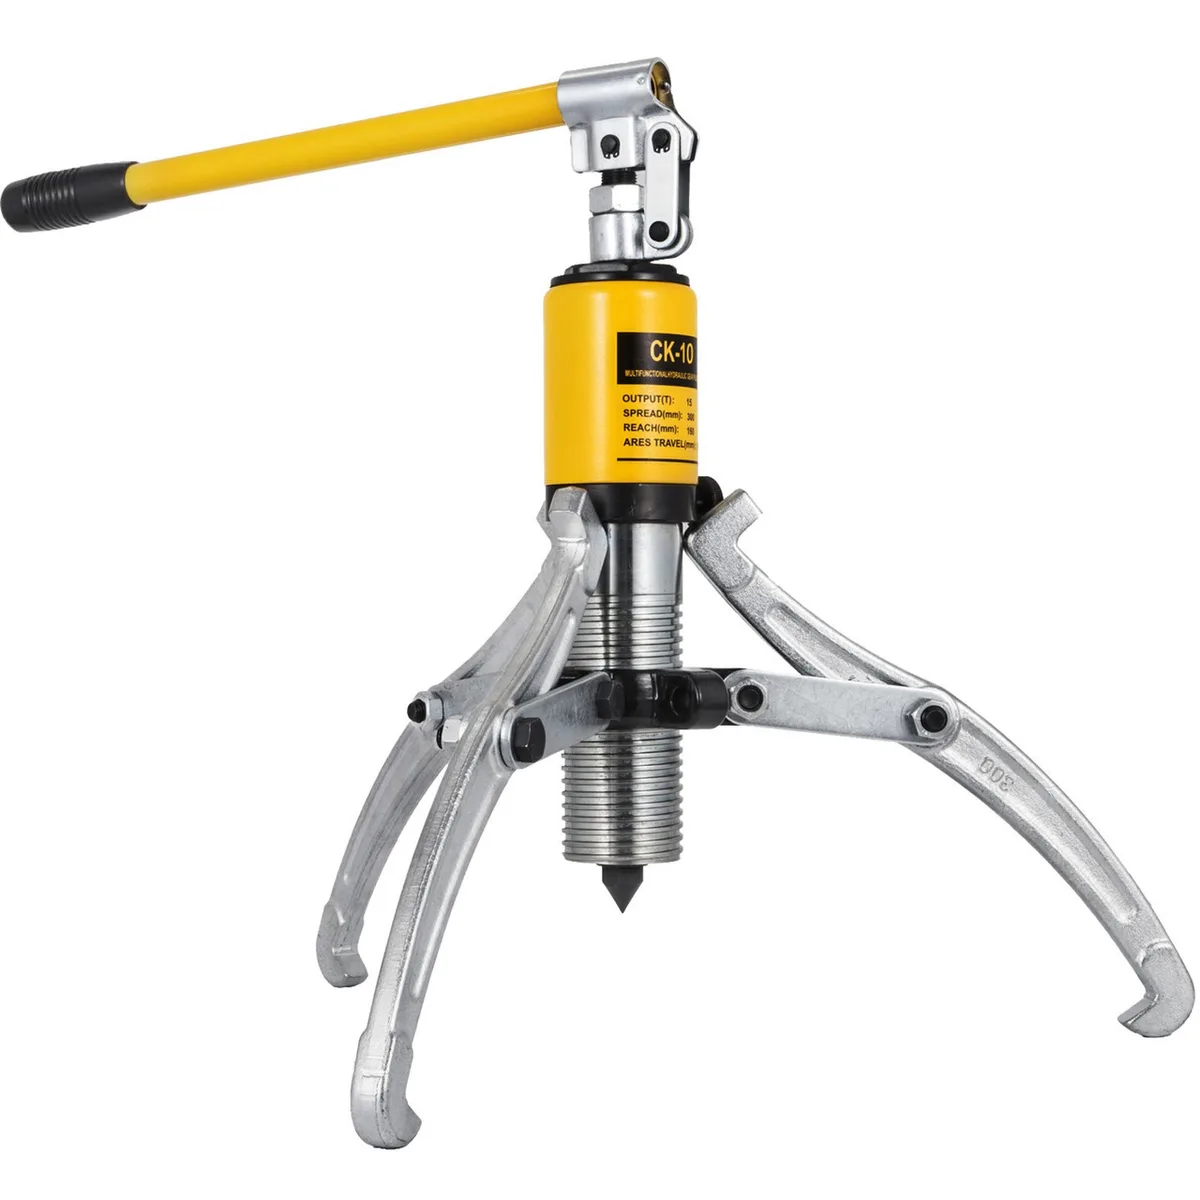
| Industrial gear assemblies | Hydraulic split ram puller | Rapid actuation, massive force | 10 to 50 tons |
| Small appliance bushings | Internal expanding puller | Tension rings, compact profile | 0.5 to 2 tons |
| Agricultural implement hubs | Slide hammer adapter set | Impact capability, heavy duty | Varies by hammer weight |
For routine automotive and light industrial work, a quality 2-jaw and 3-jaw combo kit provides excellent versatility. These tools handle everything from dryer drum bearings to small pump impellers. Mechanics dealing with heavy machinery should invest in hydraulic systems for their speed and brute force capabilities.
Niche applications like vintage motorcycle restoration often demand specific internal pullers with delicate gripping mechanisms to avoid marring historic parts.
Matching your frequency of use to the tool's durability class saves money over time. Buying the cheapest option for daily professional use usually results in broken tools within months. Conversely, purchasing military-spec equipment for occasional hobbyist repairs wastes valuable budget unnecessarily.
Seven Mistakes That Turn a $40 Tool Into a $400 Problem
Even experienced technicians fall into familiar traps when using extraction tools. Recognizing these common errors beforehand prevents damage to expensive components and ensures personal safety throughout the process.
First, applying force to the outer race instead of the inner race when removing a bearing destroys both. Always position jaws against the race that fits snugly on the shaft. Force must travel through the inner ring only.
Second, cross-threading the lead screw by forcing misalignment creates immediate damage to critical threads. Start every turn by hand before engaging any tool. If resistance meets your fingers, back off and realign completely.
Third, using a puller rated too close to the required force eliminates your safety margin dangerously. A 5-ton puller maxing out on a 4.8-ton job leaves zero reserve capacity. Always select tools with 25 percent overhead minimum.
Fourth, ignoring jaw tip condition allows smooth or worn tips to slip off under load unexpectedly. Serrated surfaces bite into metal and maintain grip through vibration. Worn tips slide freely and launch components violently.
Fifth, pulling at an angle introduces lateral stress that bends arms and warps components permanently. Keep the lead screw perfectly perpendicular to the mounting surface at all times. Use alignment guides or pilot pins when uncertain about straightness.
Sixth, skipping penetration oil on seized parts forces excessive brute force that breaks equipment. WD-40 or equivalent penetrating fluids need time to soak into seized interfaces. Apply liberally and wait at least 15 minutes before attempting removal.
Heat application through torch can also break corrosion bonds safely when oil alone fails.
Seventh, failing to support the component being pulled causes unintended strain on adjacent fragile parts like seals or gaskets. Never let hanging weight stress bearings, seals, or shaft threads outside the target area. Provide secondary support whenever possible.
Avoiding these pitfalls preserves both your tools and your workpiece integrity consistently.
Puller Selection FAQs
What is the difference between a 2-jaw and 3-jaw puller?
Two-jaw pullers offer better visibility and easier positioning on irregular components. Three-jaw models provide superior stability and self-centering action for symmetrical parts. Choose based on whether visibility or balance matters more for your specific job.
How do I calculate the tonnage I need for a bearing pull?
Consult bearing manufacturer interference fit tables for your specific shaft diameter and tolerance class. Multiply the recommended removal force by a safety factor of 1.5. This calculated value becomes your minimum puller capacity requirement for safe operation.
Can I use any puller on any type of bearing?
No. Bearing geometry determines compatible puller types fundamentally. External bearings typically require jaw-style pullers engaging the inner race.
Internal bearings need expanding mechanisms anchored from behind. Using mismatched tools risks damaging races and surrounding components entirely.
When should I choose a hydraulic puller over a mechanical one?
Hydraulic pullers excel when dealing with extremely tight interference fits or massive industrial components. Mechanical pullers suffice for light to moderate automotive and household applications. Consider hydraulic systems when manual cranking proves insufficient or when speed matters more than precision.
How do I maintain my puller tools for long-term use?
Clean jaws and threads after every use with a wire brush and solvent. Lightly coat all metal surfaces with machine oil to prevent rust formation. Inspect jaws regularly for wear, cracks, or deformation before each deployment.
Store tools in a dry environment away from moisture exposure.
What safety precautions should I follow when using bearing pullers?
Always wear safety glasses to protect eyes from flying debris or broken tool fragments. Keep hands clear of pinch points while applying tension. Never exceed the rated capacity of your selected puller under any circumstances.
Support heavy components adequately to prevent unexpected shifting during extraction.


