How to Remove a Harmonic Balancer Without a Puller
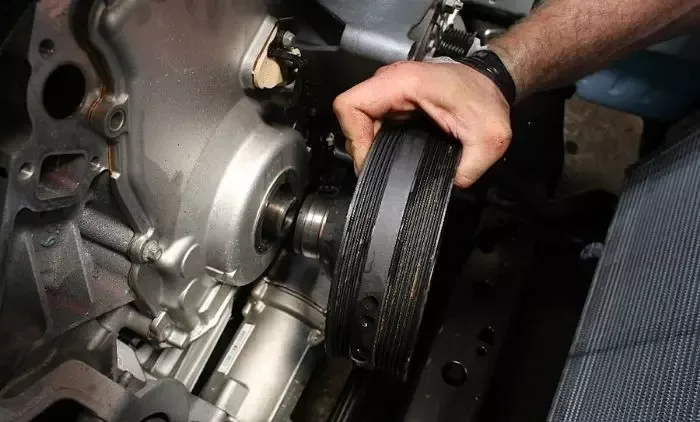
Learning how to remove harmonic balancer without a puller starts with knowing your engine. You might face a seized crank bolt, a missing specialty tool, or a tight repair budget. You can do it safely with basic hand tools if you check a few conditions first.
The key is matching the method to your balancer type.
Manufacturer specifications often list crank bolt torque between 60 and 120 foot pounds. That number tells you how much force holds the balancer in place. Before you apply any force you need to confirm thread direction and inspect the crank snout.
Let us start with why you might skip the puller and when that makes sense.
how to remove harmonic balancer without a puller
Loosen the crankshaft bolt first. Thread two bolts into the balancer if holes exist. Press against a flat bar to walk the balancer off.
Pry evenly only if no threaded holes are present. Always lock the crankshaft before applying force.
Why Remove a Harmonic Balancer Without a Puller
A harmonic balancer is the heavy wheel mounted on the front of your crankshaft. It smooths out engine vibration and keeps accessories turning. Most cars hold it in place with one large crankshaft retaining bolt.
You do not always need a dedicated puller to get it off.
Buying or renting a puller costs time and money. A basic puller runs twenty to sixty dollars as of 2026, plus shipping or a rental deposit. If you are working in a driveway without a lift, that trip to the parts store may not fit your schedule.
Hand tools you already own can often do the same job.
Many auto parts stores loan pullers for free with a deposit. That deposit can tie up twenty to fifty dollars until you return the tool. If you need the car running today waiting for a loaner return window may not work.
Buying a puller also adds a tool you may only use once.
The catch is that you must verify three things before you start. First, check if the balancer face has threaded holes for puller bolts. Second, confirm whether your crank bolt uses standard or reverse threads.
Third, inspect the crank snout for burrs or rust that could bind the hub.
When those checks pass, removing the balancer without a puller is straightforward. When they do not, forcing it can strip crank threads or crack the damper rubber. Knowing which situation you have saves you from a costly mistake.
The balancer contains a rubber or elastomer ring between the inner hub and outer ring. Pry too hard and you can separate that ring permanently. Once separated the balancer is junk and must be replaced.
Gentle even pressure protects that seal.
Before You Start: Crank Bolt Direction, Balancer Holes, and Snout Condition
Look at the center of the balancer for threaded bolt holes. Some balancers have three or four threaded holes around the hub face. Others have none, which changes your removal method completely.
If holes exist you can build a simple press with bolts and a flat bar.
Check the crankshaft retaining bolt thread direction. Most engines use standard right hand threads, but some imports use left hand or reverse threads. Turn the wrong way and you will tighten the bolt instead of loosening it.
SAE International fastener standards cover thread direction and bolt grades used in automotive applications.
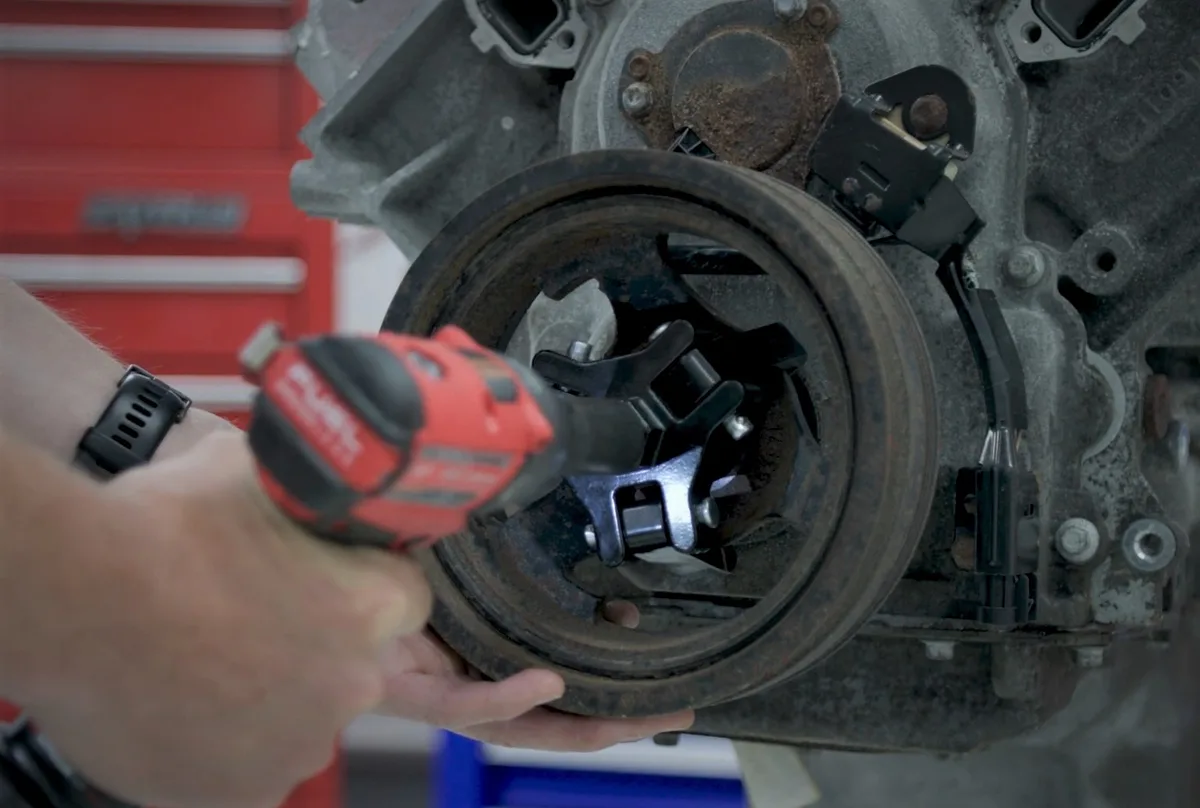
Inspect the crank snout for rust, burrs, or damage. The snout is the machined shaft that sticks out from the crankshaft. Corrosion can glue the balancer hub to the shaft.
A penetrating oil soak of fifteen minutes to overnight helps break that bond.
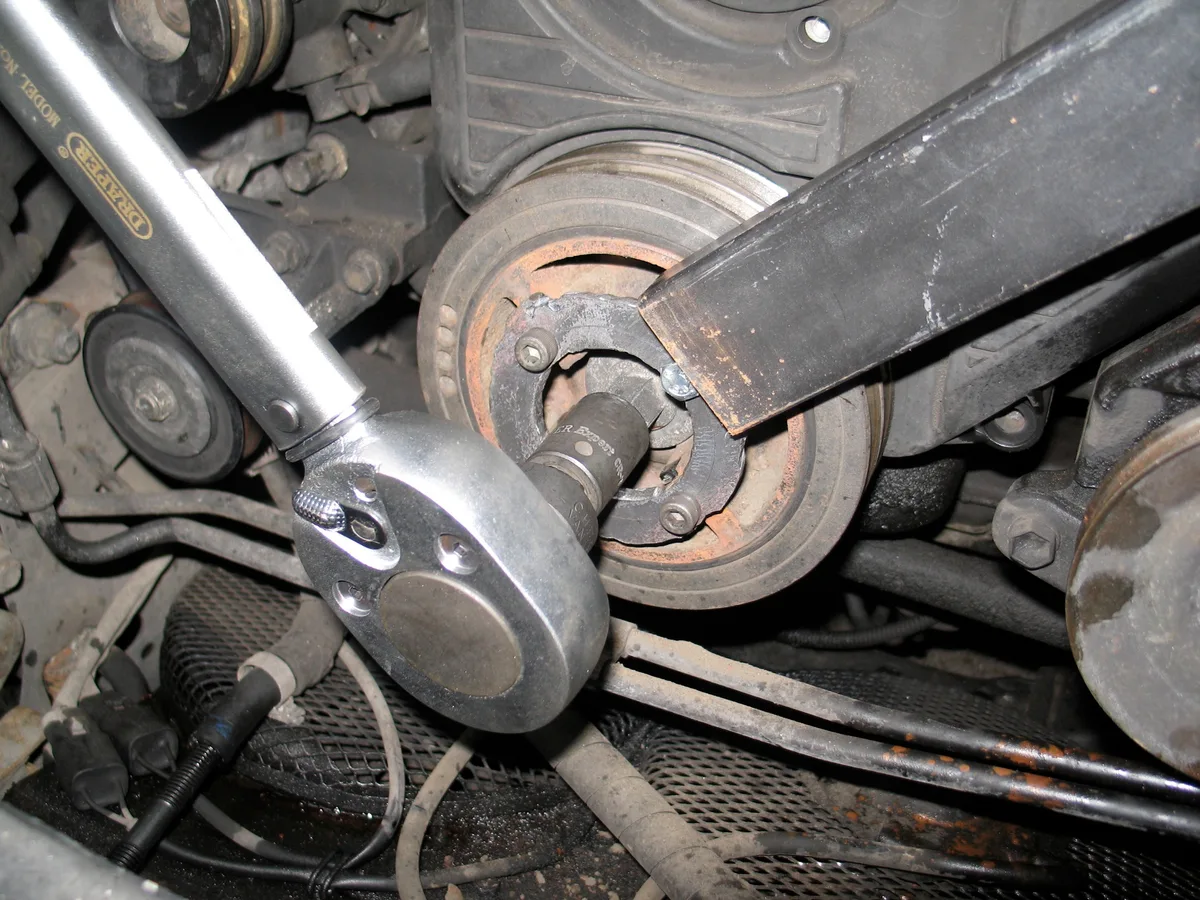
Note the Woodruff key and keyway on the snout. The key is a small half moon metal piece that locks the balancer to the crank. If you lose it or bend it the balancer will not sit straight when you reinstall it.
Keep it in a clean container until you are ready to put everything back.
Pick the Right Method: Threaded Holes, Pry Points, or a DIY Bolt Press
Your first decision point is whether the balancer face has threaded holes. If it does, thread two bolts into those holes and press against a flat bar or plate. Even pressure on both sides walks the balancer off the crank snout without prying.
If there are no threaded holes you have two options. You can pry at multiple points around the hub with a flat bar or large screwdriver. You can also apply localized heat to the balancer hub with a heat gun to expand the metal slightly.
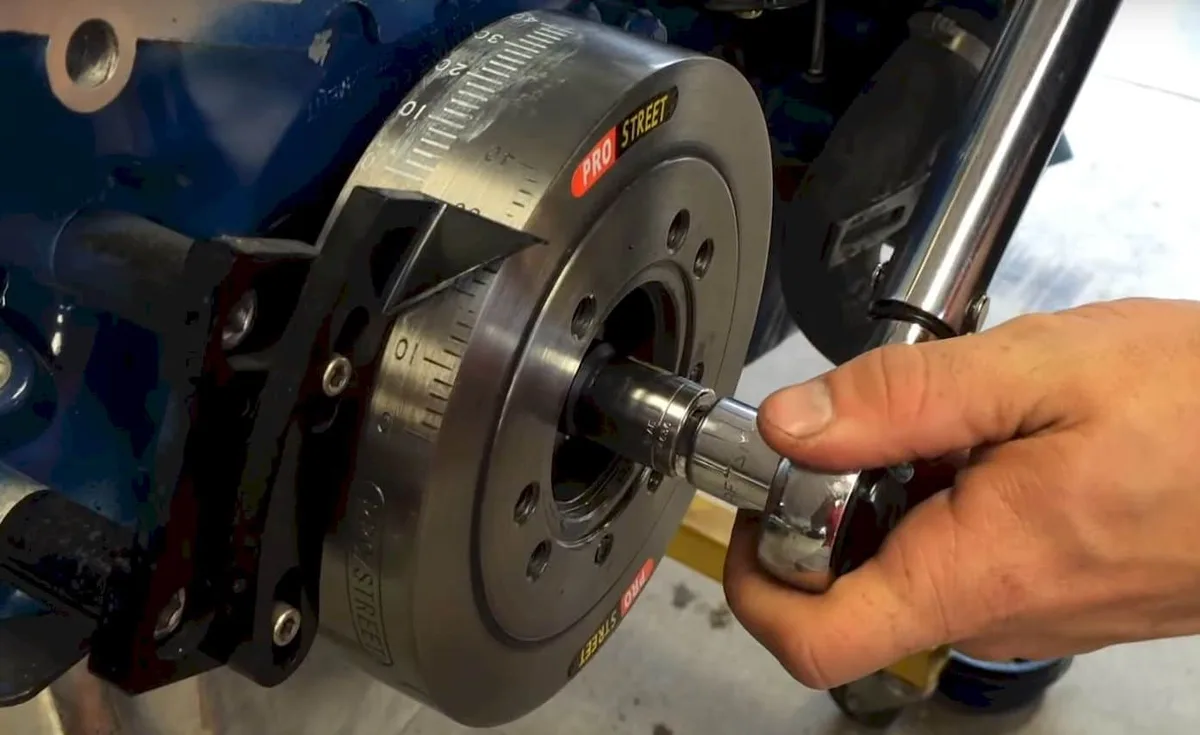
Never pry against the timing cover or the rubber ring. Focus pressure on the metal hub only. Heat works best on steel or cast iron hubs, not aluminum, and never aim a torch at the elastomer.
The outer ring and inner hub can separate if you overheat one side.
You can make a press with two grade 8 bolts, washers, and a flat steel plate. Thread the bolts into the balancer holes and tighten the nuts against the plate. The plate pushes on the crank snout while the bolts pull the balancer outward.
This creates even pressure without prying.
An impact wrench can shock a seized bolt loose, but a breaker bar gives you more control. Apply steady pressure rather than sudden jerks. Sudden force is what strips crank threads and bends the balancer.
Step-by-Step: Pull the Balancer With Hand Tools
Before you touch the balancer gather your tools and prep the engine. You will need a breaker bar, sockets, penetrating oil, safety glasses, and either threaded bolts or a pry bar. A flat steel bar or plate works as a press surface if your balancer has threaded holes.
Wear gloves because the crank bolt and balancer edges can be sharp.
| Tool | Use |
|---|---|
| Breaker bar and socket | Loosen crank bolt |
| Penetrating oil | Soak hub and bolt |
| Flat bar or pry bar | Apply pressure |
| Grade 8 bolts and washers | Build DIY press |
| Heat gun | Expand balancer hub |
| Safety glasses and gloves | Personal protection |
Disconnect the negative battery terminal. This prevents an accidental start while you are near the crank.
Remove the serpentine or accessory drive belt so it does not interfere.
Lock the crankshaft. Use a strap wrench on the balancer or access the flywheel through the bell housing if your vehicle allows it.
Loosen and remove the crankshaft retaining bolt. Remember the thread direction you checked earlier.
Spray penetrating oil around the bolt and hub. Let it soak for at least fifteen minutes, or overnight for severely rusted engines.
If your balancer has threaded holes, screw in two bolts and tighten them against a flat bar. Alternate sides in small turns until the balancer slides off.
If there are no threaded holes, pry gently at opposite points around the hub. Move slowly and check for binding after each adjustment.
Tap the end of the crank bolt with a hammer to shock the threads loose if the balancer will not budge.
Slide the balancer straight off the crank snout. Do not tilt it or you may bend the hub or damage the front main seal.
Locking the crank matters. ASE certification standards emphasize locking the crankshaft before applying force. An unlocked engine can rotate and throw off your timing.
Mistakes That Strip Crank Threads or Crack the Damper
The most expensive mistake is turning the crank bolt in the wrong direction. On a reverse thread engine you will tighten the bolt and risk snapping it off inside the crankshaft. A broken bolt often requires drilling and tapping, which can ruin the engine.
Prying against the timing cover is another common error. The cover is thin aluminum or stamped steel and dents easily. Once dented it can leak oil or misalign the front main seal.
Always pry on the balancer hub itself, never on surrounding covers.
Applying uneven pressure can crack the elastomer ring inside the balancer. If the rubber separates from the hub or outer ring the part is no longer serviceable. You will have to buy a new balancer because the old one cannot be pressed back together reliably.
Skipping the crankshaft lock lets the engine rotate while you pull. That makes the job harder and can throw off your timing if the engine jumps a tooth. Lock the crank before you loosen the bolt and keep it locked until the balancer is clear.
Finally, do not reuse a damaged Woodruff key. A bent or sheared key will not hold the balancer in proper alignment. Replace it with a matching key before reinstallation and torque the crank bolt to factory specification.
Heat can also damage the front main seal if you aim it too close. The seal is made of rubber and will harden or melt under direct flame. Keep the heat gun moving and aimed only at the metal hub.
Final Decision Guide: DIY Press, Loaner Puller, or Professional Help
Your choice depends on three conditions: threaded holes, thread direction, and how seized the balancer is.
If the balancer face has threaded holes and you have grade 8 bolts, use the DIY press method. It costs nothing extra and takes thirty to sixty minutes. Thread two bolts into the balancer, tighten them against a flat bar, and walk the part off the crank snout.
If the balancer has no threaded holes or the hub is seized solid, borrow a puller from an auto parts store. Most stores offer a free loaner with a deposit of twenty to fifty dollars. You will need to return it within the store's window, usually twenty-four to forty-eight hours.
Choose professional help if the crank threads are stripped, the bolt snapped off, or the elastomer ring is cracked. A shop can press the balancer off and inspect the front main seal for about one hundred to three hundred dollars. That cost protects you from turning a simple job into an engine teardown.
Do not attempt the DIY press on an aluminum balancer with high mileage. The metal can crack under bolt pressure. A puller applies centered force and is safer for older cast aluminum hubs.
Frequently Asked Questions
Can I use a screwdriver to pry off a harmonic balancer?
Yes, but only on the metal hub and only at multiple points. Pry against the timing cover or rubber ring and you will dent the cover or separate the elastomer. Move slowly and check for binding after each adjustment.
How do I know if my crank bolt uses reverse threads?
Check your factory service manual or look for an L or LH stamped near the bolt head. Many import engines use standard right hand threads, but some reverse thread designs exist. Turning the wrong way tightens the bolt instead of loosening it.
What happens if I crack the elastomer ring inside the balancer?
The balancer must be replaced. The rubber ring cannot be re-bonded or pressed back into alignment. Driving with a cracked damper causes harmonic vibration that damages the crankshaft and accessories.
Do I need to replace the front main seal when removing the balancer?
Not automatically. Inspect the seal lip for tears or hardening. If it leaks or shows damage, replace it while you have access.
Otherwise clean the surface and reinstall the balancer with a new Woodruff key.
Can I drive with a loose harmonic balancer?
No. A loose balancer wobbles on the crank snout and can shear the keyway or destroy the front seal. Remove it properly before driving the vehicle again.