


You've got a cordless drill sitting in your garage, and you've noticed that ring behind the chuck with all those numbers on it. Maybe you've twisted it a few times, shrugged, and left it on the highest setting because more power equals better, right?
Learning how to use a clutch on a cordless drill is one of those small skills that changes everything. Get it right, and you'll stop stripping screws, cracking wood, and fighting with your drill. Per manufacturer specifications, torque adjustment rings on most modern drills offer anywhere from 15 to 24 discrete clutch settings.
Each one delivers a precise amount of rotational force before the clutch disengages. Let's walk through exactly what that ring does and how to use it.
Quick Answer
Set your clutch to the lowest number. Drive a test screw into scrap material. If the clutch clicks before the screw seats fully, increase the number by one.
Repeat until the screw sits flush without stripping. For drilling holes, twist the ring to the drill icon. That bypasses the clutch and delivers full torque.
What the Clutch Ring Actually Does
That clutch ring isn't a speed dial or a power meter. It's a torque limiter. A safety device that tells your drill when to stop pushing.
Inside your drill, between the motor and the chuck, there's a spring-loaded mechanism connecting two metal plates. When you turn the clutch ring, you're compressing or relaxing that spring. The numbered positions control how much force the spring applies before the plates slip past each other.
When you drive a screw and hear that rapid clicking sound, the clutch is doing its job. The plates are slipping instead of transferring full motor torque to the screw. Think of it like a fuse.
The fuse blows before the wires melt. The clutch slips before the screw strips.
The Numbers on the Ring
| Clutch Setting | Spring Tension | What Happens |
|---|---|---|
| 1 (lowest) | Minimal | Clutch engages with very little resistance. Good for tiny screws in soft materials. |
| Middle range (8-12) | Moderate | Handles most common screws in wood and drywall. |
| Highest number before drill icon | Maximum | Only slips under heavy resistance. For large screws and harder materials. |
| Drill icon (bypass) | N/A | Clutch is locked out. Full motor torque goes to the chuck. |
What Each Setting Means for Real Materials
- Settings 1-4: For tiny screws (#4 or #6), softwoods (pine, cedar), plastics, and thin sheet metal. Any screw under about 1 inch long.
- Settings 5-9: For medium screws (#8 or #10), hardwoods (oak, maple), and drywall. The sweet spot for furniture assembly and general construction.
- Settings 10-15: For larger screws (1/4 inch or thicker), dense hardwoods, and driving into studs.
- Settings 16+ or drill icon: Reserved for heavy-duty driving or drilling holes.
Different brands use different spring rates. A setting 5 on a Milwaukee might feel like a setting 7 on a Ryobi. That's normal.
The solution is always the same: test on scrap.
Drill Mode vs. Drive Mode
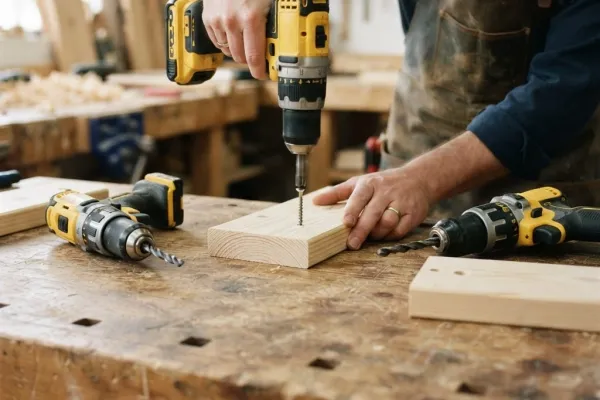
Every numbered position on the ring puts the drill in drive mode. The clutch is active. It will slip at a preset torque threshold.
Use drive mode when driving screws into wood, drywall, or plastic. Use it for furniture assembly with machine screws or bolts. Use it for trim work where overdriving would ruin the finish.
Any task where fastener depth matters.
When you rotate the ring past the highest number to the drill bit symbol, you've entered drill mode. The clutch is mechanically locked. No slipping.
No torque protection.
Use drill mode when drilling pilot holes, using twist bits, spade bits, or hole saws, or driving large lag bolts where sustained high torque is needed.
Here's a real example. Say you're hanging cabinet doors. You drill pilot holes in the cabinet frame with the ring in drill mode.
Then you switch back to drive mode, set the ring around 6 or 7, and drive the screws that hold the hinges. The clutch clicks the moment each screw seats flush. Perfect depth on every hinge without any guesswork.
Step-by-Step: How to Set and Use the Clutch
These steps work with any cordless drill from any brand as of 2026.
Step 1: Identify the clutch ring. Look at the drill body behind the chuck. You'll see a textured ring with numbers printed around it, plus a drill bit icon at the end. If your drill doesn't have this ring, it's a basic budget model or an impact driver.
Impact drivers don't have clutches.
Step 2: Match your task. Drilling means rotating the ring to the drill bit icon. You're done. For driving, keep reading.
Step 3: Start low. For any screw-driving task, start at setting 4 or 5. Starting low prevents immediate damage.
Step 4: Test on scrap. Find a piece of the same material you'll be working with. Drive one screw in with your starting setting. If the clutch clicks and the screw isn't flush, increase the setting by one or two numbers.
Try again. If the screw goes too deep before the clutch clicks, decrease the setting. Try again.
If the screw seats perfectly flush as the clutch clicks, you've found your setting.
Step 5: Drive all fasteners. With your setting dialed in, drive every screw. The clutch will click at the same point each time. Every screw sits at the same depth.
Step 6: Adjust between tasks. Switching from 1-inch screws in pine to 2-1/2 inch screws in oak? Bump the ring up. Switching from deck screws to cabinet screws?
Bump it down. Always test on scrap first.
Step 7: Store with the clutch disengaged. Rotate the ring to the highest numbered setting or the drill icon. This relieves tension on the internal spring and extends the life of the clutch mechanism.
For more detail on choosing the right tool for the job, take a look at our complete guide on selecting a cordless drill. It covers battery platforms, chuck sizes, and clutch range before you even pull the trigger.
Common Mistakes That Strip Screws and Damage Work
Leaving the Clutch in Drill Mode
People finish drilling a pilot hole, grab a screw, and forget to twist the ring back. The clutch is bypassed. Every screw gets full torque.
The fix: Make it a habit. Every time you switch from drilling to driving, glance at the ring. If you see the drill icon, rotate it to a number before you pull the trigger.
Starting Too High
Starting at the top of the range gives you zero room to adjust. You either overdrive or you don't.
The fix: Begin at 4 or 5 every single time. It takes two seconds to bump up. It takes ten minutes to fix a stripped screw hole.
Ignoring the Click
Some people hear the clutch clicking and keep squeezing the trigger. They think the drill is failing. The clutch keeps clicking.
The screw stays put.
The fix: The click means the screw is seated. Stop pulling the trigger. If the screw isn't deep enough, increase the setting by one and try again.
Using One Setting for Everything
A setting that works for #8 screws in pine will destroy #6 screws in particleboard. Material density and fastener size change the torque requirements completely.
The fix: Adjust the ring every time you switch materials or screw sizes. Test on scrap.
Driving Without Pilot Holes in Hard Materials
If you're driving a 3-inch deck screw into oak without a pilot hole, the clutch will click early because the resistance is too high. You'll keep bumping the setting up until you're in drill mode. Then you'll snap the screw or split the wood.
The fix: Drill a pilot hole. It reduces the torque required by roughly 40% per ANSI woodworking guidelines. Your clutch will work properly, and your joints will be stronger.
Real Scenarios: Clutch Settings for Common Materials
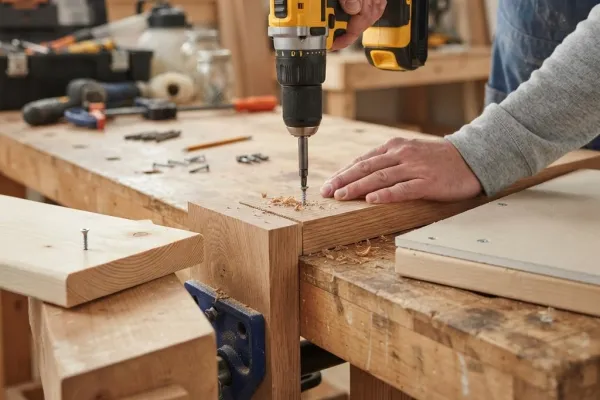
These are starting points. Always test on scrap.
Softwood (Pine, Cedar, Fir): A #8 screw 1-1/2 inches long typically needs a setting of 5 to 7. The clutch clicks, the screw seats just below the surface, and the wood fibers compress cleanly.
Hardwood (Oak, Maple, Walnut): A 2-inch screw in oak might need a setting of 10 to 14. Always use a pilot hole. It prevents splitting and reduces torque enough that your clutch functions in its usable range.
Drywall: Setting 3 to 5 works for most 1-1/4 inch drywall screws. The clutch clicks the instant the screw head dimples the paper. Stop pulling the trigger.
For metal studs, you'll need a higher setting (8 to 12) and self-tapping screws.
Soft Materials (Plastic, Particleboard, MDF): Start at setting 1 or 2. The clutch should click almost immediately. Particleboard furniture is the classic example.
A setting of 2 or 3 lets you drive cam screws to exactly the right depth. Any higher and you'll strip the pre-drilled holes.
When to Ignore the Clutch
The clutch is a wonderful tool, but it's not always the right tool.
Large lag bolts: If you're fastening a ledger board with 1/2-inch lag bolts, the clutch will click at a fraction of the torque needed. Switch to drill mode and use your feel for when the bolt is seated. Be careful.
Overtightening can strip threads or snap the bolt head.
Impact drivers: Impact drivers don't have clutches. They use a hammer-and-anvil mechanism. If you own both tools, use the drill with the clutch for precision work and the impact driver for heavy fastening.
Self-tapping screws in metal: The torque curve spikes sharply when the screw breaks through. Use a slower trigger speed and let the screw find its way. Feather the trigger on the final quarter turn.
Mixing materials: If you're stirring paint or mortar with a paddle attachment, the clutch will click constantly because the resistance is uneven. Switch to drill mode. Check your drill's manual first.
Not all drills are rated for mixing duty.
Signs Your Clutch Isn't Working Right
The clutch slips erratically: If the clutch clicks at setting 6 one time and setting 10 the next with the same screw and material, something is wrong.
What to do: Clean the clutch ring. Sawdust can build up in the grooves. Use compressed air or a stiff brush.
If that doesn't fix it, the drill needs service.
The clutch doesn't click at all: If you can drive screws at the lowest setting without clutch engagement, the mechanism is stuck or broken.
What to do: Try cycling the ring through all settings several times. If it stays stuck, the clutch assembly may need replacement. Check with the manufacturer.
The ring feels loose: The clutch ring should have positive detents. You should feel each click. If the ring spins freely, the detent spring is broken.
What to do: This is a mechanical fix. The drill should be serviced before your next project.
For battery health issues that could affect clutch performance, check our guide on how to store lithium-ion tool batteries. A weak battery can reduce available torque and make the clutch behave inconsistently.
A Quick Safety Check Before Every Job
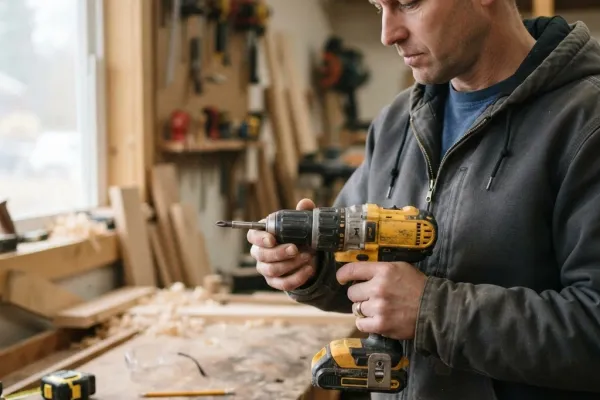
Confirm the chuck is tight. A loose chuck can spin on the shaft, which feels like clutch slip but isn't. Grab the bit and try to twist it. If it moves, tighten the chuck.
Check the clutch ring moves freely. Rotate it through its full range. It should click into each detent cleanly. If it sticks, blow it out with compressed air.
Verify the battery is charged. A nearly dead battery delivers less voltage. The clutch engages at a different torque point. Start with a fresh charge.
Wear eye protection. ANSI Z87.1 rated safety glasses cost under ten dollars. A snapped screw or kicked bit can hit your face at speed.
Secure your workpiece. Clamp it down. A spinning workpiece can catch your hand. Never hold something in your hand while driving screws.
The One-Verdict Rule
Here's the simplest way to remember everything we've covered. One sentence you can repeat to yourself every time you pick up a drill.
Start at a low number, test on scrap, listen for the click, and adjust until the screw sits flush.
That's it. That's the whole system. The low start prevents damage.
The test on scrap gives you a direct reading of what the material needs. The click confirms the clutch is working. The adjustment locks in the perfect setting.
You don't need to memorize torque values. You don't need to know spring rates. You just need to follow this loop for every new material and fastener combination.
It takes less than thirty seconds per test.
Taking thirty seconds to set the clutch correctly saves ten minutes of fixing mistakes. It saves material. It saves your bits.
It saves your drill from unnecessary strain.
Frequently Asked Questions
How do I know which clutch number to use for different screws?
Start at 4 or 5 and test on scrap. Drive a screw. If the clutch clicks before the screw seats, increase by one.
If the screw goes too deep before the click, decrease. Write down the number that works for that combination.
Can I use the clutch on an impact driver?
No. Impact drivers use a hammer-and-anvil mechanism, not a torque clutch. They don't have a numbered ring.
Use a drill with a clutch for precision work. Use an impact driver for high-torque fastening where depth control matters less.
What does it mean when the clutch keeps clicking?
It means the screw is seated. The drill has reached the torque limit you set. Stop pulling the trigger.
If the screw isn't deep enough, increase the setting by one number and try again. The click is the intended function.
Why does my clutch feel different between brands?
Different manufacturers use different spring rates and detent designs. A setting 5 on a Milwaukee may feel different than a setting 5 on a DeWalt. There is no universal standard.
Always test on scrap when switching drills or brands.
Should I leave the clutch on drill mode when storing my drill?
Rotate the ring to the highest numbered setting or the drill icon. This relieves tension on the internal spring. Storing with the clutch engaged on a low number can fatigue the spring over time and reduce accuracy.
